Just get an Office document that preserves lots of images you like very much? Do you want to download or save images in Office document?
The article talking about how to extract images from Word/Excel/PowerPoint file would be good guide for you if you don’t want to save the images one by one from Office document.
- Way 1: Using Windows built-in .zip support to extract images from docx/xlsx/pptx file
- Way 2: Using free software to extract images from doc/xls/ppt file
Way 1: Extract images from Office document with Windows built-in .zip support
If you get a Word (.docx), Excel (.xlsx), or PowerPoint (.pptx) file with images you want, you can extract them without any software. Instead, you can use Windows built-in .zip support or make full use of Office XML based file formats to extract embedded images from them.
Step 1: Rename Word document and save it as .zip file.
Click the Word document images embedded and press F2 to rename it. Change its extension from .docx to .zip. Press Enter to confirm it.
Tips: If you cannot see the Word document extension, please uncheck Hide extensions for known file types in Tool > Folder Options.
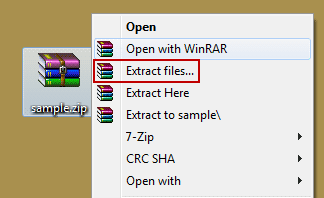
Step 2: Right click the zipped file and choose “Extract All” from pop-up menu.
If you have WinRAR installed on computer, now you can choose Extract files and there would open Extraction path and options window.
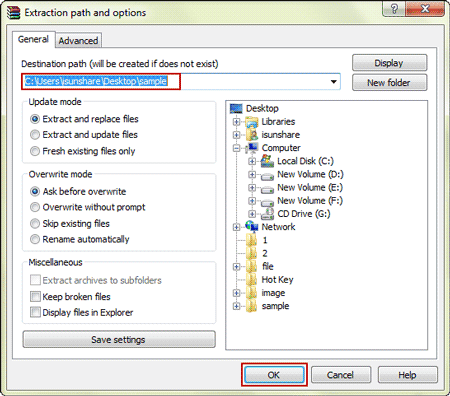
Then you can change or confirm Destination path and click OK to extract the zip file. Follow step 4 next. If not, follow step 3 please.
Step 3: Choose a location to save extracted files and show extracted files when complete.
- On the Select a Destination and Extract Files dialog box, if you don’t want the default location to save extracted files, you can click Browse button to change the location.
- Navigate to where you want the content of the .zip file saves after extraction, click New Folder to create a new folder, and click Select Folder.
- Check Show extracted files when complete if you want to instantly see extracted files after finishing extraction. Click Extract button at last to begin extracting contents from zip file.
Step 4: Access and get extracted images.
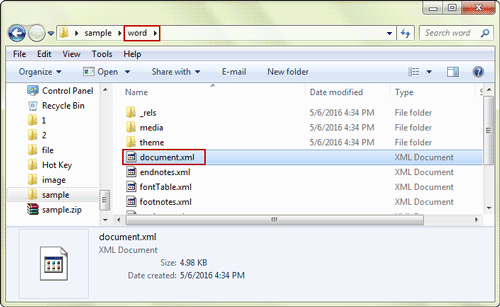
1. There would be a folder named word that includes the extracted contents, such as images.
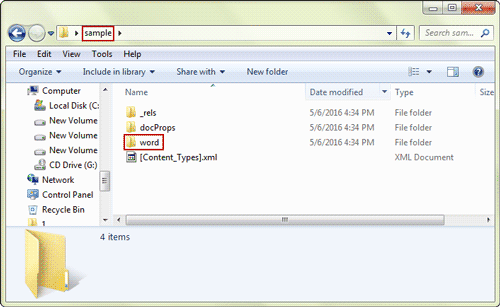
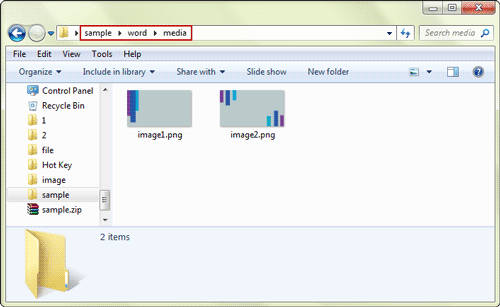
2. Open word folder and double click the media folder. All the images from original Word document are in the “media” folder and named with a series of image numbers.
Congratulations! You have successfully extracted images from Word document. Suppose you have another demand to extract text from Word document when you don’t have Microsoft Office to open Word document, you could use the same way to do. Just need to open “document.xml” file in “word” folder with text editor, you would see all the text from original Word document.
Way 2: Extract images from Office document with free software
If you want to extract images from Office document easier, especially when the Office document is 2003 or older version, the free software Office Image Extraction Wizard would be a good way for you to extract images from document.
Step 1: Download, install and run Office Image Extraction Wizard.
Step 2: Set input Word document and output folder. Click Next button.
1. Click folder button next to Document to input the Word document you want to extract.
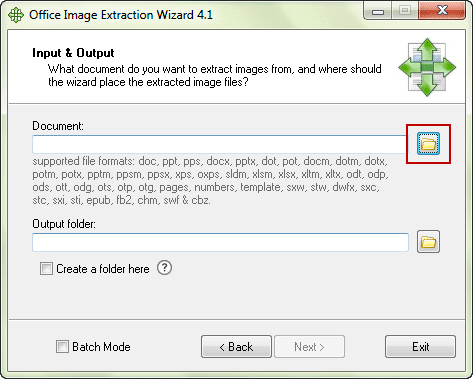
2. Then Output folder would be set by default. If you want to change it, click folder button next to it and navigate to location where you want to save files extracted from Word document.

Step 3: Click Start button to begin extracting Word document you input.

Few seconds later, you would see it successfully extracted.
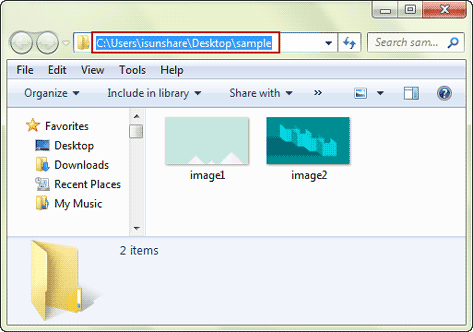
Open the destination folder and you would see images extracted from Word document.
Related Articles: