3 Ways to Add or Remove Photos in Album on Windows 10
By Michael | Last Updated
There are three methods you can use to add and remove pictures in an album on Windows 10 computer. Just keep reading to find them.
Video guide on how to add or remove photos in album on Windows 10:
Steps to add or remove photos in album on Windows 10:
Step 1: Access Photos by searching.
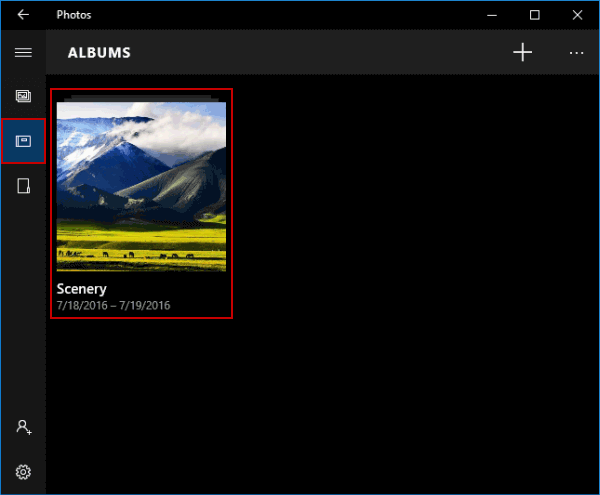
Step 2: Open Albums on the left menu, and choose an album.
Step 3: Add or remove pictures.
Tip: During this procedure, you can try the following 3 methods to realize the goal.
Way 1: Make it via the Edit icon.
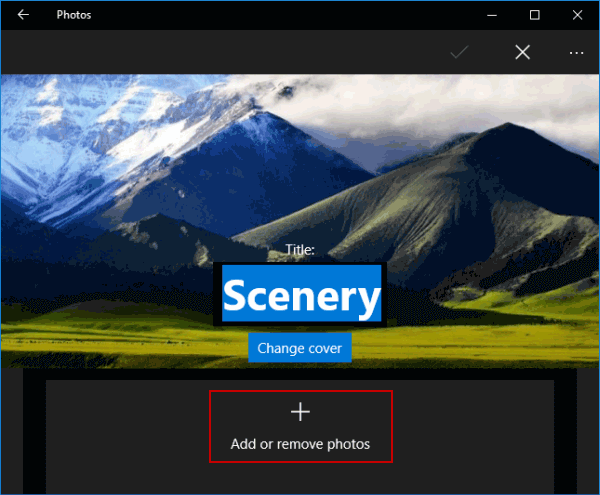
Sub-step 1: Tap the Edit button (i.e. the pencil icon) on the top right.

Sub-step 2: Click Add or remove photos to move on.
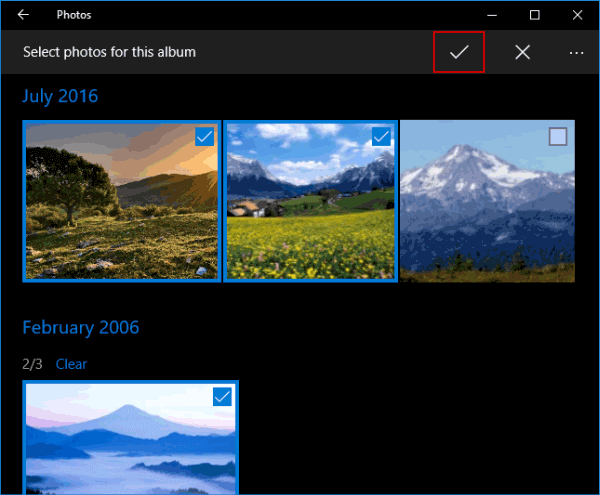
Sub-step 3: Select or deselect pictures, and hit the upper-right Done button.
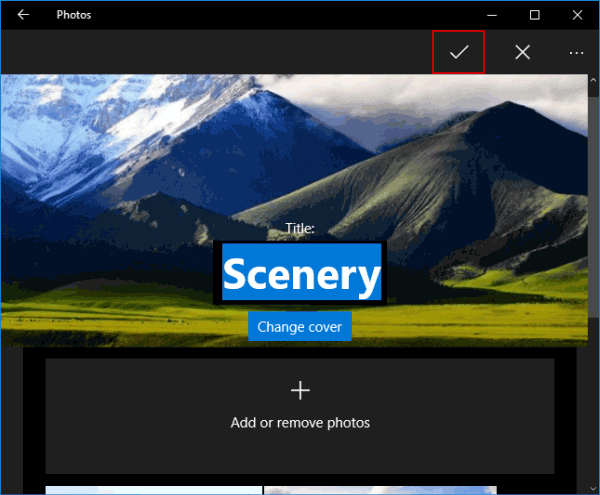
Sub-step 4: Tap the Done icon to finish the task.
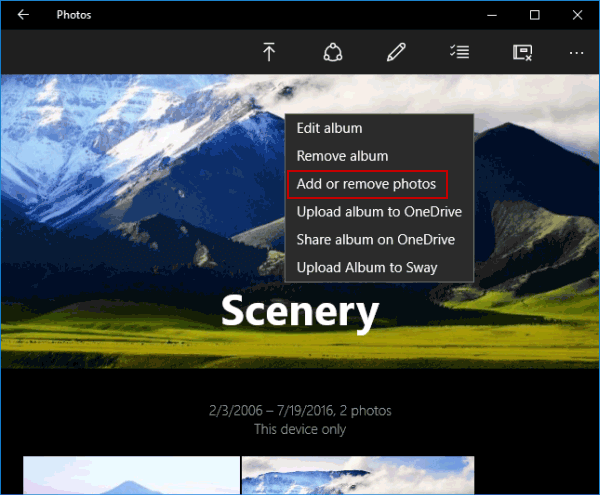
Way 2: Make it via the cover photo's context menu.
Sub-step 1: Right-click the cover picture, and choose Add or remove photos in the menu.
Sub-step 2: Select or deselect pictures, and tap Done.
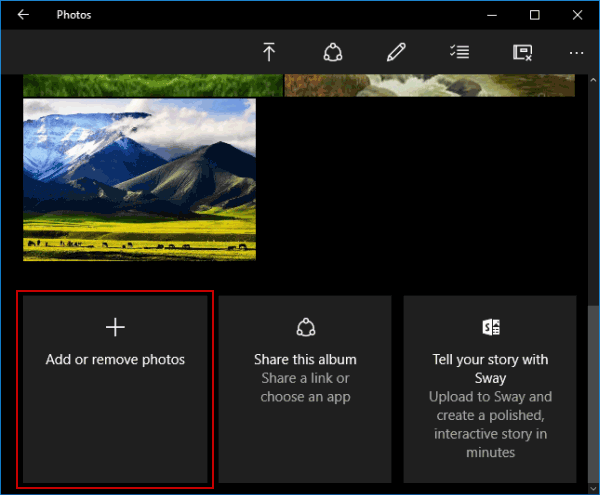
Way 3: Make it via the Add or remove photos setting.
Sub-step 1: Hit the lower-left Add or remove photos.
Sub-step 2: Choose or deselect pictures, and click Done.
Related Articles:


