5 Ways to Open XPS Viewer in Windows 10
By Achilles Hill | Last Updated
You can use the following five methods to open XPS Viewer on Windows 10 computer.
Video guide on how to open XPS Viewer in Windows 10:
5 ways to open XPS Viewer in Windows 10:
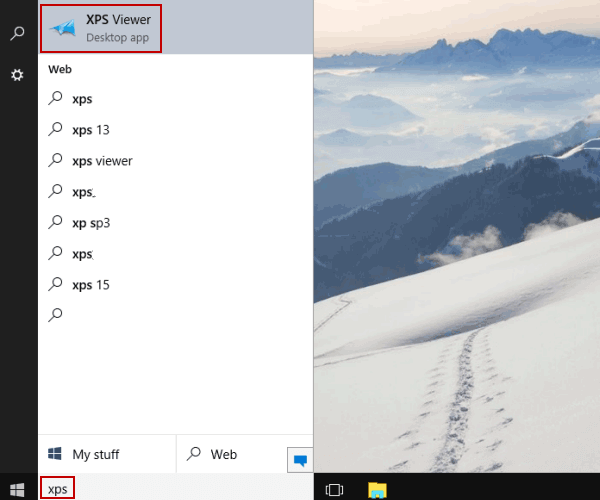
Way 1: Turn it on through searching.
Input xps in the search box and choose XPS Viewer in the result.
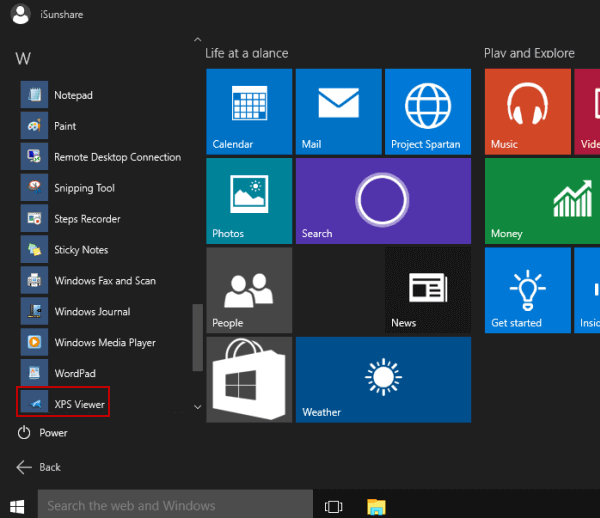
Way 2: Open it from Start Menu.
Click the Start button to show the menu, select All apps, open Windows Accessories and tap XPS Viewer.
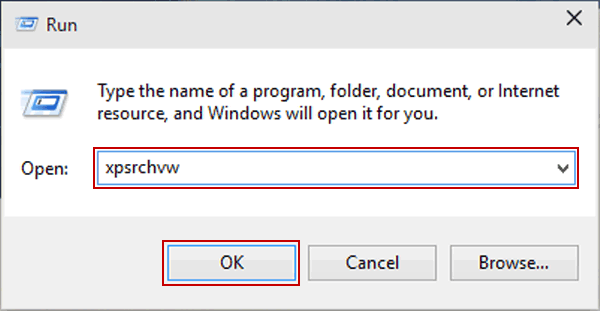
Way 3: Open it via Run.
Display the Run dialog with Windows+R, enter xpsrchvw and hit OK.
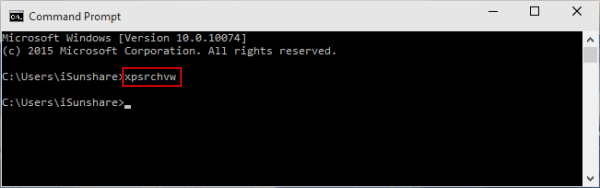
Way 4: Turn it on in Command Prompt.
Step 1: Access Command Prompt.
Step 2: Type xpsrchvw and press Enter.
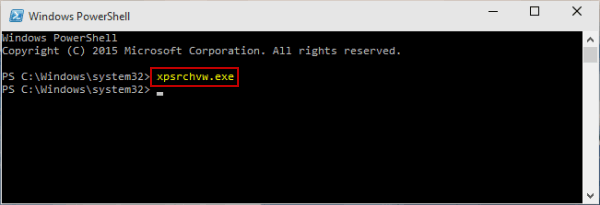
Way 5: Open the app through Windows PowerShell.
Step 1: Get into Windows PowerShell from Start Menu.
Step 2: Input xpsrchvw.exe and tap Enter.
Related Articles:


