Video guide on how to create Windows Speech Recognition shortcut on desktop:
Steps to create a Windows Speech Recognition shortcut on desktop:
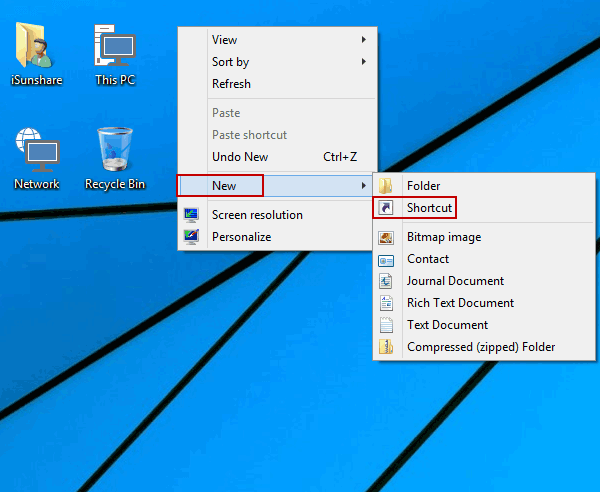
Step 1: Open a new shortcut on desktop.
Right-click any blank area on the desktop, point at New in the context menu and select Shortcut in the sub-list.
Step 2: Enter the location of Windows Speech Recognition and move on.
Type "%windir%\Speech\Common\sapisvr.exe –SpeechUX" in the empty box, and then click Next.
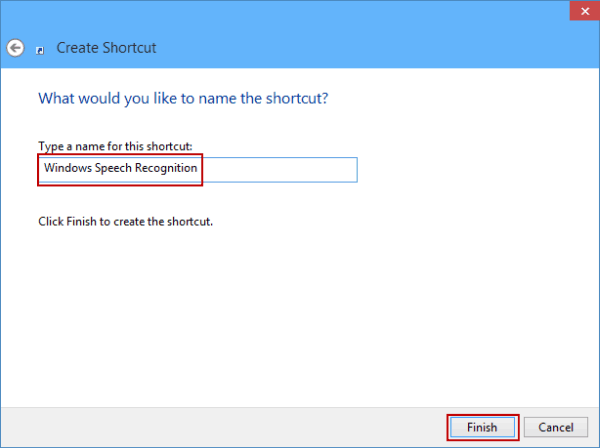
Step 3: Name this shortcut and complete the creating process.
Enter Windows Speech Recognition as the shortcut's name and tap Finish.
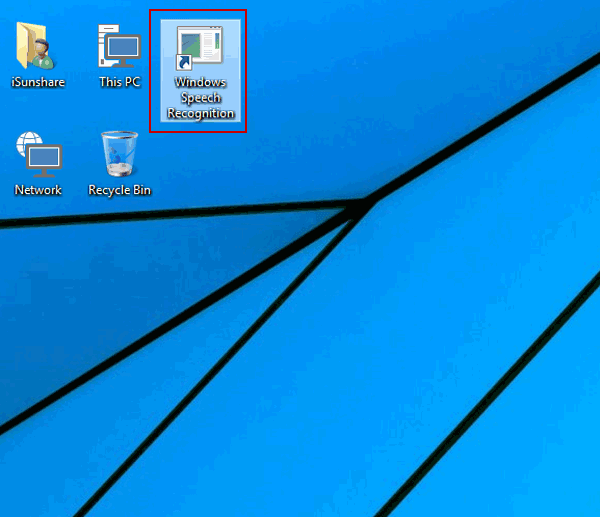
After these procedures, a shortcut named Windows Speech Recognition will show up on the desktop in Windows 10 computer, as exhibited in the following screen shot.