To keep your Windows OS and applications up-to-date and in good heath, it is necessary to perform regular Windows maintenance. The fast way is to start automatic maintenance so that Windows will automatically run maintenance tasks including software updates, security scanning and system diagnostics on a daily schedule. In this article, a short guide is introduced to manage automatic maintenance in Windows 10.
Windows Automatic Maintenance, also called WAM, is a built-in utility in Windows that helps to perform a set of enhancements to the Task Scheduler API. You can add activities that require regular scheduling to it. When Automatic Maintenance is enabled, Windows automatically runs scheduled maintenance on a daily schedule when you are not using the computer. Of course, you can set the time to run maintenance tasks.
How to Start and Stop Maintenance in Windows 10
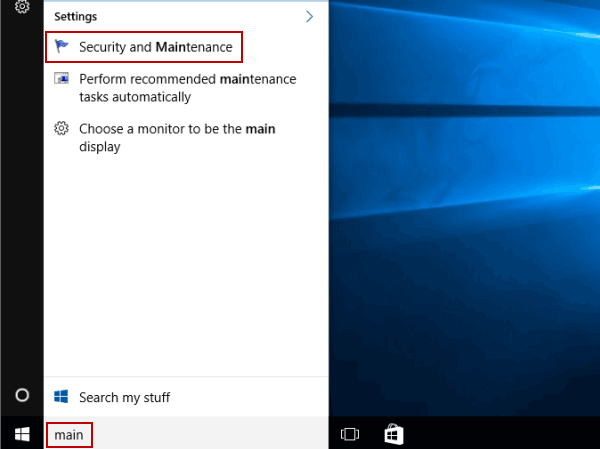
Step 1: Type main in the search box on desktop, and choose Security and Maintenance from the result.
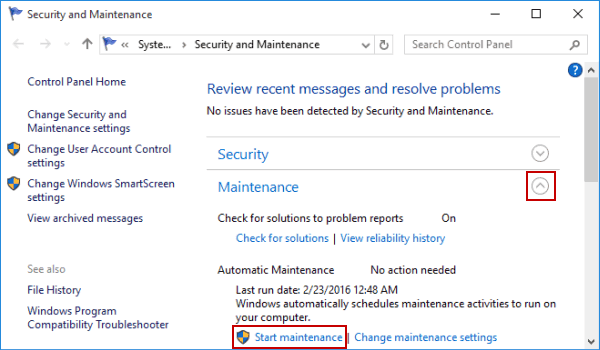
Step 2: Click the button on the right of Maintenance to expand its settings, and then tap Start maintenance.
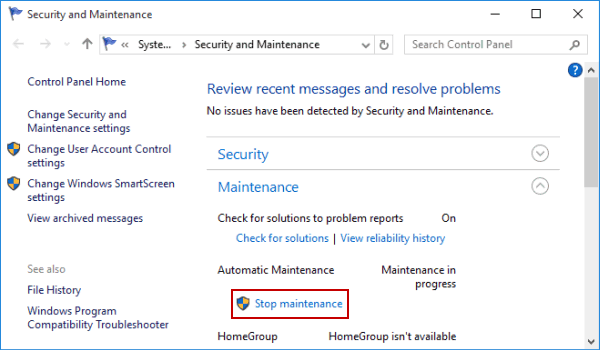
Similarly, hit Stop maintenance when you want to stop the process.
How to Disable Maintenance in Windows 10
If you do not want to start maintenance in this computer, you can disable it on your computer.
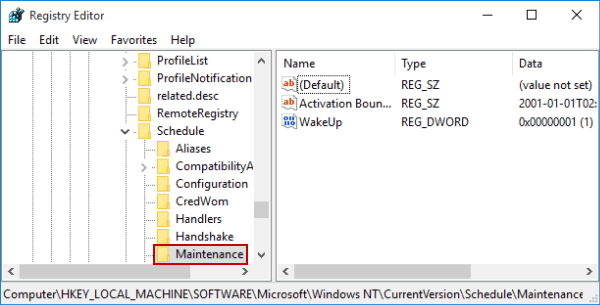
If you can't start maintenance in Windows 10 computer, the function may be disabled in Registry Editor. In this case, you are able to solve the problem by using the following method.
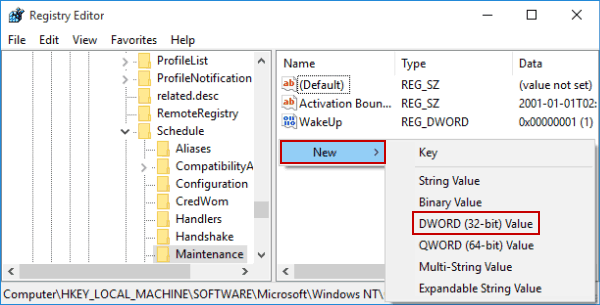
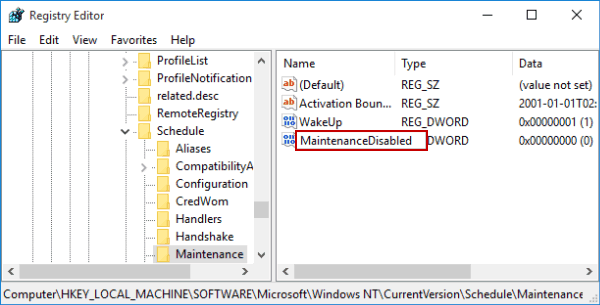
Step 2: Open MaintenanceDisabled in HKEY_LOCAL_MACHINE/SOFTWARE/Microsoft/Windows NT/CurrentVersion/Schedule/Maintenance.
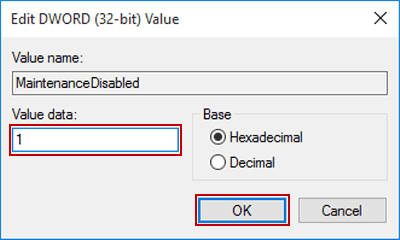
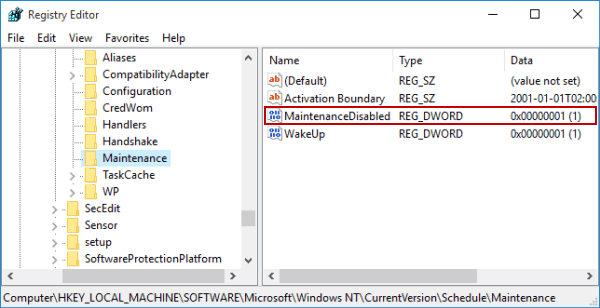
Step 3: Change its value data to 0, and click OK.
Tip: You can also directly delete MaintenanceDisabled to achieve the same goal.
How to Change Automatic Maintenance Settings in Windows 10.
If you want to customize the Automatic Maintenance settings, you can put the following method into practice.
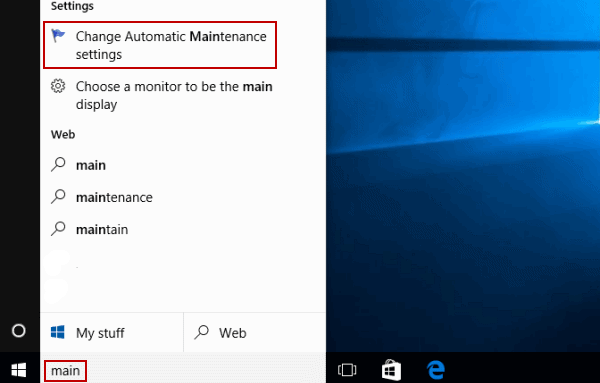
Step 1: Type main in the search box on taskbar, and click Change Automatic Maintenance settings from the result.
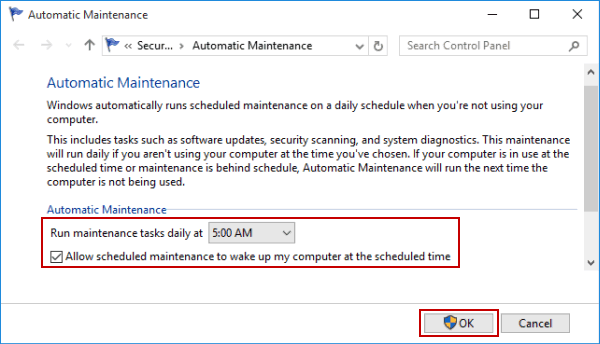
Step 2: Change the time, select or deselect Allow scheduled maintenance to wake up my computer at the scheduled time, and then tap OK.
How Long does Automatic Maintenance Take in Windows 10
It takes about 1 hour to perform maintenance task each time. If the computer is in use at the scheduled time, the system will postpone the maintenance. And the paused tasks will resume at the next idle time. But the critical task will not stop until it is finished even you want to use your PC.