logo
Windows 8 How to Create A Homegroup in Windows 8/8.1

How to Create A Homegroup in Windows 8/8.1

By Sophia | Last Updated

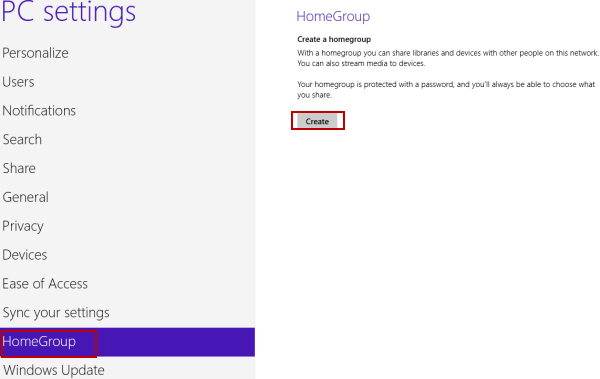
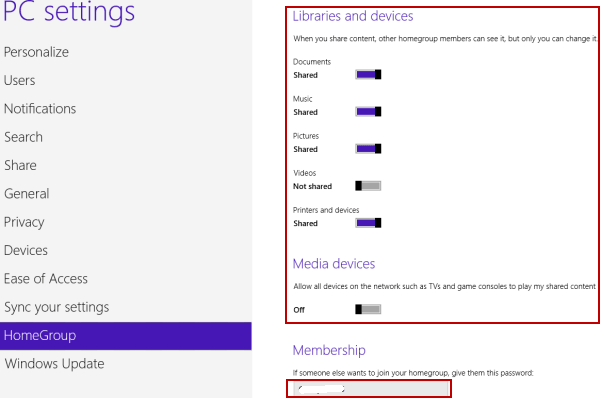
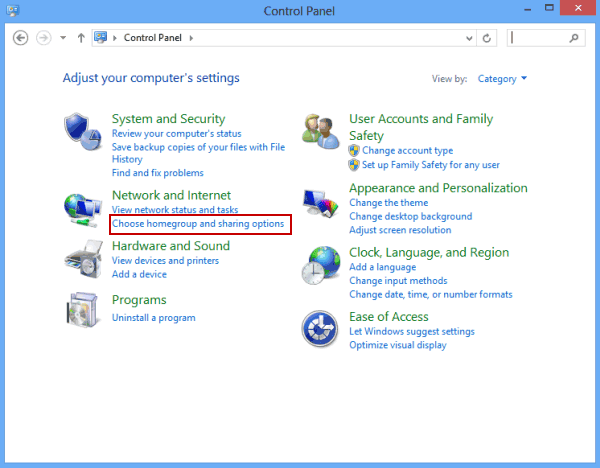
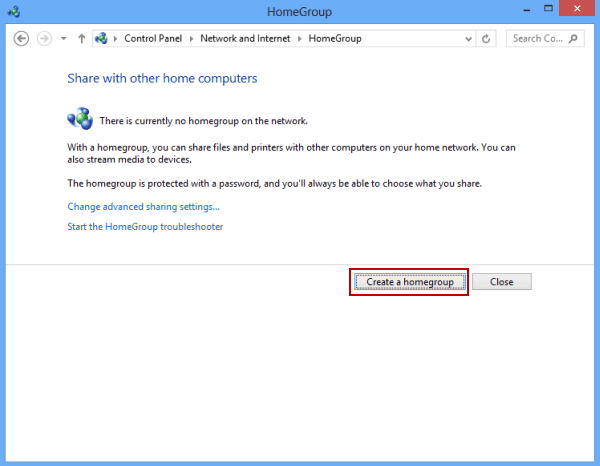
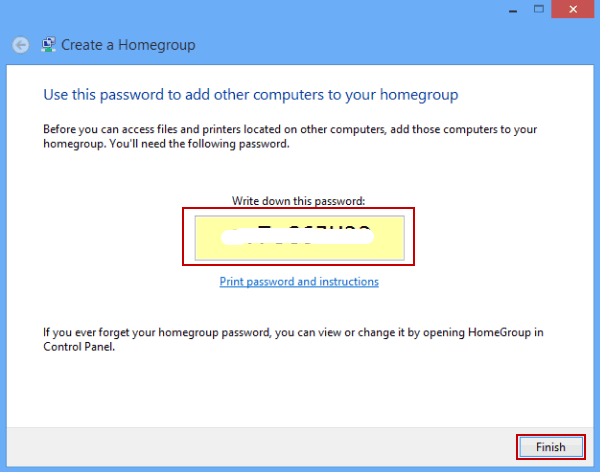
With a homegroup, you can share your files and printers with other computers on your home network. Moreover, the homegroup is protected by an automatically-generated password, so you are able to decide who can join your homegroup though their computers by giving them the code. Thus, it is useful and necessary for you to learn how to create a homegroup in your PC. For more info, please refer to the following two operation methods.

2 ways to create a homegroup in Windows 8/8.1:

Way 1: Create a homegroup in the PC settings.

Step 1: Enter PC settings.

Step 2: Select HomeGroup and tap Create button on the right side.

open homegroup

Step 3: Specify the libraries and devices you would like to share in the homegroup and keep the password generated by the system.

specify shared libraries and devices

Tip: It is the password that you give to other users when you allow them to add their computers to your homegroup.

Way 2: Make a homegroup in the Control Panel.

Step 1: Open the Control Panel.

Step 2: Click Choose homegroup and sharing options under Network and Internet.

tap chose homegroup and sharing options

Step 3: In the HomeGroup window, choose Create a homegroup.

clck create a homegroup

Step 4: As the Create a Homegroup window opens, tap Next to continue.

choose next

Step 5: Choose the files and devices you would like to share with other homegroup members, and click Next.

choose files and devices to be shared

Step 6: Write down the password generated automatically and tap Finish to complete creating the homegroup.

write down the password

In brief, with the 2 methods illustrated above, you can depend on yourself to create a homegroup in your computer.

Related Articles: