If you want to share a folder with other users in a computer, you can make it a shared folder. And for your reference, this text introduces two ways to create a shared folder in Windows 8 computer.
Video guide on how to create a shared folder on Windows 8:
Method 1: Create a shared folder by directly sharing it with specified users.
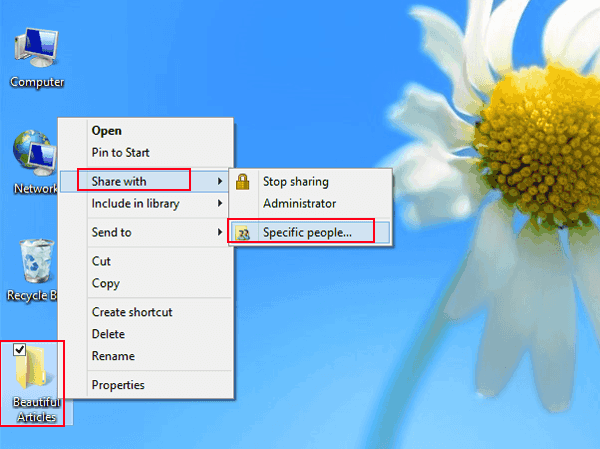
Step 1: Right-click the folder to be shared with other people, choose Share with on the context menu and select Specific people.
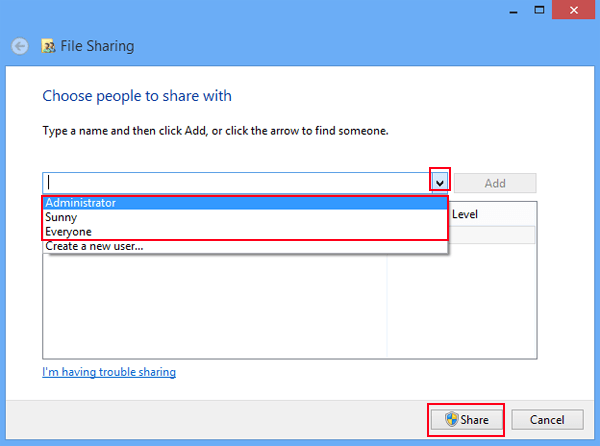
Step 2: In the window of File Sharing, tap the down arrow, choose a user from the drop-down list and click Share.
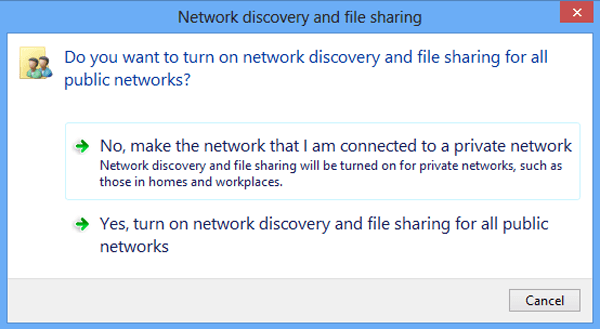
Step 3: Choose whether to turn on network discovery and file sharing for all public networks.
In the pop-up window named Network discovery and file sharing, you can choose Yes, turn on network discovery and file sharing for all public networks, or No, make the network that I am connected to a private network.
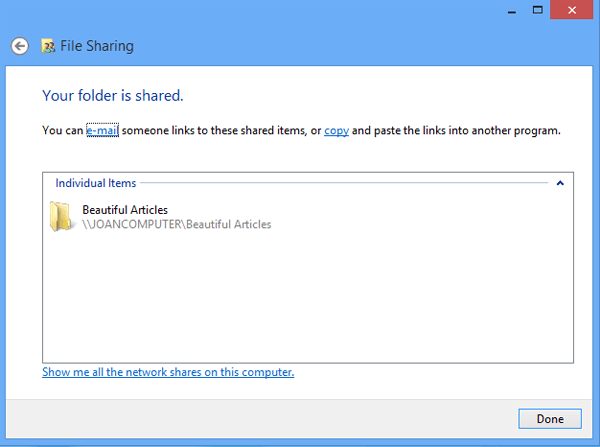
After these three steps, the selected folder is successfully shared in the computer.
Method 2: Share a folder in its sharing setting.
Step 1: Right-click a folder and choose Properties in the context menu.
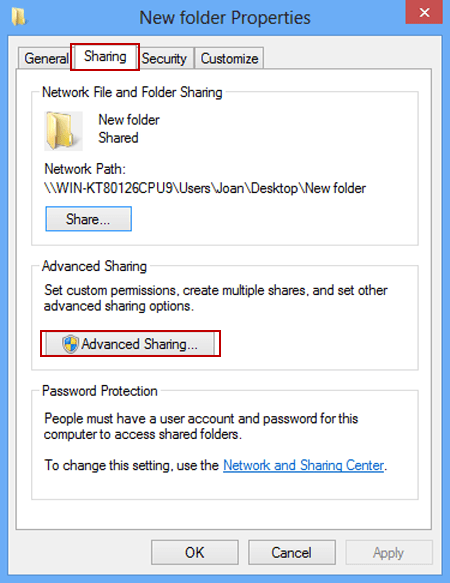
Step 2: In the folder's properties window, open Sharing and click Advanced Sharing to continue.
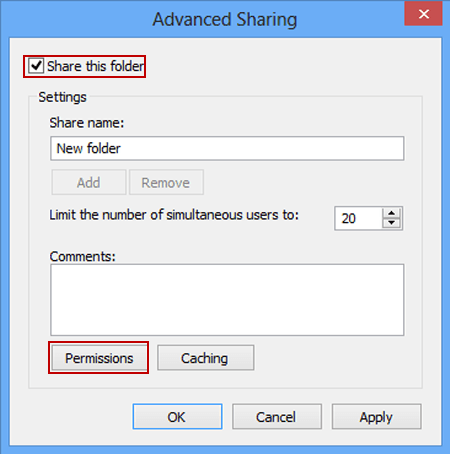
Step 3: Choose Share this folder and tap Permissions.
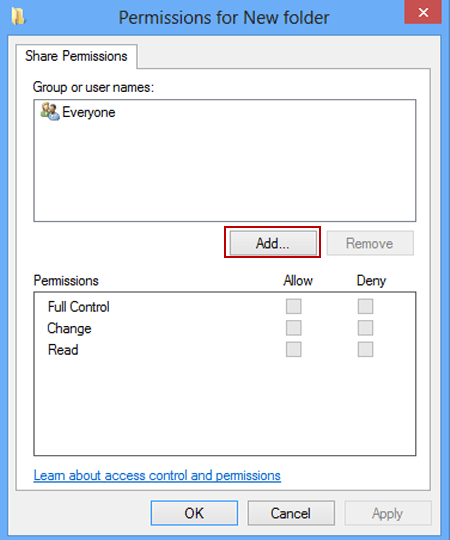
Step 4: Click Add button to go to select users whom you would like to share the folder with.
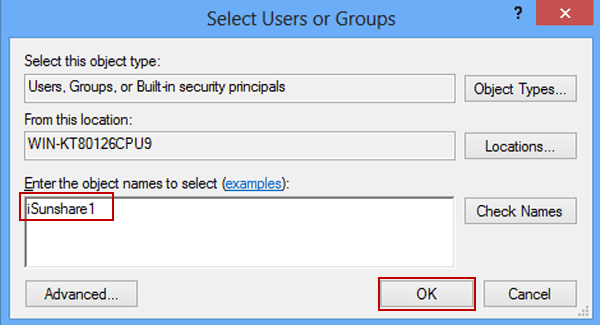
Step 5: As the Select Users or Groups dialog box turns up, input user name in the empty box and tap OK.
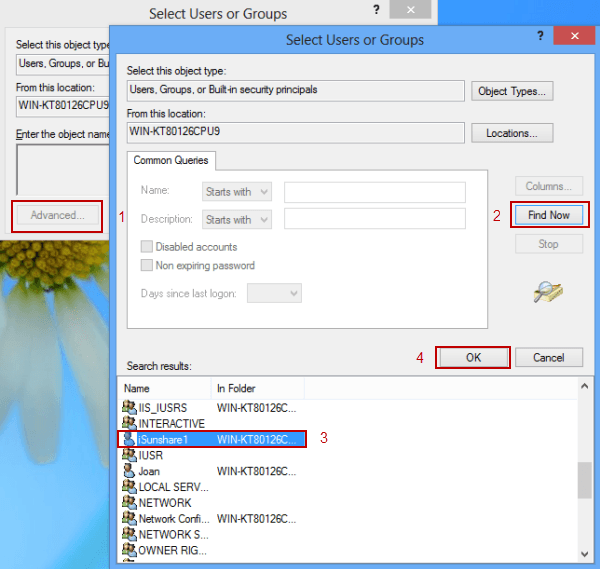
Tip: For this step, you can also click Advanced button, select Find Now in the pop-up window, choose a user from the list and click OK.