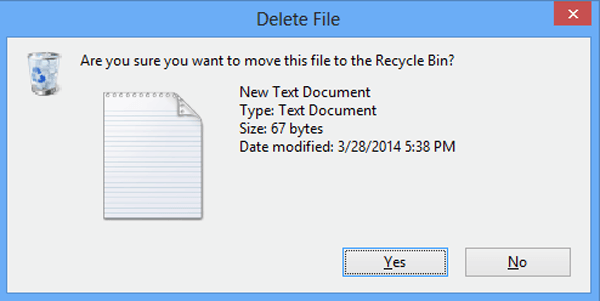
When removing any document or app in your Windows 8/8.1 PC, you will find that it is directly moved to the Recycle Bin or permanently deleted by Shift+Delete hotkeys, and no delete confirmation dialog box (refer to the following picture) appears before the deletion. If you want to avoid wrongly removing any other file or program, you can display delete confirmation dialog by making some changes to the associated settings in Local Group Policy Editor. And to make this practical method more understandable, this text will illustrate it step by step.
Video guide on how to display delete confirmation dialog in Windows 8:
3 steps to display delete confirmation dialog in Windows 8/8.1 computer:
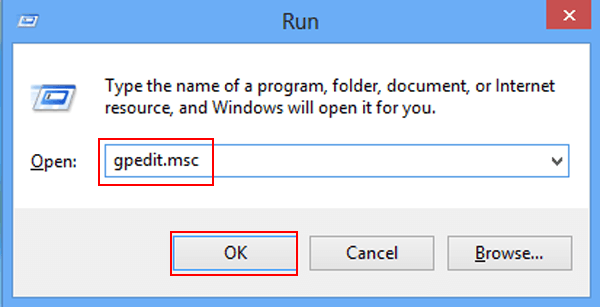
Step 1: Turn on Local Group Policy Editor.
Open Run dialog box with Windows+R hotkeys, enter gpedit.msc in the empty box and click OK to turn the Editor on.
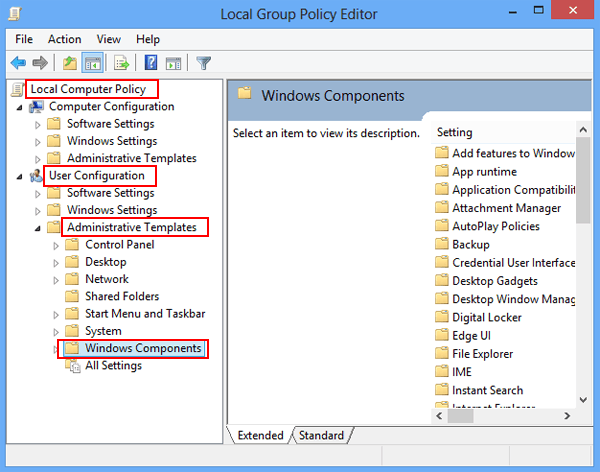
When the Local Group Policy Editor is on, you can locate and open Windows Components as follows.
Local Computer Policy→User Configuration→Administrative Templates→Windows Components
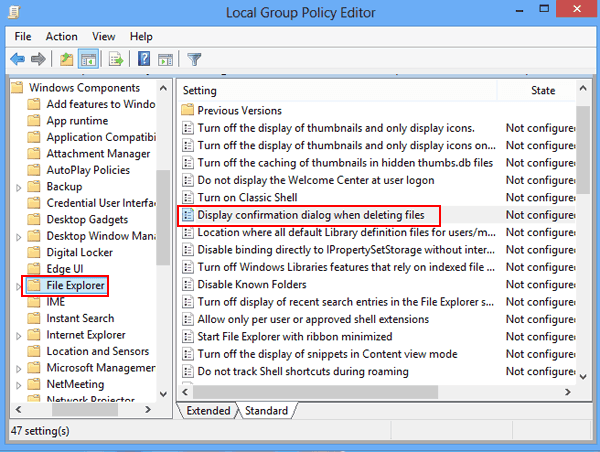
Step 3: Open File Explorer folder and change related settings in it.
1. Find File Explorer folder in Windows Components and open it. Then look for Display confirmation dialog when deleting files and double-click it so as to modify its settings.
2. As the window of Display confirmation dialog when deleting files arises, select Enabled and tap OK.
Note: If you don't want the confirmation dialog to show up later, you can choose Not Configured or Disabled and then click OK to achieve the aim.