Generally speaking, a lot of users permanently delete the files in their computers by use of Shift+Delete hotkeys. Or, they move them to the Recycle Bin first and then delete them from the Recycle Bin. In addition, from this article, you can learn how to realize the same goal using Delete key only.
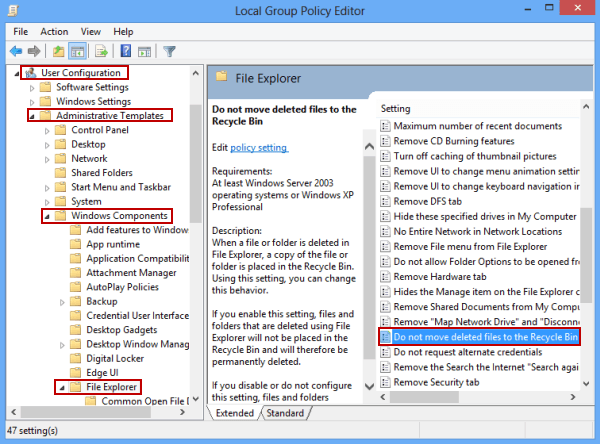
Step 2: Locate and open the "Do not move deleted files to the Recycle Bin" setting.
FYI, it is located in User Configuration/Administrative Templates/Windows Components/File Explorer.
Step 3: Choose Enabled and click OK in the following window to enable the setting.
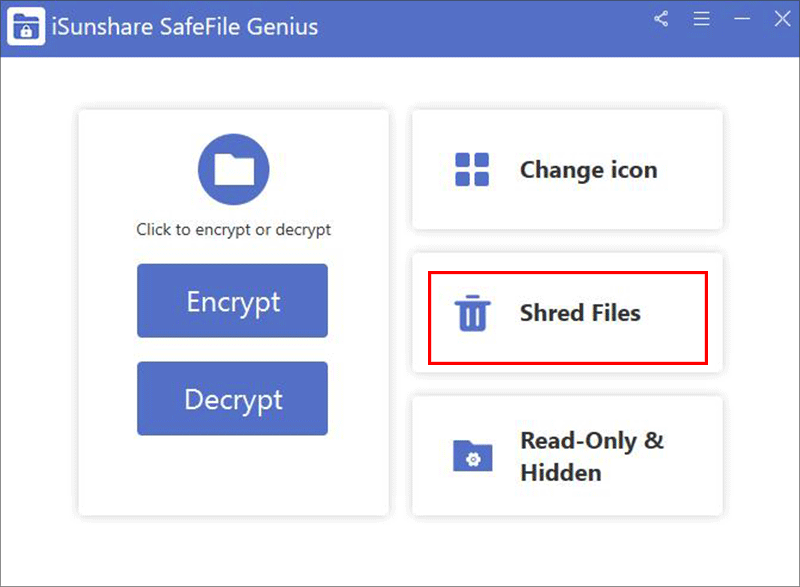
Way 3: Shred Files Using iSunshare SafeFile Genius
You can also use third-party tools to permanently Delete Files on Windows 8/8.1. Here, iSunshare SafeFile Genius is recommended. It helps you shred files on Windows 11/10/8.1/8/7 on your own within clicks. Here's how:
Step 1: Download and install the program on your Windows computer, and run it.
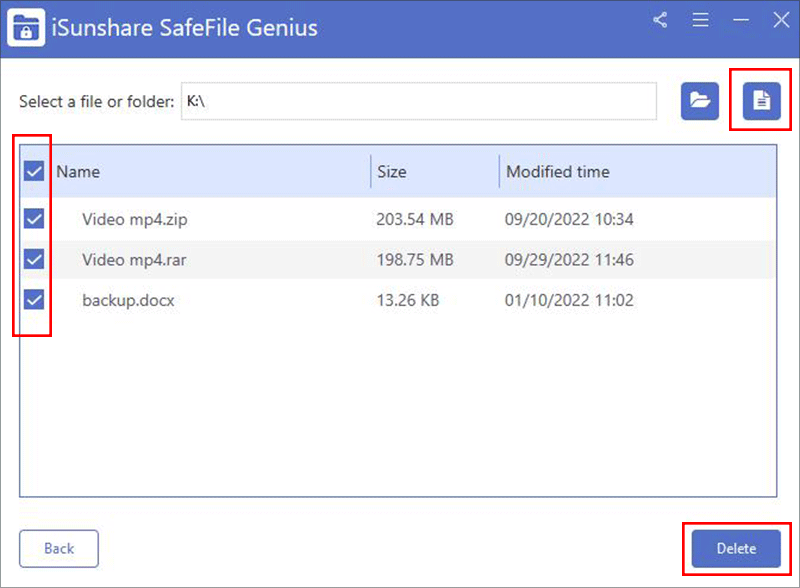
Step 2: On the main interface, click on Shred Files.
Step 3: Select files you want to permanently delete, and click on Delete.