We use cookies for personalizing content and ads and providing social media features. Your usage information on our website will be used for social media, advertising, and traffic analytics, or shared with our partners. Clicking "Accept" means you agree to use our cookies .
Windows Server 2012 R2 Essentials is a flexible, affordable, and easy-to-use server solution designed and priced for small businesses. It enables small businesses to protect, centralize, organize, and access their applications and information from almost anywhere using virtually any device.
Now let's install it on Virtual Machine Workstation to experience whether it is.
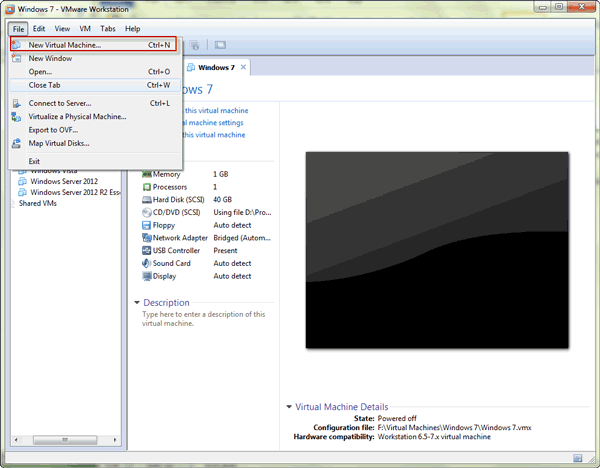
Step 1: Run VMware Workstation 9.0 and click File – New Virtual Machine.
Step 2: Follows "New Virtual Machine Wizard", click "Next".
Step 3: Choose the Virtual Machine Hardware Compatibility and click "Next".
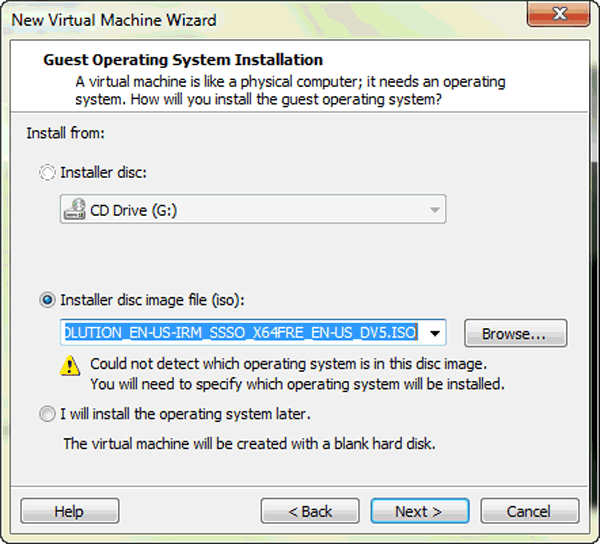
Step 4: Browse installer disc image file you have just downloaded, click Next.
Step 5: Choose Windows operational system version.
Step 6: Name the Virtual Machine and choose one location for it. Click "Next" to let it go.
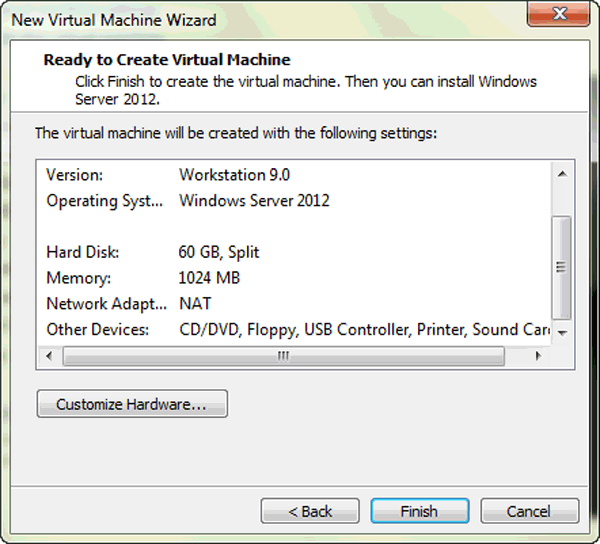
Generally choose the default settings are OK. Until you create disk for Windows server 2012 R2, confirm all the settings you have set and click Finish to complete New Virtual Machine creation.
Part 2: Install Windows Server 2012 R2 Essentials
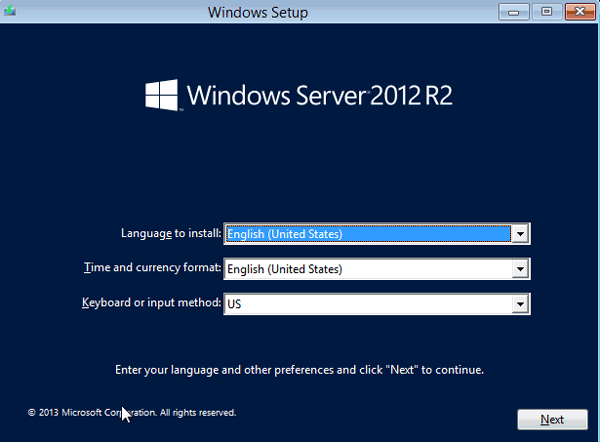
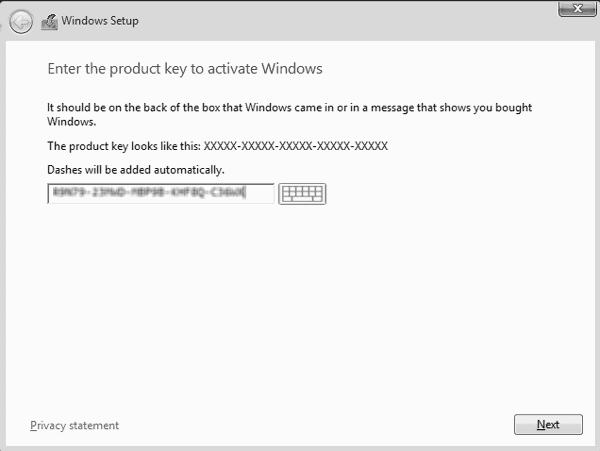
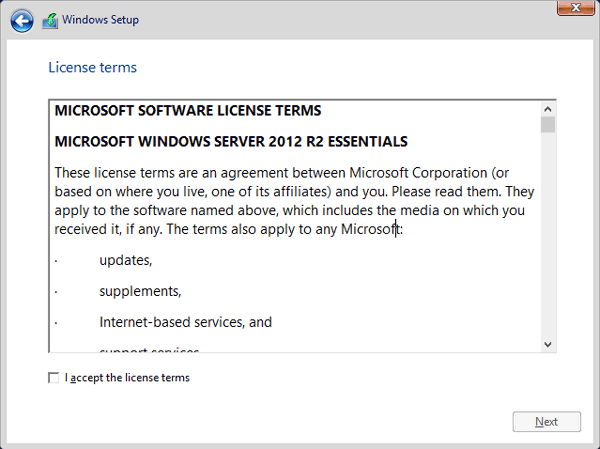
Windows server 2012 R2 Essentials ISO file runs in virtual machine; now prepare to install operational system – Windows server 2012 r2.
Step 1: Choose Windows operational system Language.
Step 4: Choose one type of installation you want:
Upgrade: Install Windows and keep files, settings, and applications.
Custom: Install Windows only (advanced)
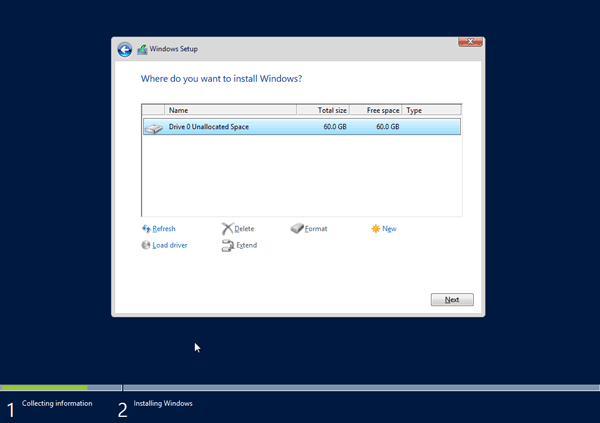
Step 5: Choose the disk where you want to install Windows operational system.
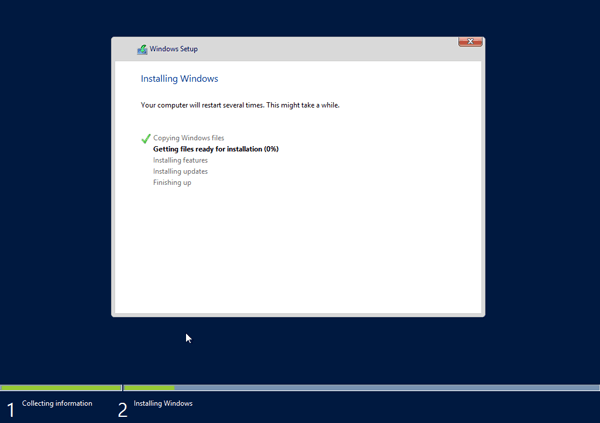
Step 6: Windows system program installs. Just wait for minutes to finish all operational system settings.
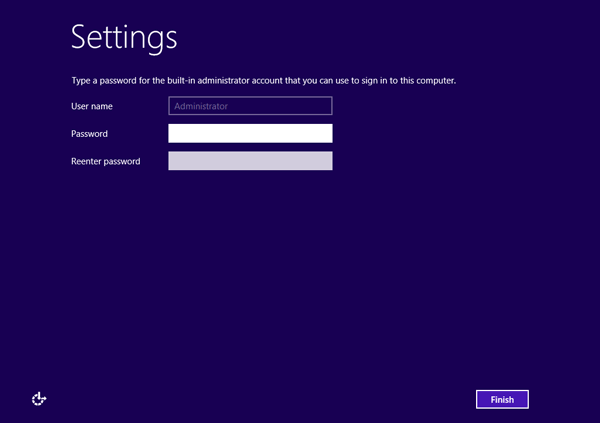
Step 7: After it completes installation, a window pops up and asks you to set password for built-in administrator. Type in password twice, and the password has to meet password complexity requirement set by administrator for network or group.
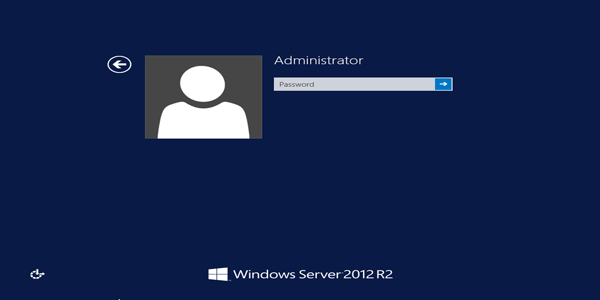
Step 8: Click "Finish" to restart Windows server 2012 R2. You are required to login into Windows with default administrator and password.
Now, you can set a new user name for this Administrator. If you want to keep Windows server running in safer environment, you could disable default administrator account and create a local administrator user account on Windows server 2012 R2.