We use cookies for personalizing content and ads and providing social media features. Your usage information on our website will be used for social media, advertising, and traffic analytics, or shared with our partners. Clicking "Accept" means you agree to use our cookies .
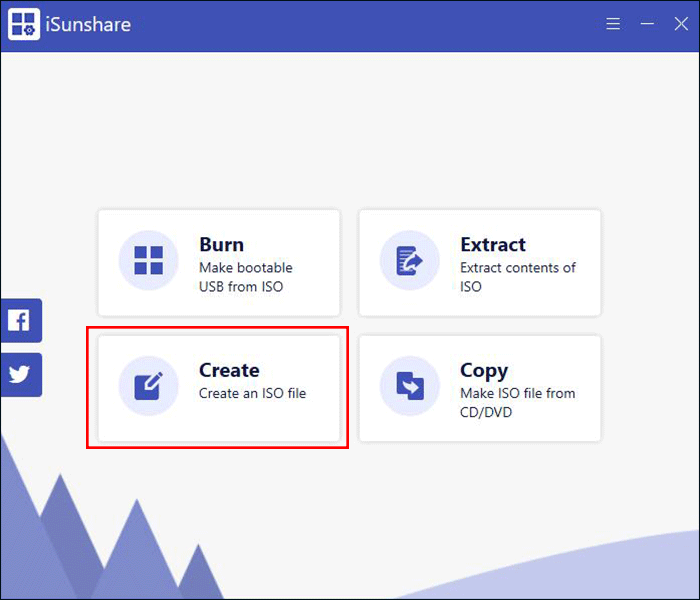
iSunshare ISO Genius is a completly free ISO image software that allows you to make a bootable USB drive from ISO image, create ISO files, extract contents of ISO, and make ISO from CD/DVD. Here are simple steps on how to use iSunshare ISO Genius:
To start with, you should download and install the free ISO software on your computer. Then launch it.
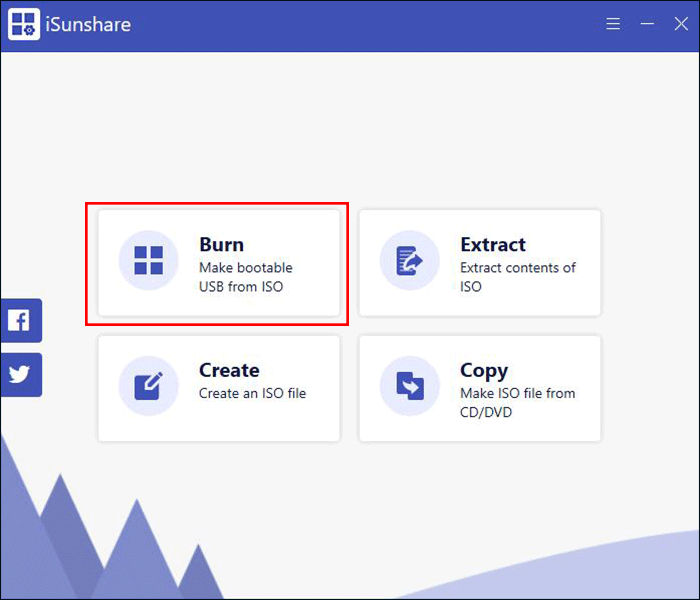
Step 1: After launching it,click on the Burn button.
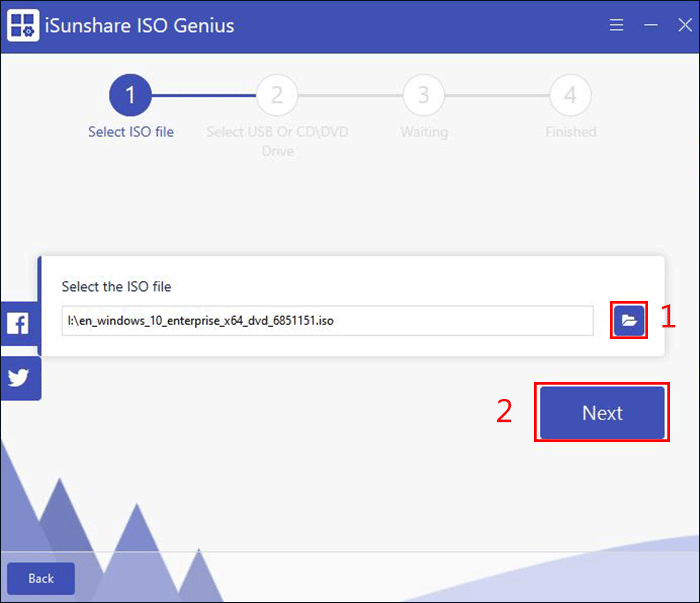
Step 2: Select the ISO image file you want to burn to your USB drive and click the Next button.
Step 3: To create a bootable USB, make sure you have plugged the USB drive into the computer, then select the USB drive and the partition style. After that, click on the Next button.
Step 4: Then there will appear a dialog box prompts you the USB will be completely formatted. Click Yes to continue.
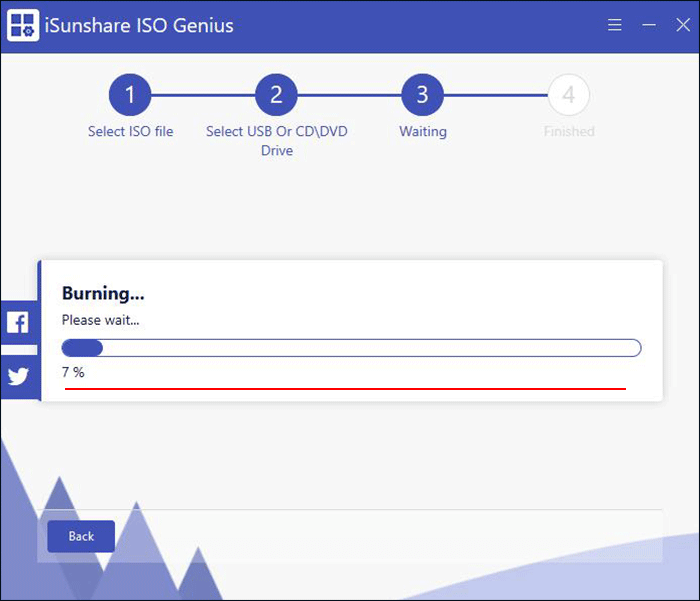
Step 5: After that, you need to wait for the burning ISO to the USB drive with patience.
Step 6: After a few moments, the ISO image will be successfully burned to the USB stick. Click Finished to complete.
2. How to Extract the Contents of ISO
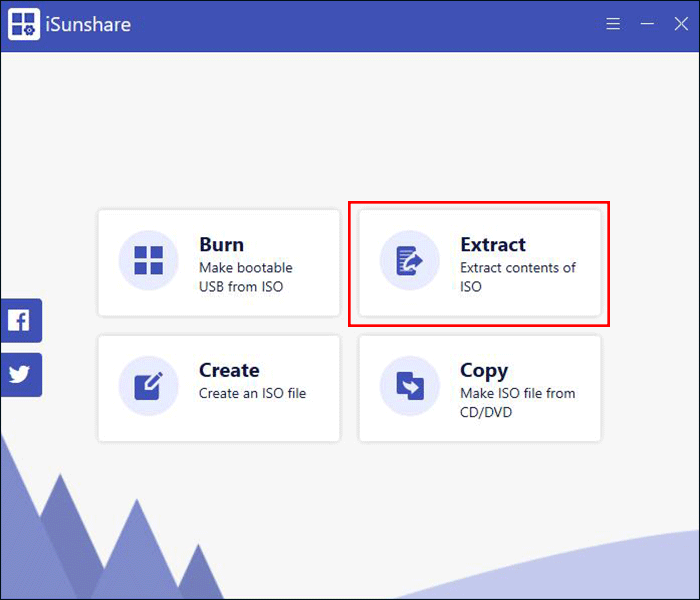
Step 1: After launching this program, click on the Extract button to start.
Step 2: Click the "Folder" icon to select the ISO image you wish to open and view the files or folders, then all the files and folders can be loaded into the program. Click on the Export button to continue.
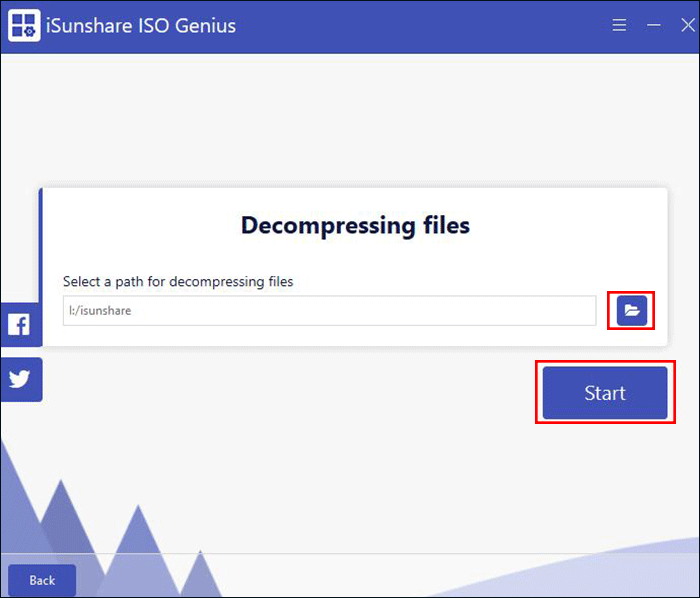
Step 3: Then you need to select a path for decompressing and click Start to start exporting files or folders.
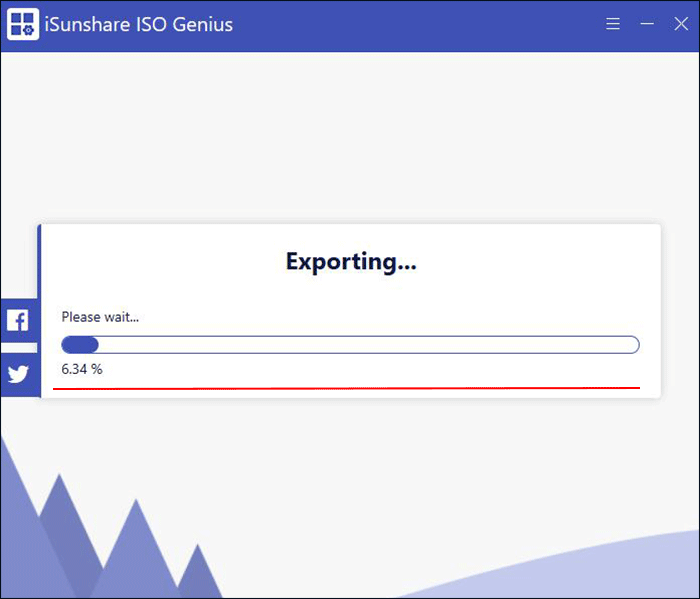
Step 4: After that, the next thing you have to do is wait for exporting.
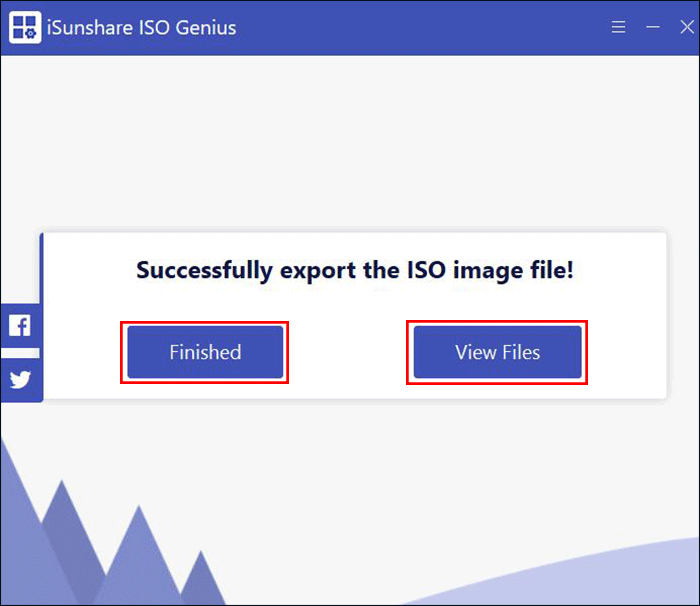
Step 4: Soon later, the ISO image file will be successfully exported. Here then are two options you can choose: Finished or View Files.
3. How to Create an ISO File
Step 1: After launching the program, click on the Create button.
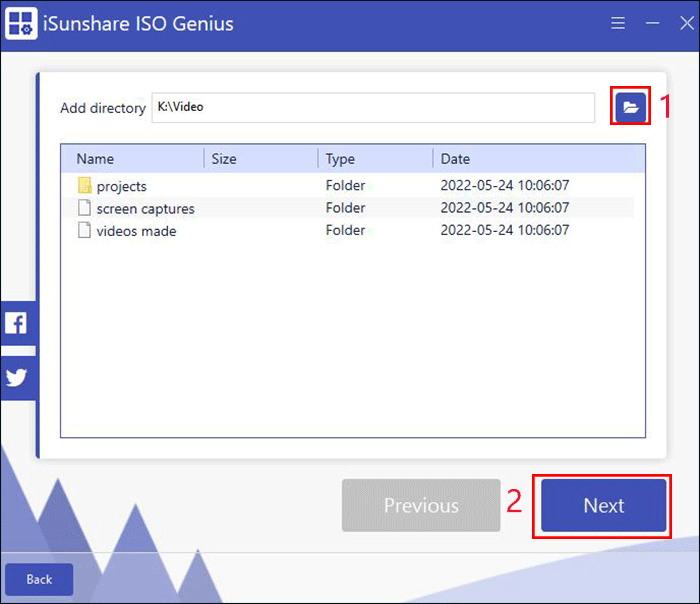
Step 2: Click the "Folder" icon to add files you want to compress to an ISO image. Then click the Next button at the right-bottom corner.
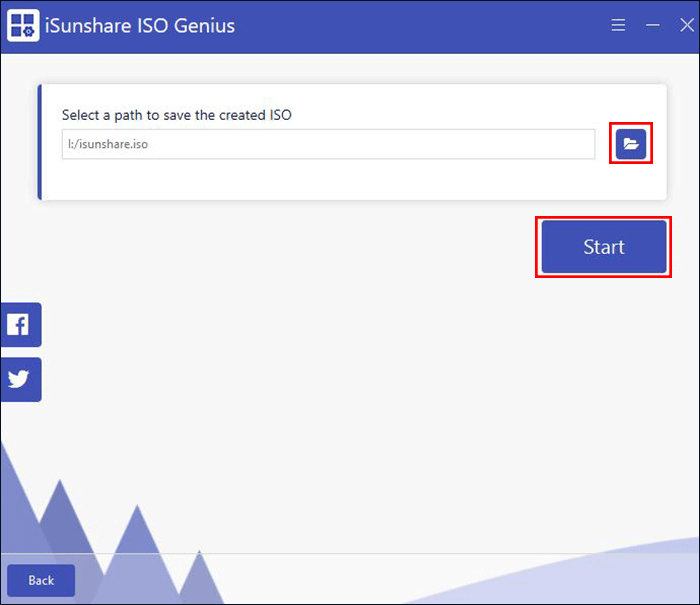
Step 3: After that, select the path to save the created ISO image and click on the Start button.
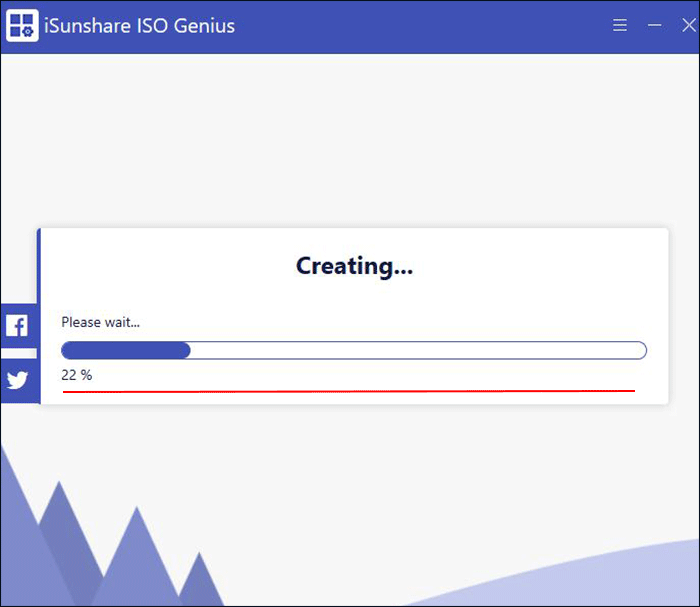
Step 4: In this step, you need to wait for creating ISO image file.
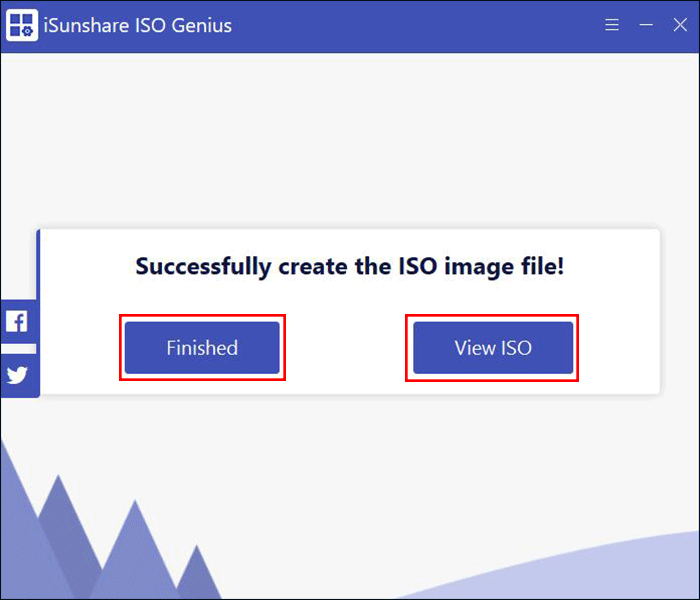
Step 5: In minutes, the ISO image file will be created successfully. At this time, you can directly click Finish to complete, or you can click the View ISO button to see the ISO image file.
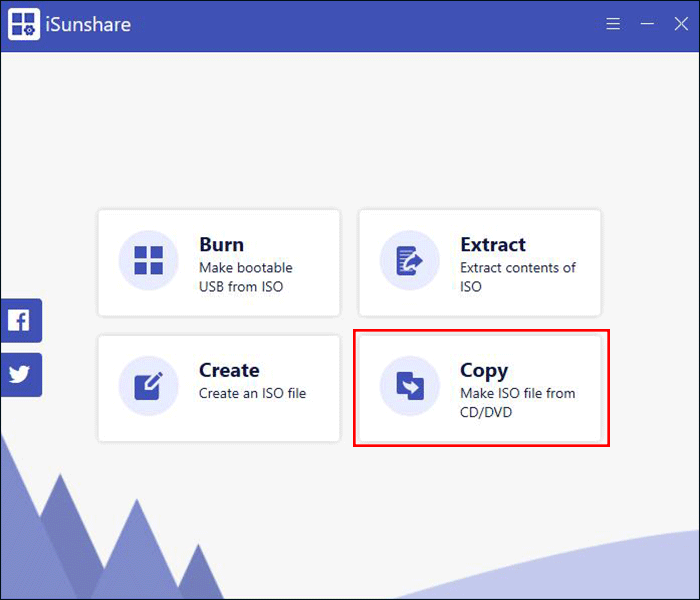
4. How to Make ISO File from CD/DVD
Step 1: After launching the program, click on the Copy button.
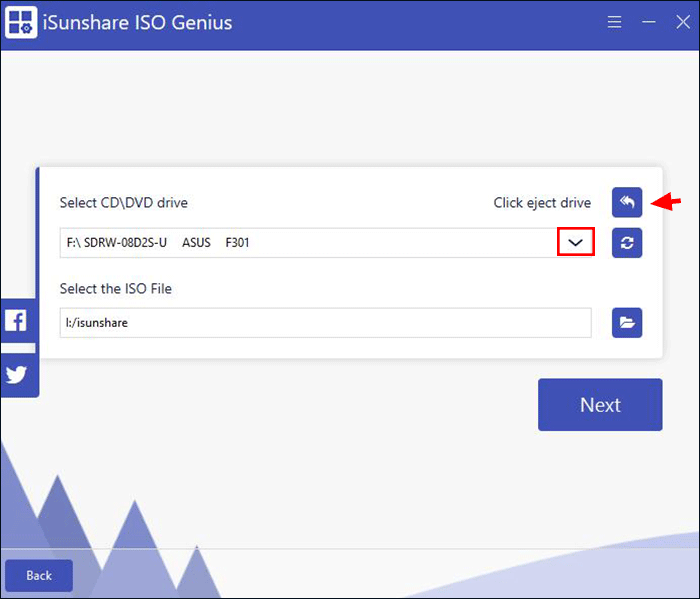
Step 2: Make sure you've got a CD or DVD into your computer case or an external CD/DVD ROM drive to put data on it. ISO Genius will automatically detect the CD/DVD drive. If needed, you can click the "Revert" icon at the top right corner to eject the drive to replace the CD or DVD disc.
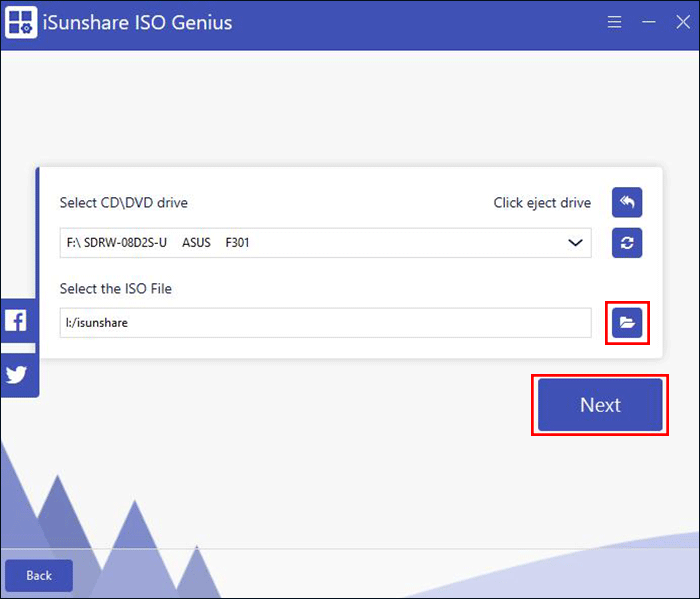
Step 3: Click the "Folder" icon to select a path to save the ISO image. Then, click Next to start converting the CD/DVD data to the ISO file.
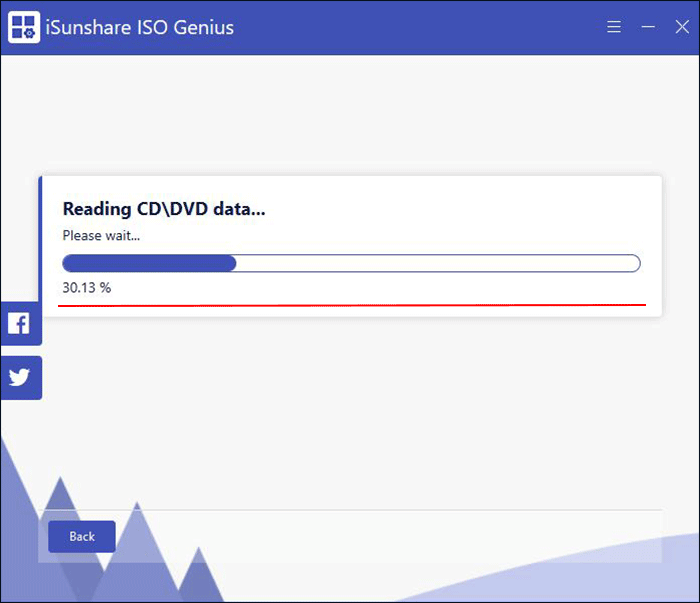
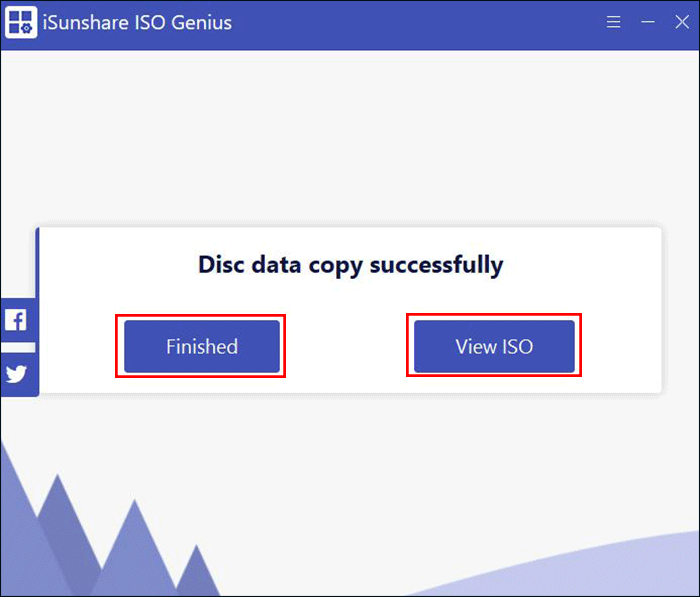
Step 4: It is very quick to read the CD or DVD data and then convert it to ISO image.
Step 5: After a few seconds, the creation of the ISO file from the CD or DVD is complete. Then you can finish all these steps, or you can view the ISO image right away.