We use cookies for personalizing content and ads and providing social media features. Your usage information on our website will be used for social media, advertising, and traffic analytics, or shared with our partners. Clicking "Accept" means you agree to use our cookies .
iSunshare System Genius is a professional and multifunctional cleanup tool which can efficiently clear junk files and invalid registry entries, release more system disk space with one click, change the default download path, and manage the startup programs as well as various system services for you. Now let's get started to learn how to use iSunshare System Genius.
Part 1: Clean Your Computer within Simple Clicks Quickly
To free up the space, the fastest way is to clean all scan results for your computer at once in System Genius interface. Now, follow the below steps to learn how easy the whole process is.
Of course, you need to download iSunshare System Genius and install it on your computer in advance.
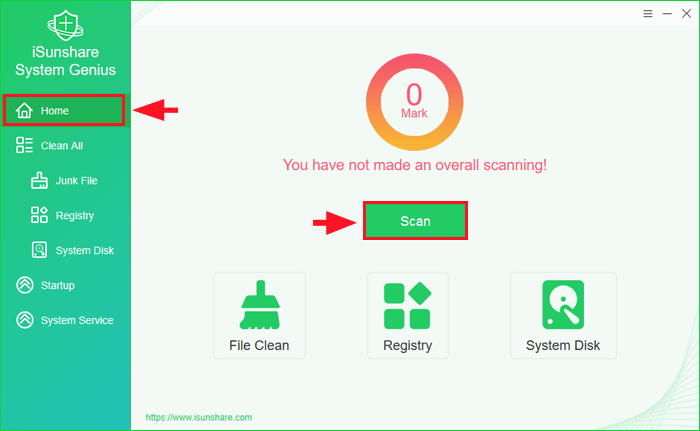
Step 1: Launch the software and you will come to the Home page. Click the Scan button at the center of the Home page to make an overall scanning for your computer.
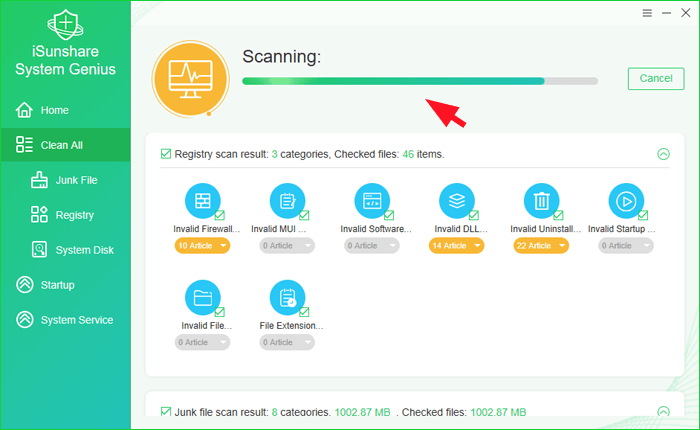
Then it will start scanning junk files and registries immediately for your computer.
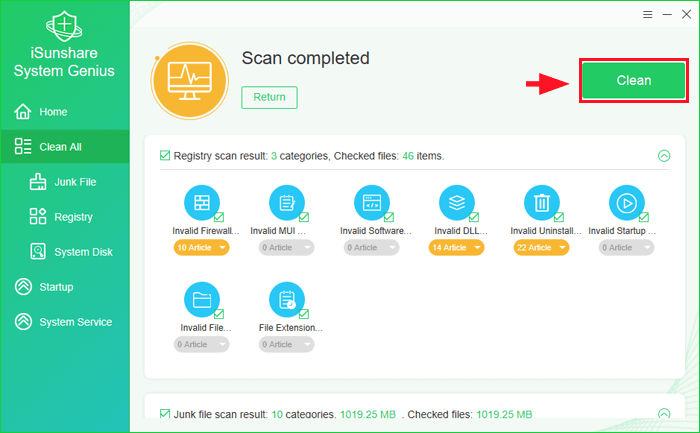
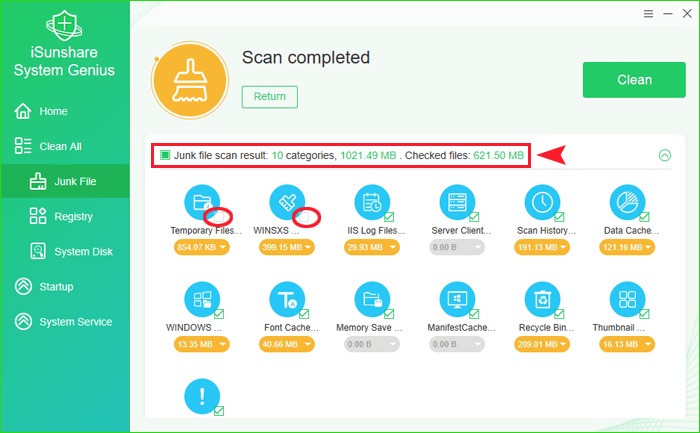
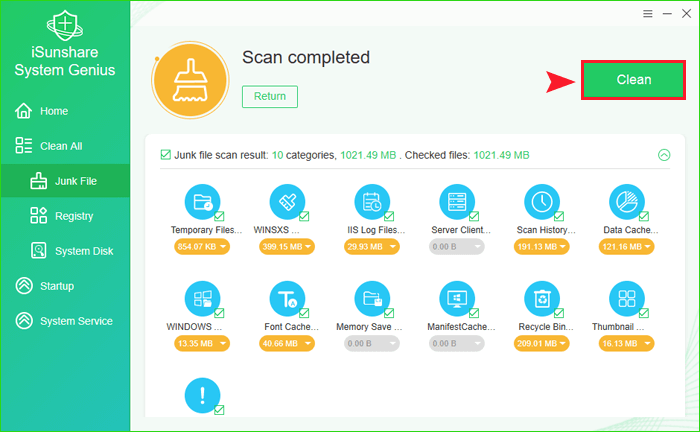
Step 2: A few seconds later, you will be prompted "Scan completed" and the scan results will be displayed on the screen. Click the Clean button at the top right of the interface. It will clean up all the selected scan results.
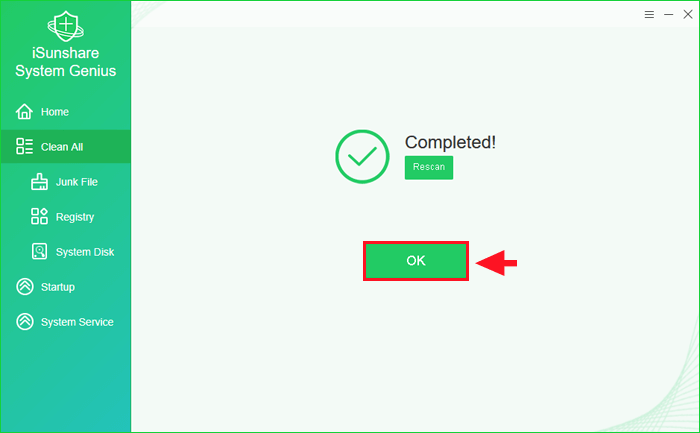
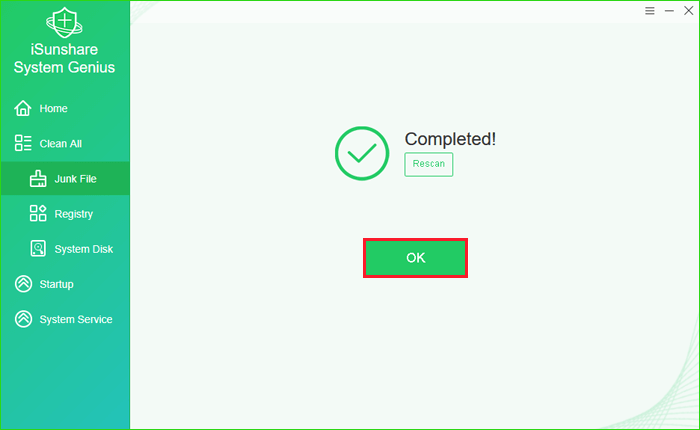
Step 3: Click the OK button to exit after the cleanup is completed.
Part 2: Clean Junk Files and Invalid Registries Separately
Of course, you can choose to clean junk files or invalid registry entries separately. It all depends on you.
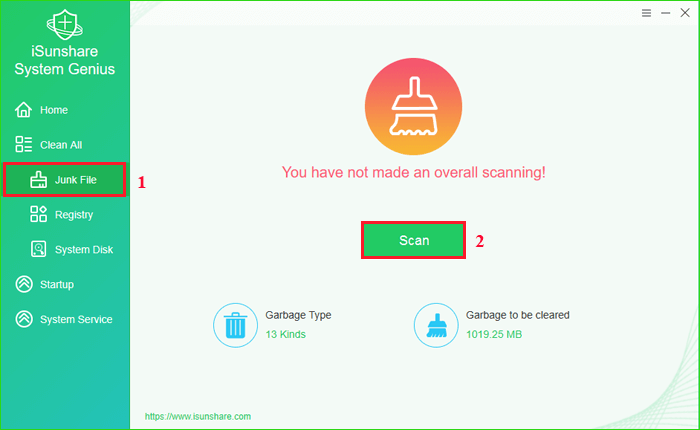
Step 1: Run iSunshare System Genius, select the feature of Junk File on the left panel, and then click the Scan button at the center of the interface to detect junk files from your computer.
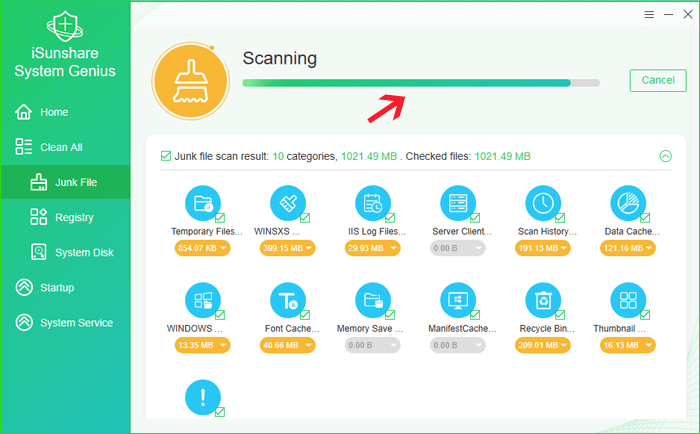
After you click the Scan button, it will start the process of scanning junk files at no time.
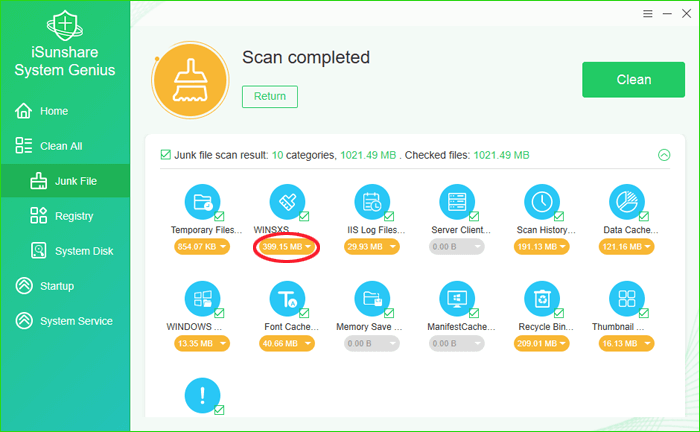
A list of categories of junk files will show up after the scanning is finished. On the scan results interface, you can click the icon of one particular category or the More button under it to expand the item details, from which you can get more useful information about this result.
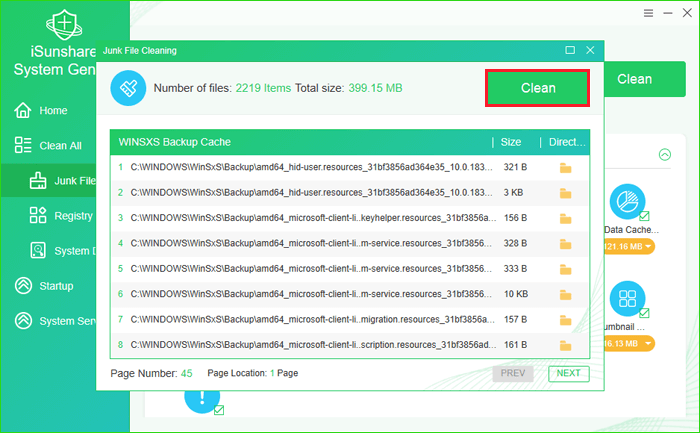
In the item details interface, you can click the icon of folder where the files exist to get the specific information. If you want to clear the files of this category, you can click the Clean button at the top right of this interface, which will help you clean up this sort of junk files separately. Then you can close it.
After that, you will be led to the scan result interface. As you can see, all the scan results are selected by default. If you don't want to delete some of them, you can uncheck the box next to the results.
Step 2: Click the Clean button at the top right of the interface of junk file scan results to clear all the selected junk files.
Step 3: Click OK to quit after junk files are cleaned completely.
2. How to Clean Up Invalid Registry Entries
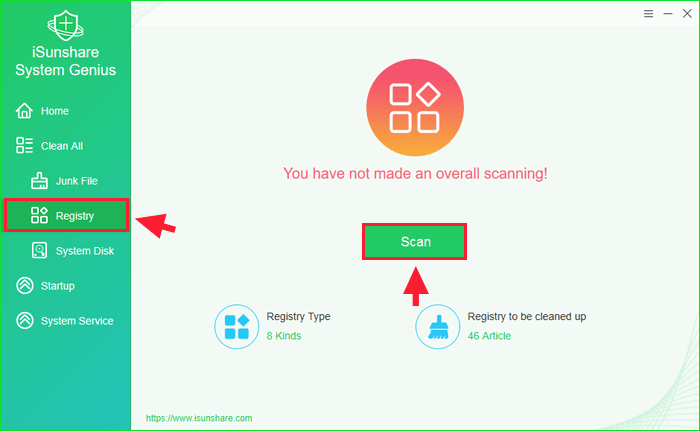
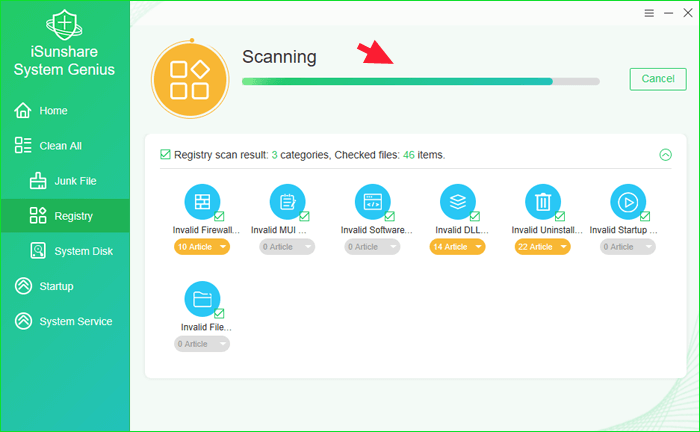
Step 1: Open the software, go to the Registry function at the left panel, and then click the Scan button to scan the invalid registries.
Then it will begin to scan registries for your computer.
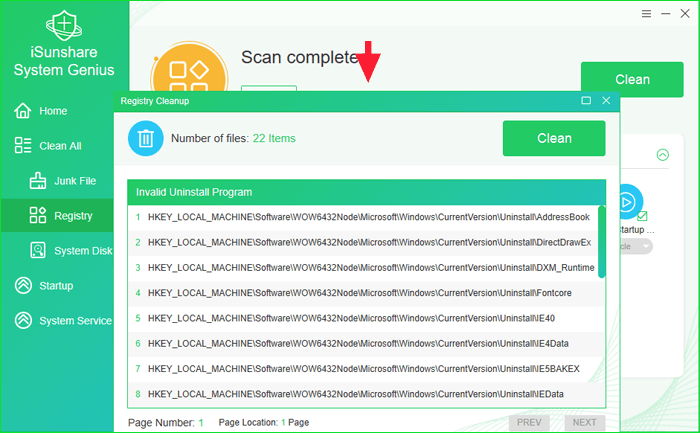
When the scanning process is finished, the result will appear. Similarly, you can check or uncheck the box next to each category to decide whether it needs to be deleted or not.
Like junk files, you can click the More button to expand the item detailed page and clean the files.
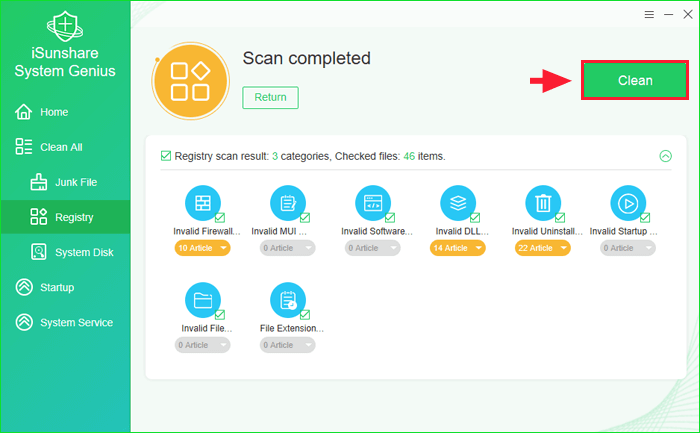
Step 2: Click the Clean button to clear all the selected registry files.
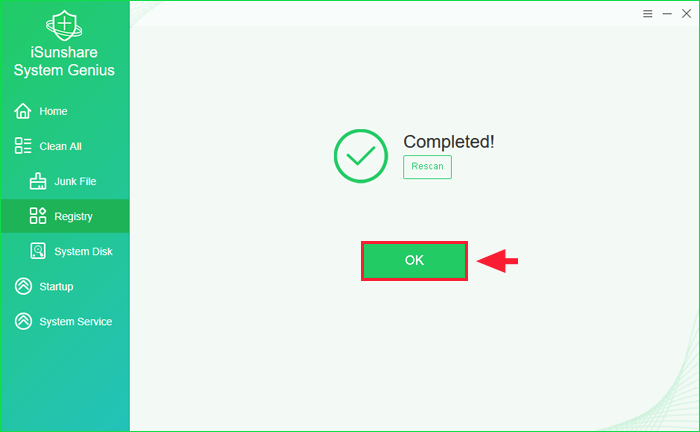
Step 3: Hit OK to complete.
Part 3: System Disk Cleanup and Downloads Transfer
You can easily free up system disk space with this function and make your Windows work faster.
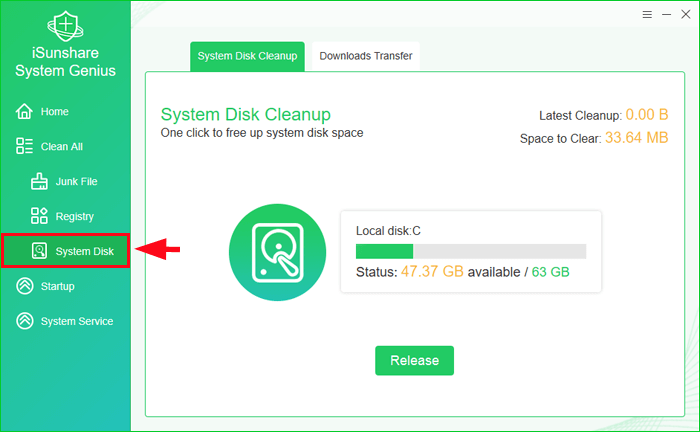
Step 1: Run the software and select the System Disk option on the left side bar. Then you will come to the System Disk Cleanup interface, where you can check the current status of your local disk and how much space you can release from your local disk.
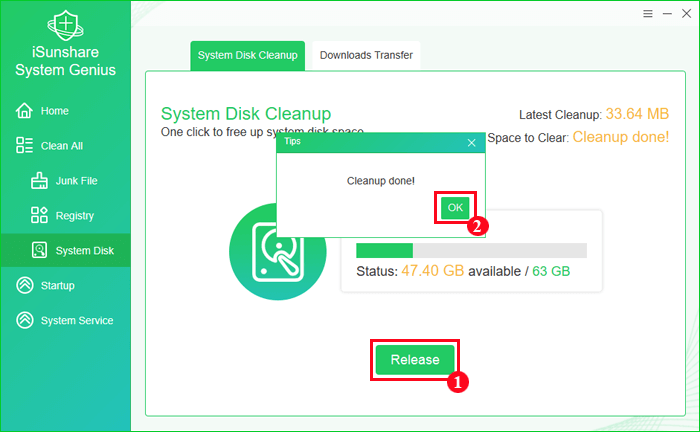
Step 2: Click the Release button at the lower part of the interface to do system disk cleanup. After the cleanup is done, tap OK to confirm.
2. Transfer Downloads to Another Location
The default download path is usually in the system disk (C drive). With this software, you change the default download path from system disk to another drive and move the downloaded files from the original path to the new path, with the purpose to reduce the occupied system disk space.
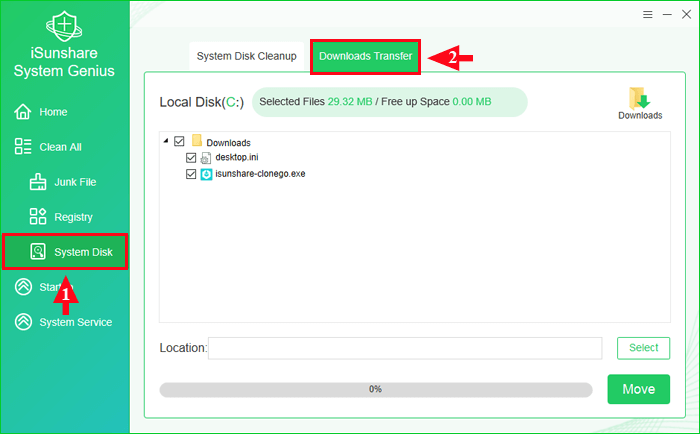
Step 1: Access System DiskDownloads Transfer to move on.
Notes:
All the downloaded files in the default download folders will be displayed on the interface. And all files are selected by default, but you can untick some of these files that you don't want move at your will. And the location of these unselected files will stay unchanged.
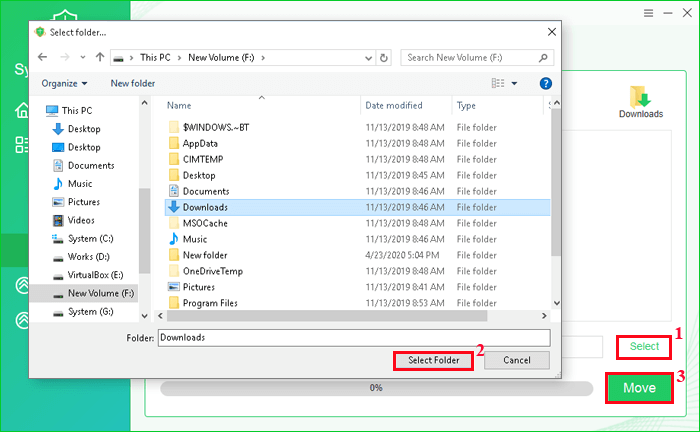
Step 2: Click the Select button to choose a new download path from another drive.
Step 3: Tab the Move button to migrate these selected downloaded files from the original download path to the new download path.
Part 4: Manage Auto-Starting Programs Conveniently
If there are a lot of programs starting themselves automatically along with the Windows startup, it will definitely slow down the Windows startup speed. Now, you can use iSunshare System Genius to manage programs which start themselves automatically when computer boots in order to make Windows boot faster.
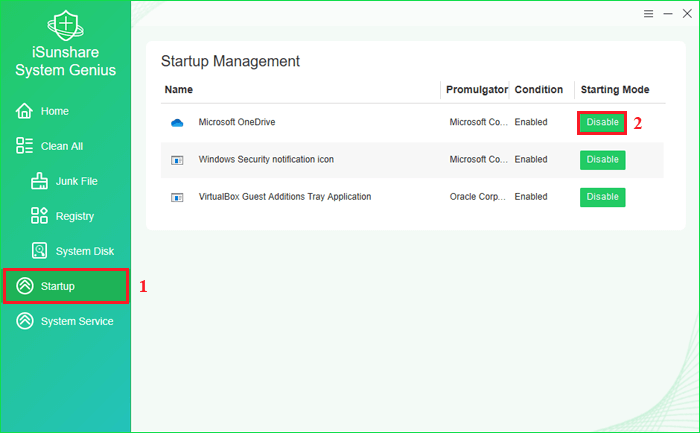
Step 1: Start the software and select the function of Startup.
Step 2: In the Startup item management interface, you can see all the programs that will start themselves automatically on Windows startup. Then you can click the Disable start button to disable the starting mode for unwanted programs.
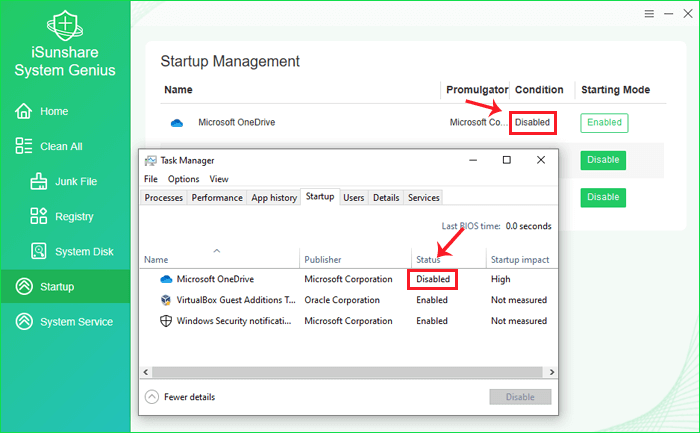
After you have set up this feature, you can go to Task Manager>Startup to check its setting status in Windows 10. Remember that you need to restart the Task Manager to get the latest results each time after any modification.
Step 3: Now you can close the software.
Notice:
If you want to restart its starting mode, click the button again. And then the starting mode of this program will be enabled successfully. For those programs with automatic protection function, although we have disabled their starting mode, they will set them back to the startup mode. The typical example is 360 Total Security.
Part 5: Manage Various System Services
In addition, iSunshare System Genius makes it easier for you to enable or disable system services on your computer so that you can boost the running speed of your system.
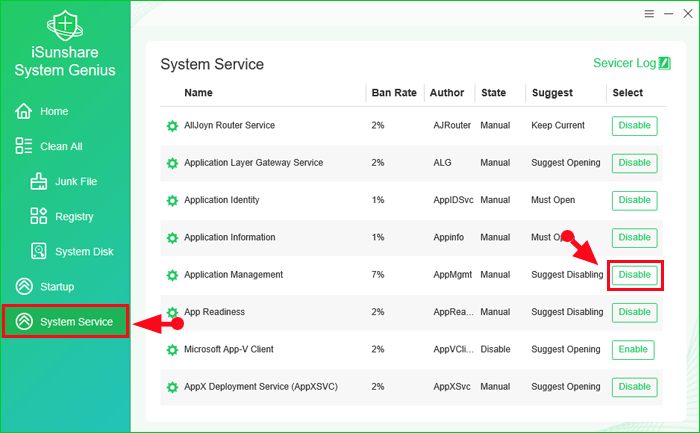
Step 1: Open the software and choose the function of System Service. On the right pane of the interface, you can see all the names of various system services and check their status.
Step 2: If you are going to turn off one system service, find its name and click the Disable button to do that. Each operation will be recorded and you can check the history operations through the Servicer Log.
Notes:
If you don't know whether you should enable or disable one particular service, you can move your attention to the Suggest column, where different suggestions are given to your target system services, such as Keep Current, Suggest opening, Suggest Disabling and Must Open. With this suggestion, you can definitely make a wise decision.
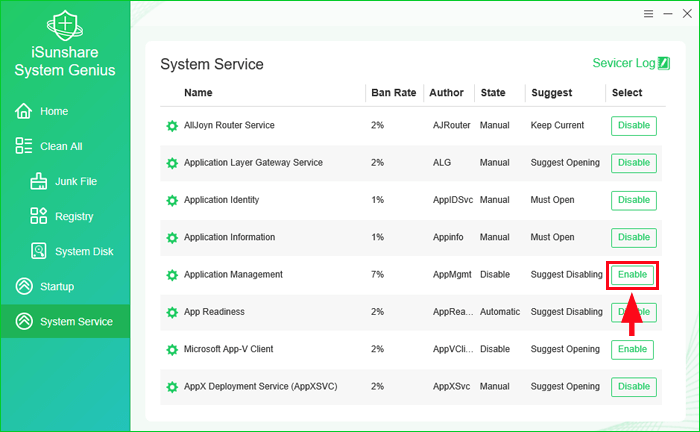
Step 3: If you want to restore the operation, you can click the Enable button to recover it.
Notes:
Doing operations to some crucial system services can sometimes lead to unpredictable consequences, or even cause the system to fail to operate normally. Therefore, you must think twice before you disable a service.
Now, you have a better understanding of iSunshare System Genius. Why not download the software to have a try now?