We use cookies for personalizing content and ads and providing social media features. Your usage information on our website will be used for social media, advertising, and traffic analytics, or shared with our partners. Clicking "Accept" means you agree to use our cookies .
How to Use iSunshare WinToGo Genius to Create Windows To Go Drive
Is it possible to access your PC from anywhere without taking the heavy PC all the time? Yes, you can create the Windows To Go drive for your PC and then run Windows from that drive on any Windows computer. In this way, you can login your PC no matter where you are. But Windows To Go Feature is only available on Windows 10/8 Enterprise edition. How to do when you are not in the right edition? Here iSunshare WinToGo Genius can help you to create the Windows To Go drive for any edition Windows 11/10/8/7 system.
Attention:
The process of creating Windows To Go drive will format the USB/portable hard disk. It is better to choose the new blank USB/ portable hard disk with high transmission speed.
1. Create Windows To Go Drive by Using Native System
iSunshare WinToGo Genius allows you to create the portable Window OS with the native system PE file. And two options are offered due to the different situations.
Tips: To make the Windows To Go drive successfully, you need to make sure that the USB drive/portable hard disk must be larger than the current system disk size.
Option 1—directly create the portable Windows OS with native PE file
This option can only apply to the situation that there is PE file on your computer. Otherwise, you can choose option 2 to create Windows To Go with native system.
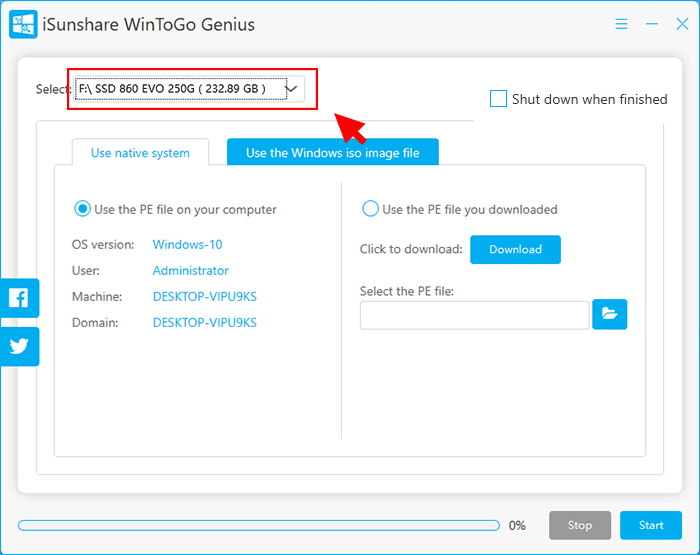
Step 1: Launch the software and plug the USB drive or portable hard drive into the computer. Here the portable hard disk is chosen. (You need the USB-to-SATA Adapter to build the connection between your portable hard disk and computer.) Then, select the device to create Windows To Go.
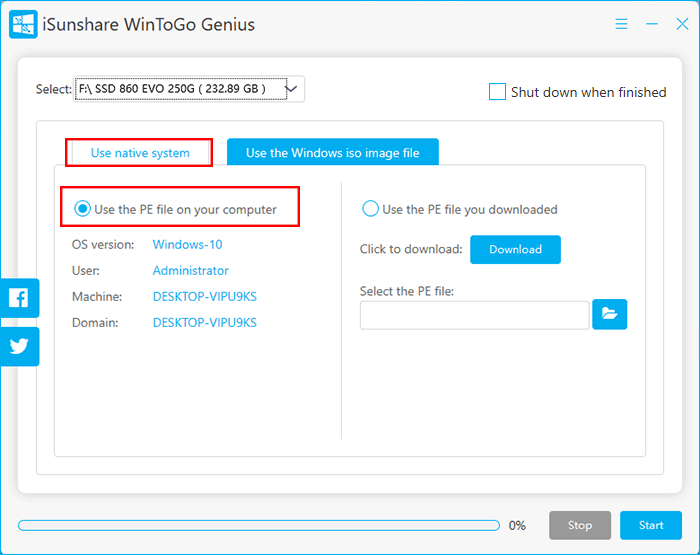
Step 2: Hit Use native system tab and then choose Use the PE file from your computer option. The software will automatically detect your OS version, User, Machine and Domain.
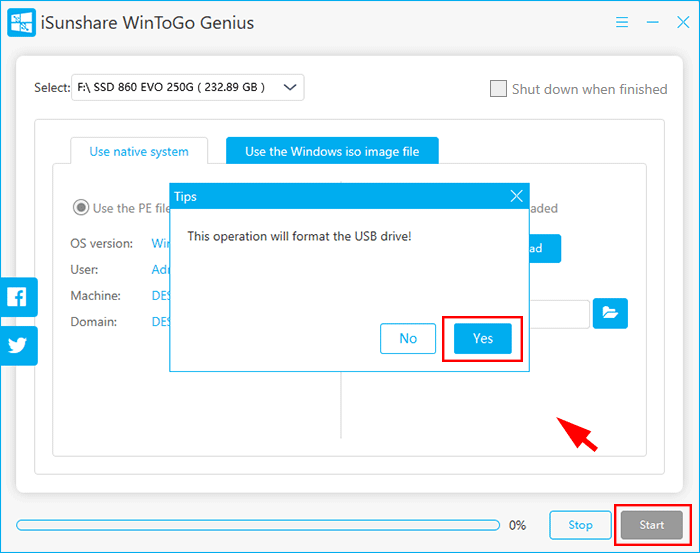
Step 3: Click the Start button and it will tell you that the operation will format the USB device. You can click Yes and then wait patiently until the process ends.
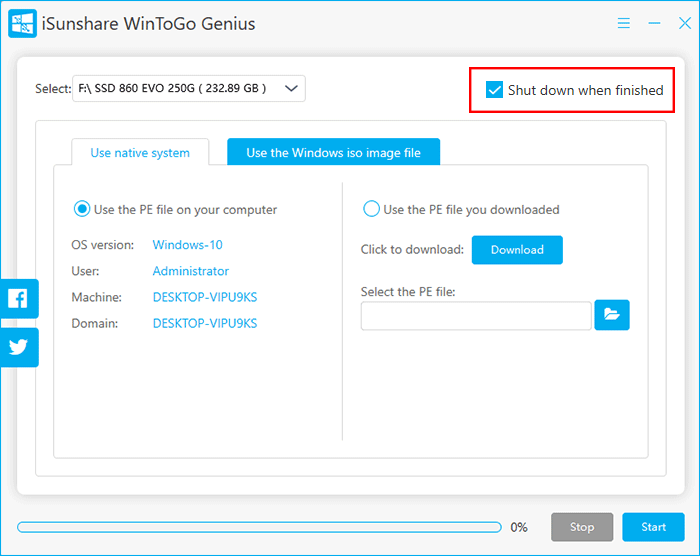
Tips: There is an option on the software top right corner—Shut down when finished. You can check the checkbox before starting the process if you have nothing to do with the computer.
Step 4: You will get the successful prompt soon. Click OK to end the process.
After that, you can shut down the software and restart the computer. When the Windows logo shows, you can press F12 or Del to enter the BIOS settings and set the computer boot from the USB device.
Minutes later, you can see iSunshare WinToGo Genius is running. And you need to do nothing during this process.
When this process ends and you get the successful Tips box, you can plug out the USB or portable hard drive. And the Windows To Go drive is made successfully. Now you are able to run Windows 11/10/8/7 from USB on any Windows computer.
Option 2—download PE file immediately to create portable Windows OS
When there is no PE file in your computer, you can download one instantly to create Windows To Go USB.
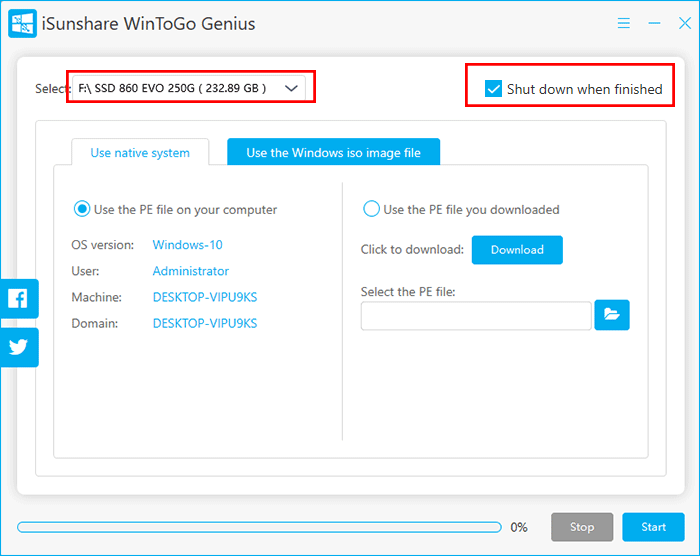
Step 1: Open the software and then choose the drive from the drop-down menu to create portable Windows. Besides, you can set the computer to shut down when the PE is finished burning into the USB by checking the box behind Select field.
Step 2: Click Use native system tab and then choose Use the PE file you downloaded. Hit the Download button and then downloading is in progress.
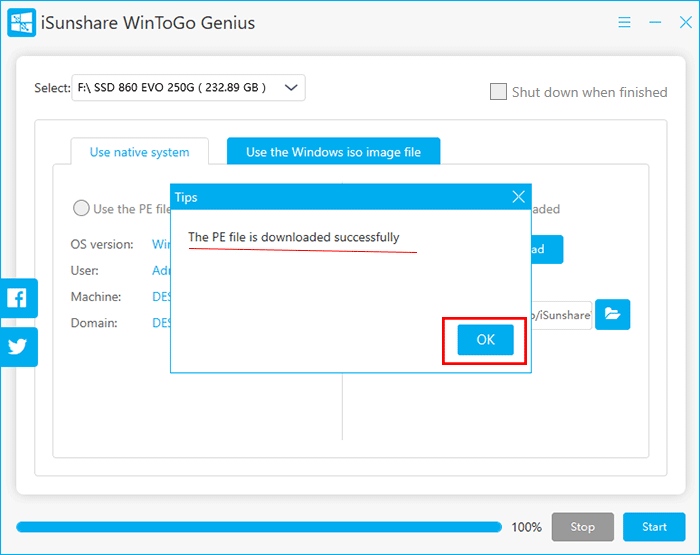
Step 3: When the downloading process ends, you can get the prompt with the message "The PE file is downloaded successfully". At this time, click the OK button.
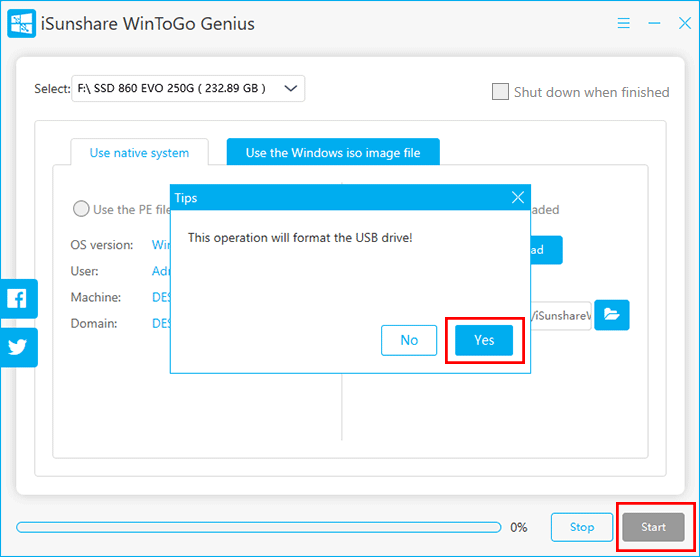
Step 4: The software will detect your downloaded PE file and select it automatically. Now, you can click the Start button and then the Yes button in the prompt to burn PE file into the USB drive.
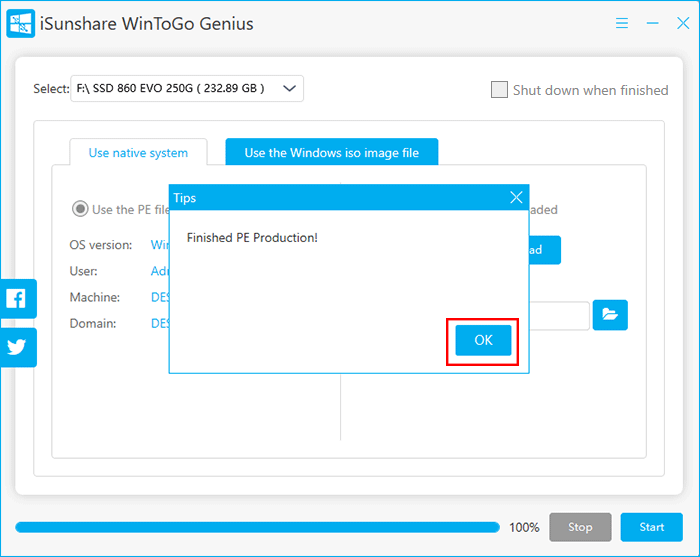
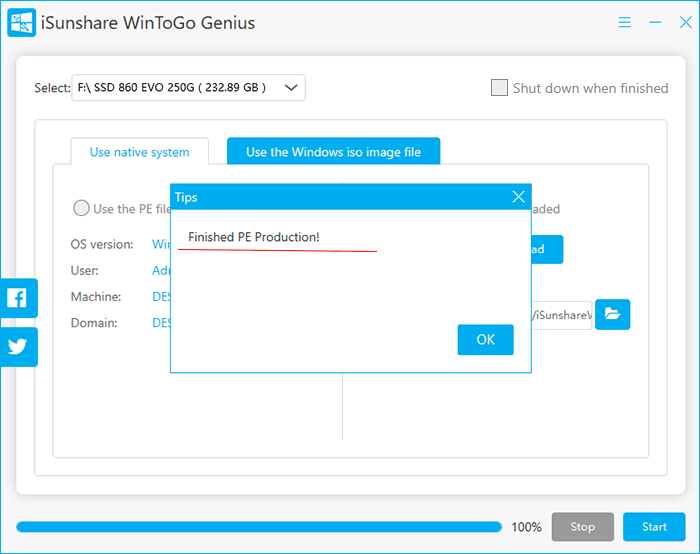
Soon you will get the Finished PE Production prompt. After that, you can restart the computer and then set the computer to boot from the USB. And then let the software to run automatically to create the portable Windows. It is much more convenient for you to reach your own Windows environment and work in it no matter where you are with this portable Windows.
2. Create Windows To Go Drive by Using Windows ISO Image File
If there is a Windows 11/10/8/7 installation ISO/WIM/ESD image file on your computer, you can take advantage of it to create the portable Windows on USB. Then you can take this portable Windows to anywhere and run it on any Windows computer.
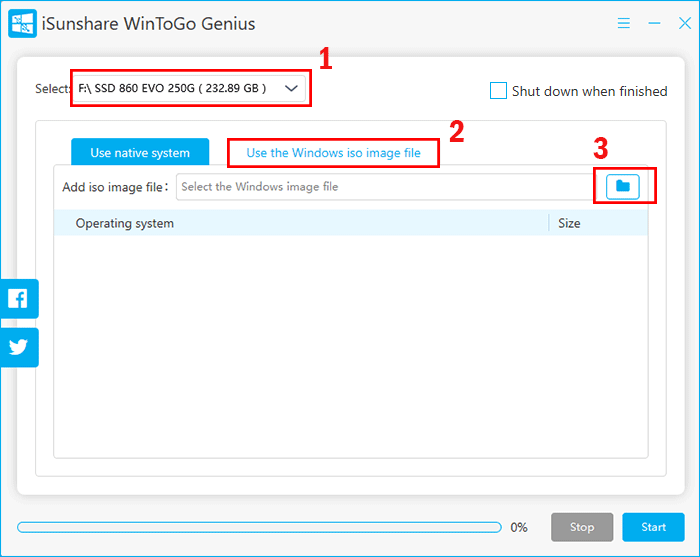
Step 1: Run the software and then select your destination USB device.
Step 2: Click Use the Windows iso image file tab and then select an image file from your computer.
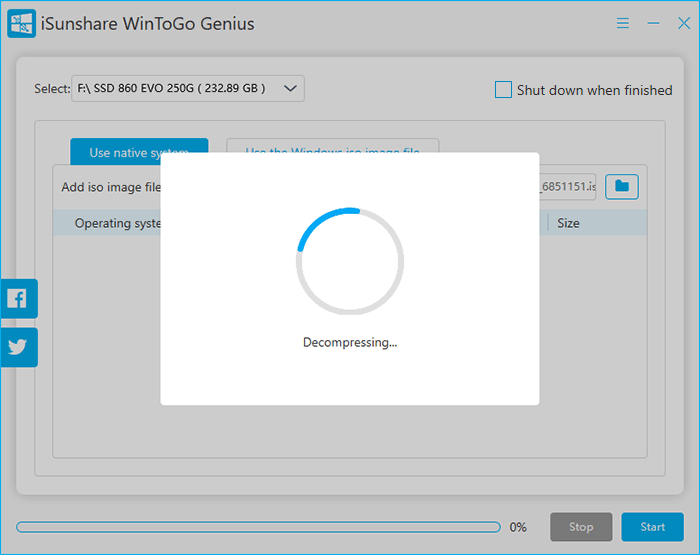
Step 3: After the image file is added, this app will automatically decompress the system version from the firmware and then loads it in the software interface.
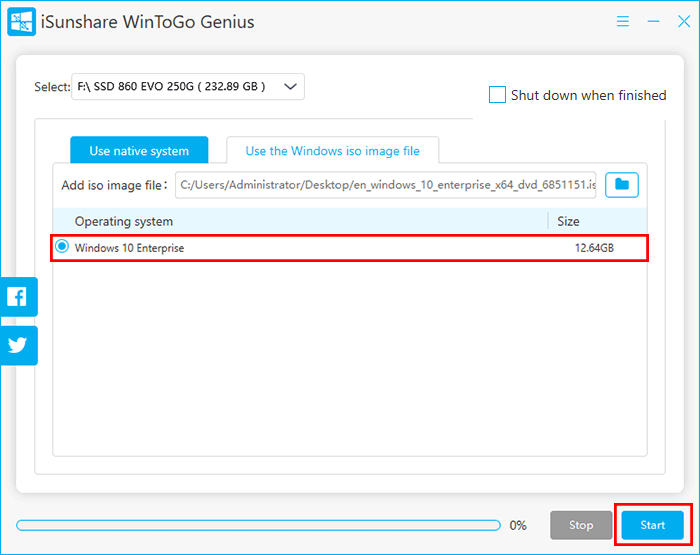
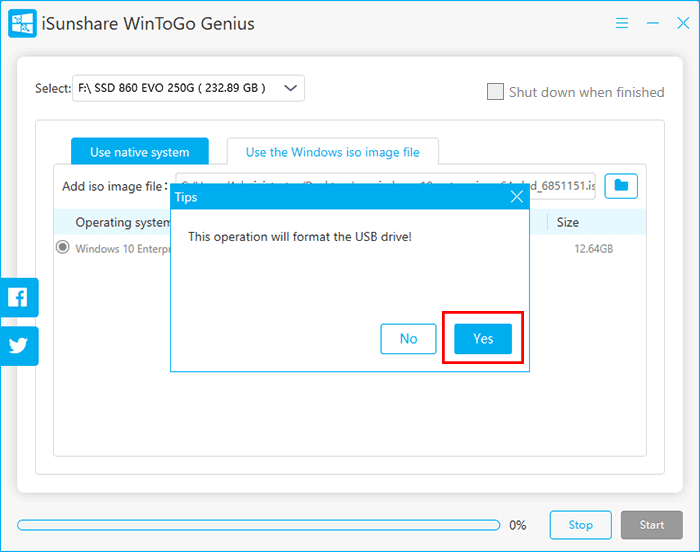
Step 4: Select operating system and then click the Start button.
When it pops out the formatting prompt, you can click the Yes button without hesitation.
Step 5:When this process ends, the portable Windows is installed on the USB drive. You can boot any Windows computer from the USB and then run the clean Windows OS.