We use cookies for personalizing content and ads and providing social media features. Your usage information on our website will be used for social media, advertising, and traffic analytics, or shared with our partners. Clicking "Accept" means you agree to use our cookies .
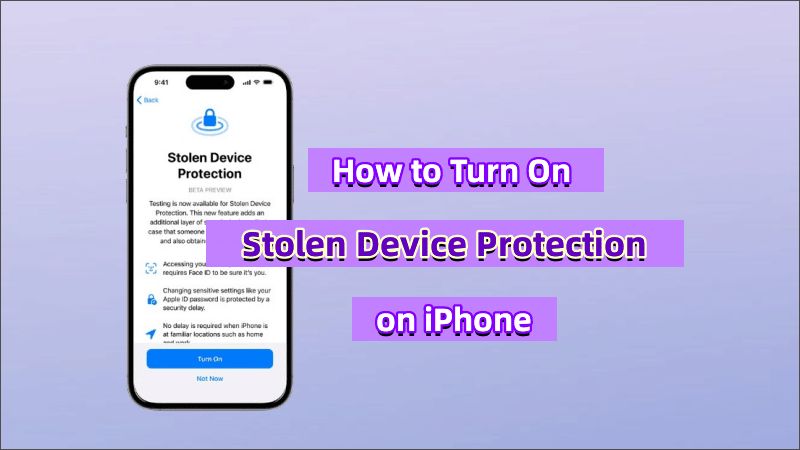
The daily use of cell phones has become indispensable, however, the risk of losing or having a phone stolen is also increasing, causing considerable loss and trouble for users. To solve the problem of user privacy and data security, Apple brings a powerful feature in iOS 17.3 - "Stolen Device Protection".
In this article, we will introduce "Stolen Device Protection" and how it works, and guide you how to turn on the feature on your iPhone.
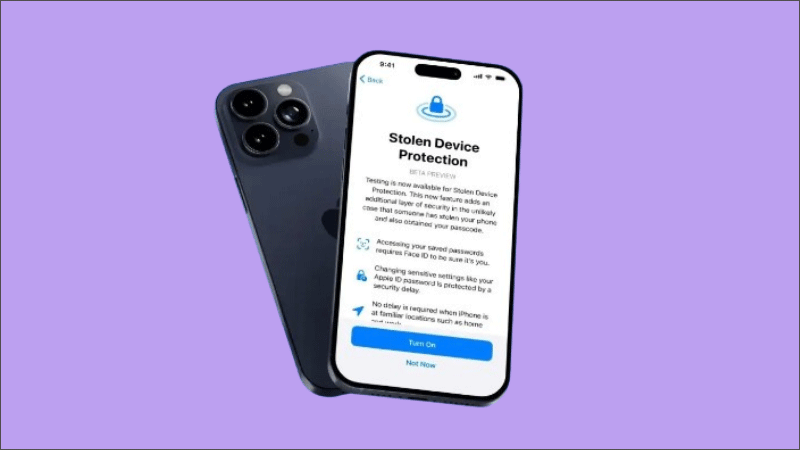
Stolen Device Protection is a free security feature provided by Apple for iOS users that helps users add additional security authentication if their device is stolen or lost to prevent thieves or other attackers from using the user's password to access or modify the user's important files and financial information, including:
- Password in iCloud keychain.
- Lost Mode settings.
- Erase device option.
- Making purchases in the Safari browser.
- Viewing Apple Card or requesting a new one.
- Change your Apple ID password, and more.
The purpose of Stolen Device Protection is to allow users to keep their data and property as safe as possible if their device is stolen or lost, as well as to prevent the device from being used or sold by others. This feature does not affect the user's normal use of the device and is only activated when the user needs to change security settings.
How Does Stolen Device Protection Work
With Stolen Device Protection enabled, when the iPhone is away from a trusted location (i.e., the location where you regularly use the device), such as home, office, etc., there are additional requirements and operations if you need to modify the security settings. Users are required to perform the following two types of verification:
1. Biometric authentication: Users need to use Face ID or Touch ID to authenticate themselves as the owner before they can access or modify security settings. This makes theft more difficult as even if a thief has the user's password, they will not be able to replicate the owner's biometric profile.
2. One-hour security delay: If a user wants to try to change key security settings in an unfamiliar location, such as logging out of their Apple ID, removing their iPhone passcode, or turning off "Find My", they will have to wait for an hour and be biometrically verified again. This setting is designed to give users enough time to activate the device's lost mode and secure their accounts.
How to Enable Stolen Device Protection on iPhone
Currently, Apple has only introduced Stolen Device Protection in iOS 17.3 and newer, so you need to have upgraded your device to iOS 17.3 and have Face ID or Touch ID enabled to enable this feature on your iPhone, you'll need to have your device upgraded to iOS 17.3 and have Face ID or Touch ID enabled. Also, it does not apply to iPad devices. Here are the detailed steps to set it up:
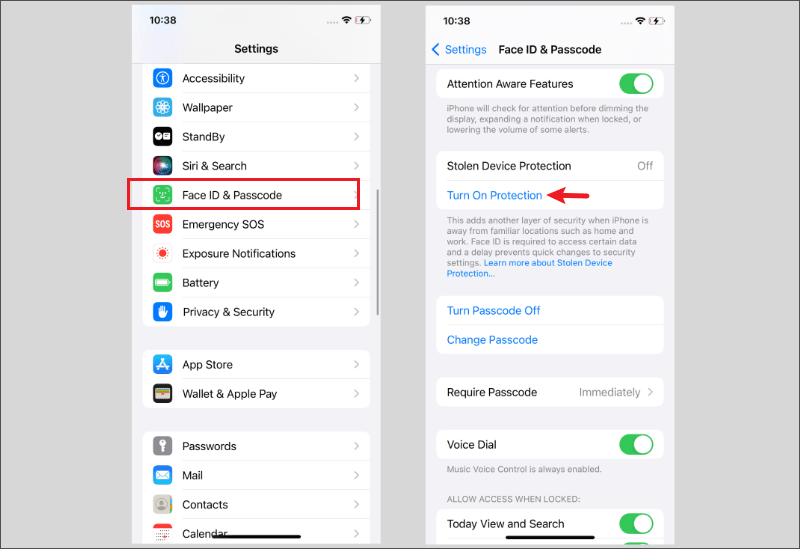
Step 1: Open the "Settings" app on your iPhone, scroll down, and tap "Face ID & Passcode" (or "Touch ID & Passcode"), depending on the iPhone model.
Step 2: Enter your iPhone's unlock code at the prompt.
Step 3: Locate the "Turn on Protection" button and click on it to activate "Stolen Device Protection".
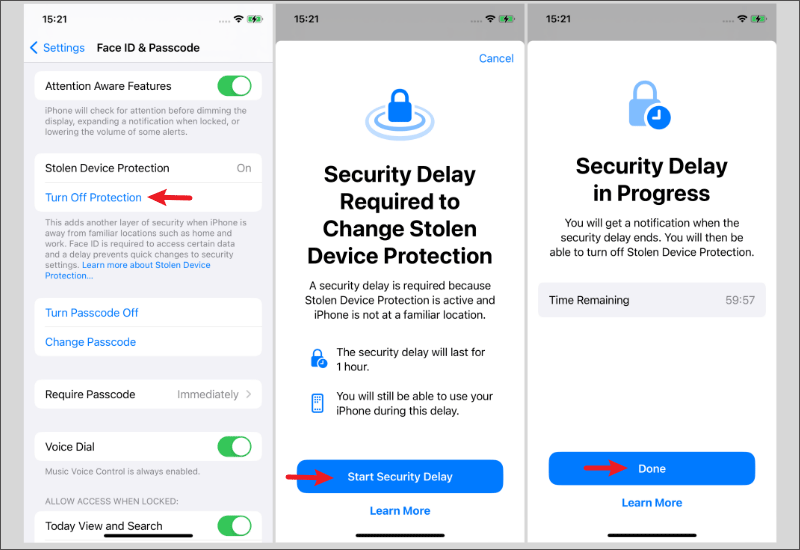
Step 4 (Optional): You can easily disable this feature by clicking on "Turn off Protection", but you will need to authenticate yourself biometrically and wait for an hour before doing so.
How to Turn off Stolen Device Protection without Face ID
You may not be able to disable the Stolen Device Protection if the Face ID not working or without the Face ID. So how can you resolve the issue? Don't worry, iSunshare iPhone Passcode Genius can help turn off Stolen Device Protection without Face ID or Touch ID. This professional iPhone unlocker can fix all kinds of iPhone lock issues, such as iPhone unavailable and security lockout. Before we go ahead, backup your iPhone to external hard drive or the computer in advance.
Step 1: Launch iSunshare iPhone Passcode Genius on your computer and connect the iPhone to your computer. On the software home page, choose "Unlock Lock Screen" to proceed.
Step 2: Click the Start and then the Next button to load your iPhone details.
Step 3: After your iPhone is detected, hit the Download button to download a firmware.
Step 4: Now it says the firmware is verified success. You can click the Unlock button to reset iPhone.
The process will begin at once. Finally, you can set up the iPhone as new and configurate a new Face ID to prevent unauthorized access.
Conclusion
The introduction of Stolen Device Protection provides iOS users an extra layer of security, making it harder for thieves to access password-protected data on a stolen iPhone. This article shares details on how to turn on or off Stolen Device Protection on your iPhone. You can have a try now!