We use cookies for personalizing content and ads and providing social media features. Your usage information on our website will be used for social media, advertising, and traffic analytics, or shared with our partners. Clicking "Accept" means you agree to use our cookies .
In order to guarantee successfully connecting to SQL Server or instance specified, you should check whether SQL Server has been added to allowed programs and features in Windows Firewall. If not, please follow this article to configure Windows Firewall to allow SQL Server access or connections.
Steps to allow SQL Server to Communicate through Windows Firewall
All following settings could be finished in Control Panel in computer. After allowing SQL Server to communicate through Windows Firewall, Windows Firewall will allow SQL Server access.
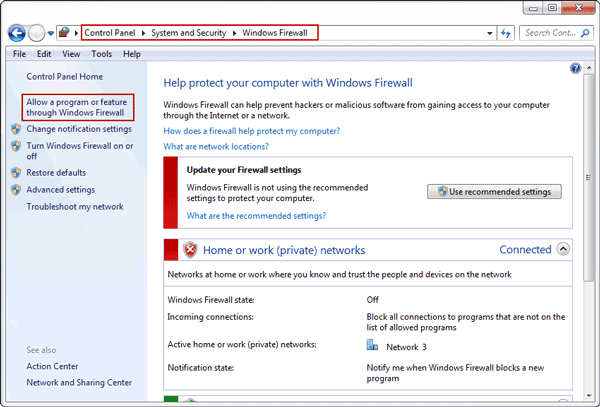
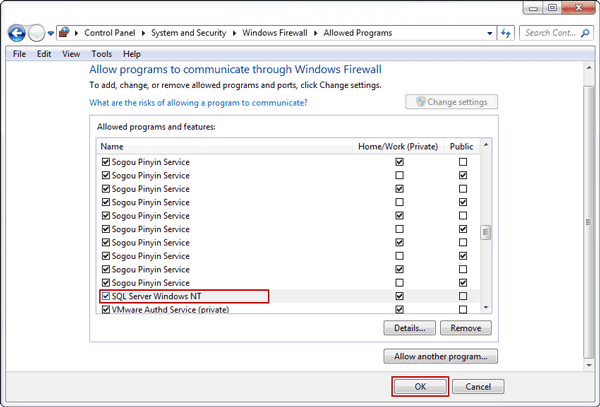
Step 1: Open Control Panel and navigate to Control Panel System and Security Windows Firewall. Click "Allow a program or feature through Windows Firewall" in the left pane.
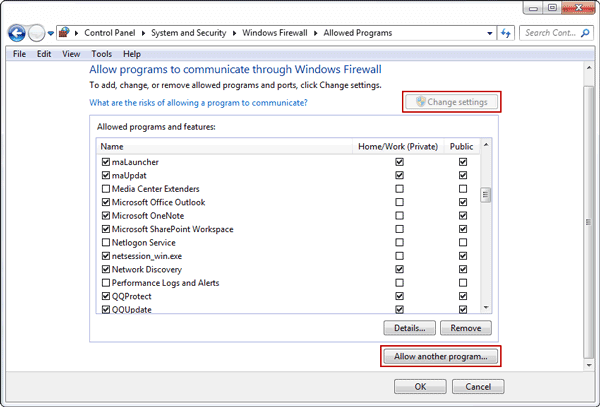
Step 2: Click Allow another program at the bottom side of window.
Tips: If "Allow another program" is not available, tap Change settings first, then you would find "Allow another program" become valid.
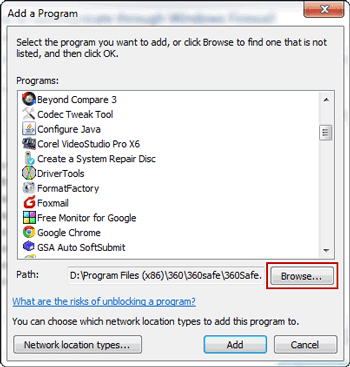
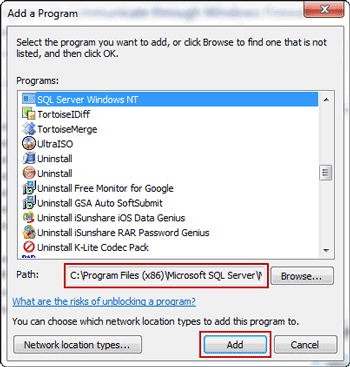
Step 3: In Add a Program window, click Browse button next to Path input box.
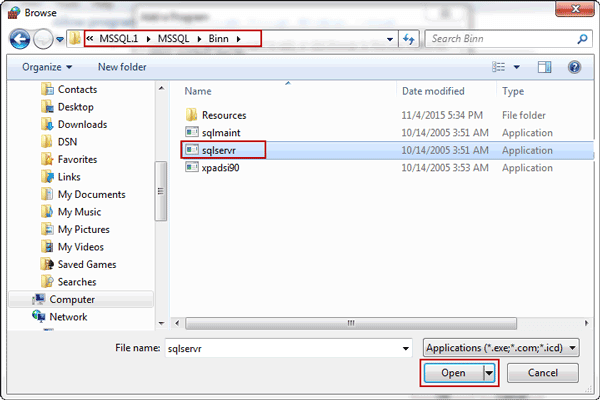
Step 4: Locate to sqlservr.exe in pop-up window. Select sqlservr.exe and click Open button.
Tips: sqlservr.exe usually located in this folder: