Many users may find that Windows Explorer is using high CPU. And their computer runs slower and slower, their applications and programs in it also become sluggish. So in this post, we will walk you through how to fix Windows Explorer using a high CPU. With these six ways, you can solve the problem in Windows 10.
Way 1. Close all unnecessary programs that occupy high CPU
Running too many programs in the background can easily lead to high CPU usage. So, before addressing the problem of Windows Explorer using too much CPU, check if programs are causing that problem. Follow the step below to close programs occupying too much CPU.
Step 1. Right-click the Windows icon and choose the "Task Manager".
Step 2. On the "Processes" tab, you can see those programs or apps which occupy too much CPU. Right-click the application, and choose End task.
Way 2. Delete temporary files via Disk cleanup
If Windows Explorer uses high CPU usage, old and temporary files might be the reason. One way to delete temporary files without software is to use Disk Cleanup. Follow this procedure to run the Disk Cleanup.
Step 1. Press the Windows key, type the "disk cleanup" and double-click the result to open it.
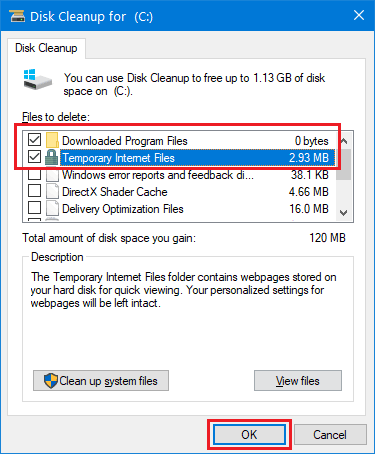
Step 2. Choose a disk. On the pop-up windows named "Disk Cleanup", check the file type you want to delete. Like Temporary files, thumbnails, downloaded program files, etc.
Step 3. Click the "OK" button.
Way 3. Restart the Windows Management Service
Sometimes CPU usage can be improved by restarting the Windows Management Service. You can restart the Windows Management Service in the ways below.
Step 1. Press the Windows key + R to open the Run dialog box.
Step 2. Type services.msc and hit "Enter".
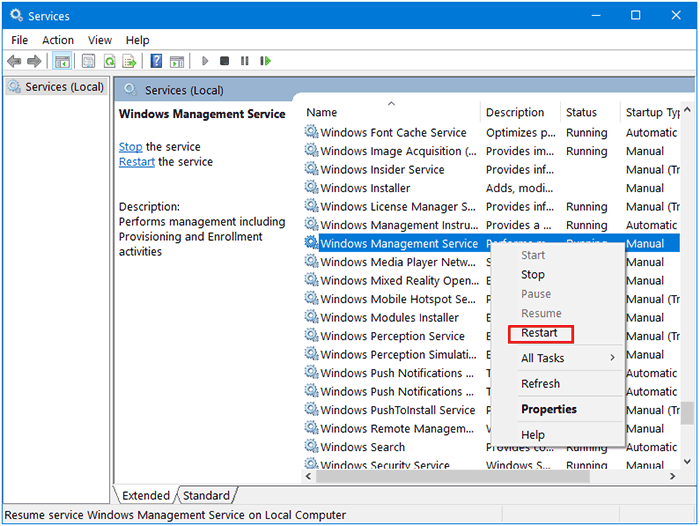
Step 3. Find the Windows Management Service, right-click it, and then choose Restart.
Way 4. Create a new Windows user account
In the process of using the computer, some files or programs may go wrong because of the wrong operation. This error is the most likely cause of Windows Explorer using too much CPU. At this time, we can create a user account to avoid the error in the existing account, and solve the problem of Windows Explorer using too much CPU. Check how to create a new Windows user account.
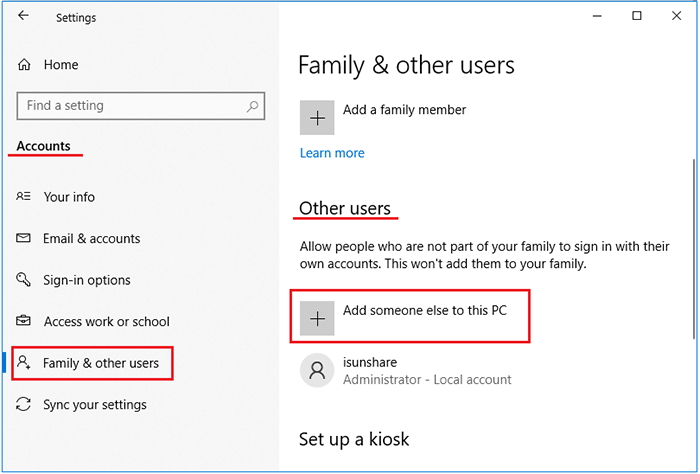
Step 1. Open the Start menu on the desktop, and then choose "Settings". In the Windows Settings, click "Accounts".
Step 2. Choose the "Family & other users", and then click Add someone else to this PC under the "Other users" section.
Step 3. Enter an email or phone number if you like. If you want to create a local account, choose I don't have this person's sign-in information and click "Next". And then click Add a user without a Microsoft account on the next page.
Step 4. After setting up the user name and password, click "Next". In this way, a new account is created.
After finishing creating a new account, enter the Start menu again. Click the account icon, choose the new user account to log in to the computer. Now you can run your PC with a new account.
If you think it's more convenient to use your old account, move to the next method.
Way 5. Use the system file checker to fix system corrupted files
Sometimes, corrupted system files would cause Windows Explorer to use too much CPU. So, we need to scan and fix system corrupted files if there are any. SFC command is designed for scanning and fixing corrupted files. Here are the steps to use the SFC command to fix system corrupted files.
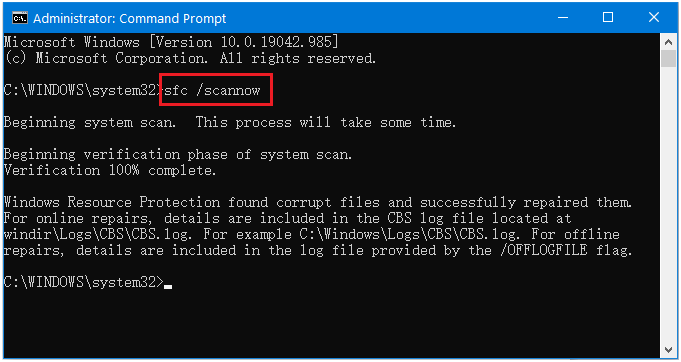
Step 1. Press the Windows key, type "CMD" and then run it as Administrator.
Step 2. Type sfc /scannow and hit "Enter".
The corrupted system files would be repaired if there is any. Just wait for minutes and then the result will be shown.
Way 6. Run a full anti-virus scan manually
When your Windows 10 computer is infected with malware, certain processes are likely to run in the background without your knowledge. So when your Windows Explorer occupies too much CPU, you need to check your computer for viruses. Check how to run a full anti-virus scan in the ways below.
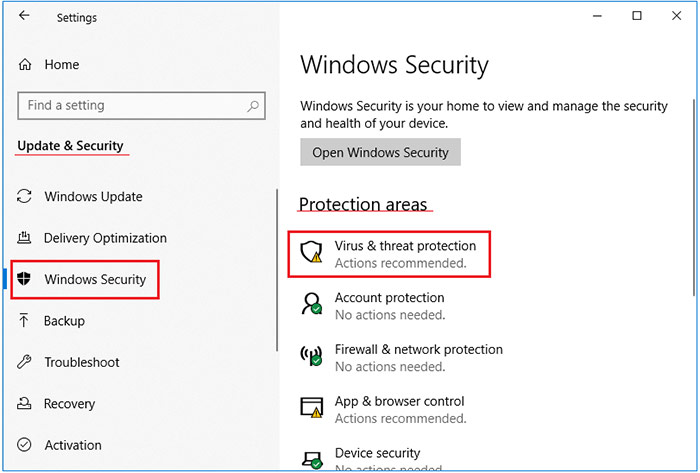
Step 1. Click the Windows logo and choose Setting. Then choose the Update & Security.
Step 2. Click the "Windows Security" in the left pane. On the right pane, click "Virus & threat protection" under the "Protection areas" section.
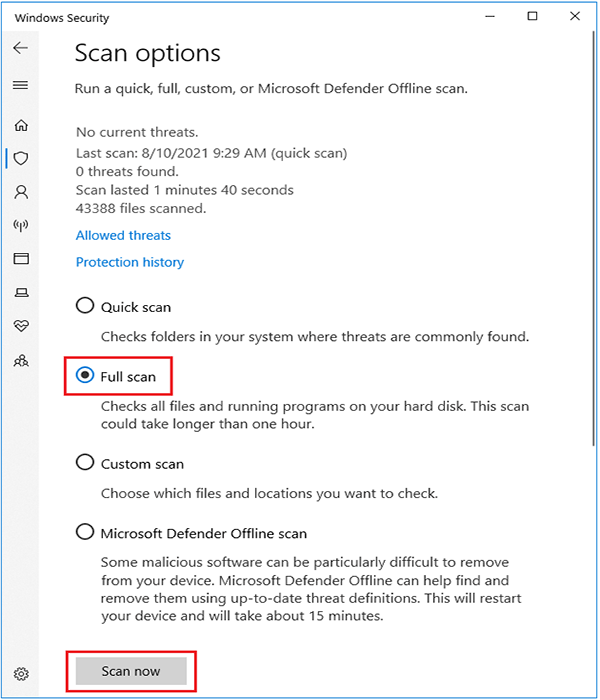
Step 3. Click Scan options. Under the "Protection history", choose Full scan to run an anti-virus scan. It may take longer than 1 hour. So, it's better to run a Full scan when the computer is idle.
Step 4. Click Scan now to start the anti-virus scan.