When you get a new hard drive and want to install Windows on it as well as make it bootable, how can you do? Yes, you can get Windows installed on it with the installation disk or USB. What if you do not have the installation disk or USB? Don't worry, you can learn two effective ways here to install Windows on a new hard drive without disk or USB.
Way 1—Install Windows on a New Hard Drive by System Copy
It is a fast and simple way to install Windows on a new hard drive without disk or USB. You can get iSunshare CloneGo to clone the current Windows operating system to the new hard drive and make it bootable. This software allows you to do system backup, partition/disk backup, disk clone and create reliable WinPE.
Now you can download iSunshare CloneGo to install Windows on a new hard drive with the system copy feature.
Step 1: Connect the new hard drive to your computer and initialize it.
As this is the new hard drive, you need to initialize the hard drive and then choose the partition style for it. Also, create one for more simple volume for the new hard drive according to your needs. You need to pay attention that the new hard drive should have a volume that is larger than that of the Windows OS partition on your computer.
Step 2: Run iSunshare CloneGo to copy Windows OS to your new hard drive.
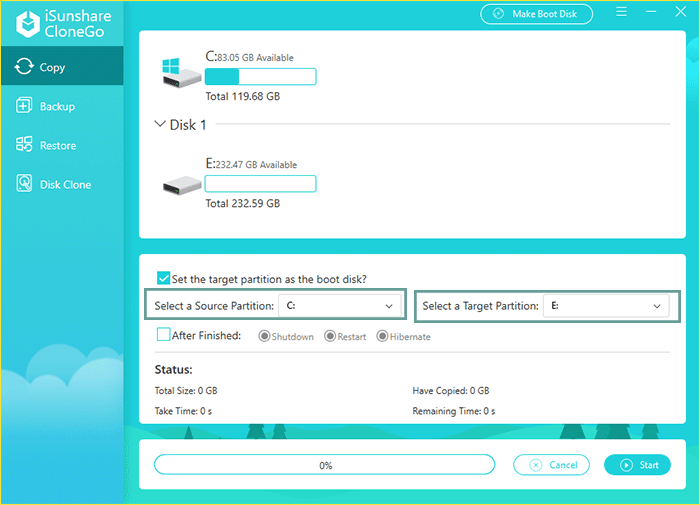
After you get iSunshare CloneGo installed on the computer, it will detect your disks and partitions when you opened it. By default, it will be on the Copy interface. You just need to set the current system partition as source partition and the new hard drive volume as the target partition.
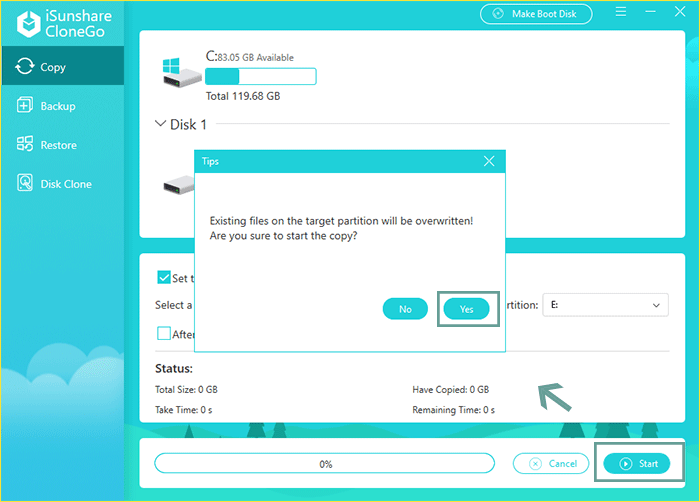
After that, hit on the Start button on the bottom right corner and the software will warn you that the operation will format the hard drive volume. Click Yes to start copying Windows OS to the new hard drive.
Step 3: Set computer to boot from new hard drive.
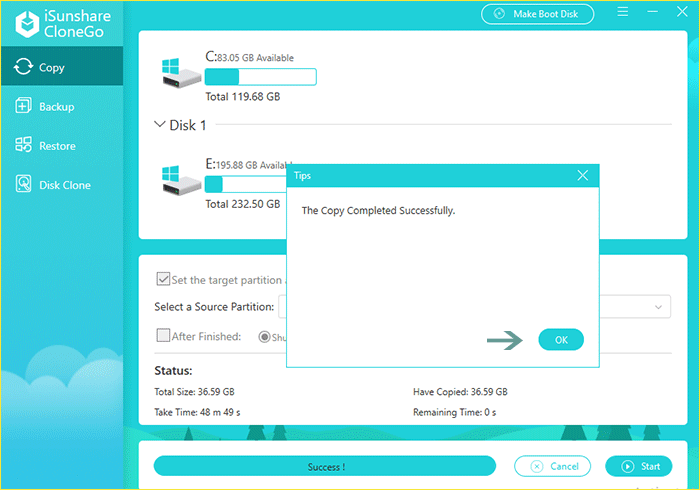
When it is done, you will get the successful prompt. And the current Windows OS is installed on your new hard drive.
You can shut down the computer and then press F12 to enter boot menu. After that, you can set the new hard drive as the first boot option and boot from it. At last, the Windows is boot from the new hard drive.
Way 2—Install Windows on a New Hard Drive with ISO Image File
If you want to clean install Windows on a new hard drive without installation disk or USB, how can you do? iSunshare WinToGo Genius can help you to install Windows on a new hard drive with the ISO image file. Besides, this new hard drive can be applied to any Windows computer to run the clean Windows OS.
Step 1: Get ready for the Windows installation.
First of all, the new hard drive should be connected as the external hard disk so that WinToGo genius can detect it. Besides, you should initialize the new hard drive with the suitable partition style. After that, allocate at least one volume for the new hard drive.
Next, download Windows ISO image file for Windows installation. Here Windows 11 will be chosen as an example. Thus you need to get Windows 11 ISO from Microsoft official website.
Finally, get the WinToGo Genius program downloaded and installed on your computer.
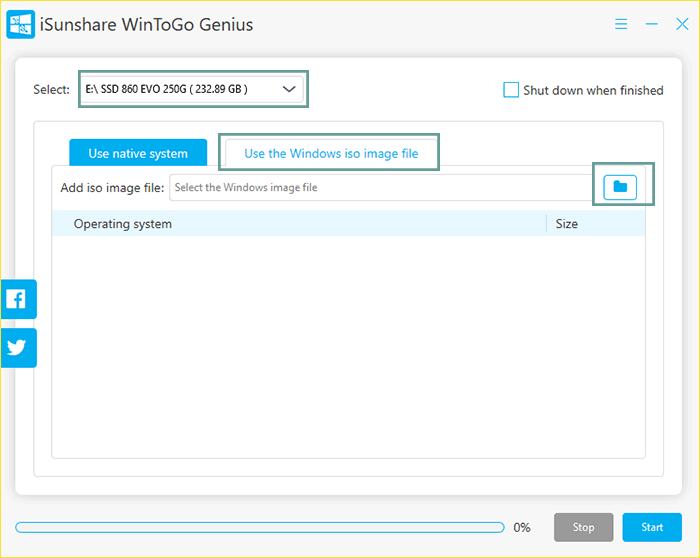
Step 2: Run WinToGo Genius and import the ISO image file.
When the new hard drive is connected as the external hard disk, WinToGo Genius will find it as soon as possible when it is launched. After that, you can click Use the Windows iso image file tab and then click the folder icon to import Windows ISO image file.
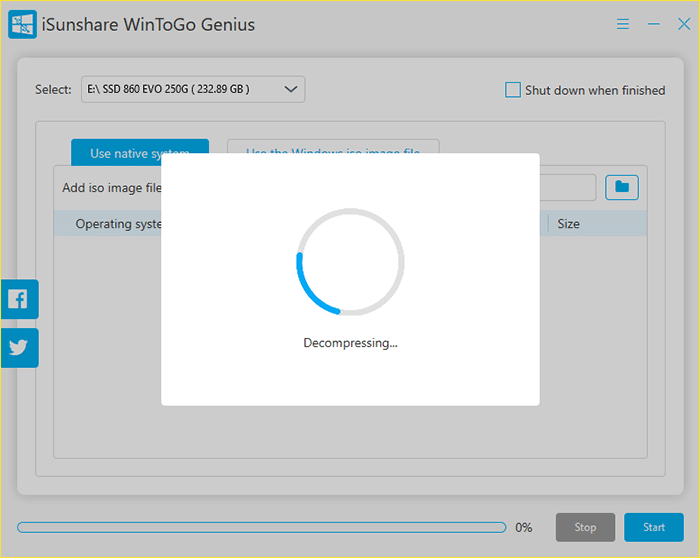
Step 3: Wait for the ISO image file to be decompressed.
After you add the ISO image file, the software will decompress it immediately. You just need to wait for the result.
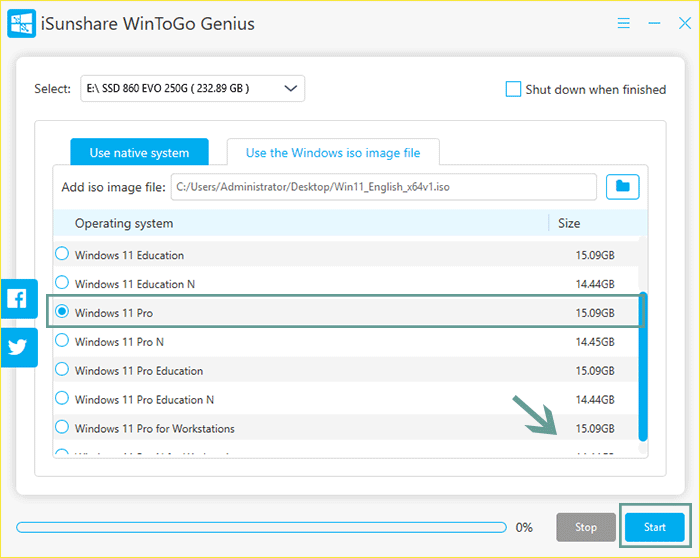
Step 4: Make a selection between Windows editions and then click the Start button.
After decompressing, the software will show you all editions decompressed from the ISO image file. You can pick one to install on the new hard drive. Then, click the Start button to proceed.
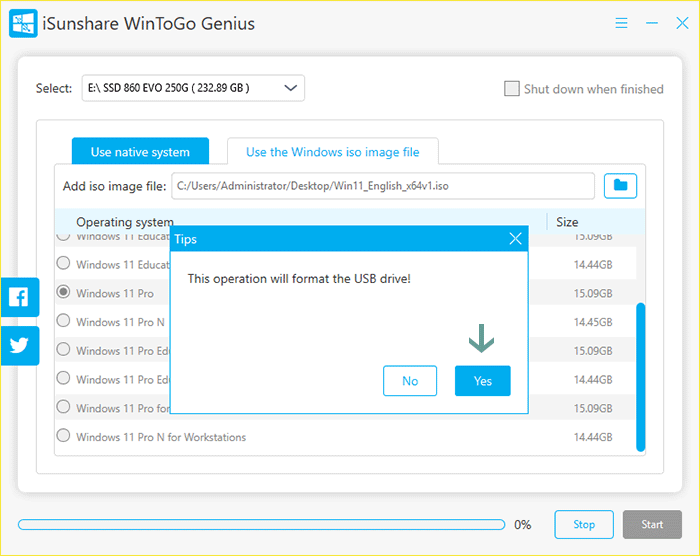
Step 5: Format the hard disk and install Windows on it.
The software will pop out a box telling you that this operation will format the USB drive. Click Yes and then the ISO image file is applying to the hard drive.
Step 6: Boot the computer from the hard drive and finish the configuration
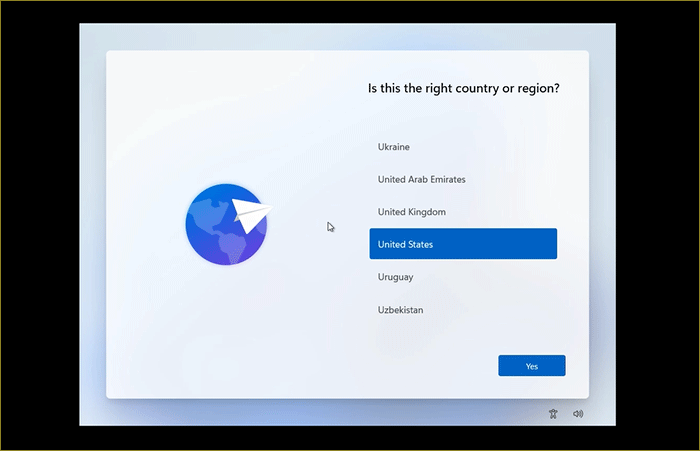
When the process ends, you can close the software and then the computer. After that, restart the computer and choose to boot from the hard drive. Few minutes later, the Windows set up wizard will guide you to configure the Windows OS. You just need to follow the guide to choose your preference for the Windows OS on the hard drive.