"I'm trying to make a bootable Windows To Go drive by using Rufus. However, Windows To Go option is missing from My Rufus. What can I do? Is it possible to get back the Windows To Go option?"
It is well known that Rufus is the popular tool to create the bootable USB drive. Windows To Go is the important feature that help users to create portable USB drive. With such drive, you can boot any computer from the USB and use your system anywhere. However, in some cases, you will find there is no Windows To Go option. Don't worry, you can get it solved in this article.
Part 1: How to Solve Rufus No Windows To Go option
If you find the Windows To Go missing while using Rufus, there should be two reasons. First of all, you might import the non-official ISO image to create the bootable USB. Otherwise, inappropriate Windows system might lead to this error. In other words, you might run it on Windows 8/8.1 computer and the version of ISO is the latter one.
Thus, to solve Rufus No Windows To Go option, you need to download the official Windows Installation image from Microsoft website. And then you should run Rufus on a Windows 8/8.1/10/11 computer. After that, you should run Rufus on the Windows version that is at least the same version as the Windows ISO image. Lastly, make sure the USB drive is 32GB or larger.
Part 2: How to Create a Windows To Go Drive via Rufus
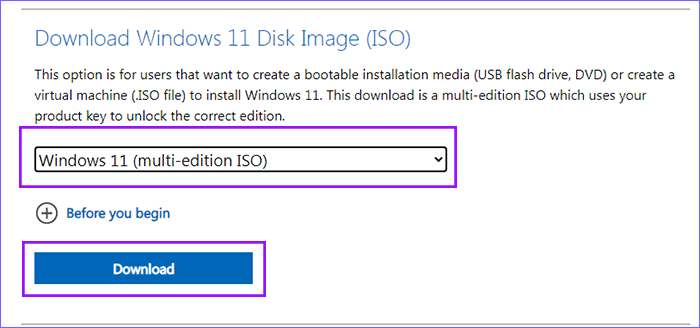
If the Windows To Go option comes back on your computer, you can create a Windows To Go Drive easily via Rufus. But you should download the Windows ISO image online in advance. Here, Windows 11 ISO image is displayed as an example.
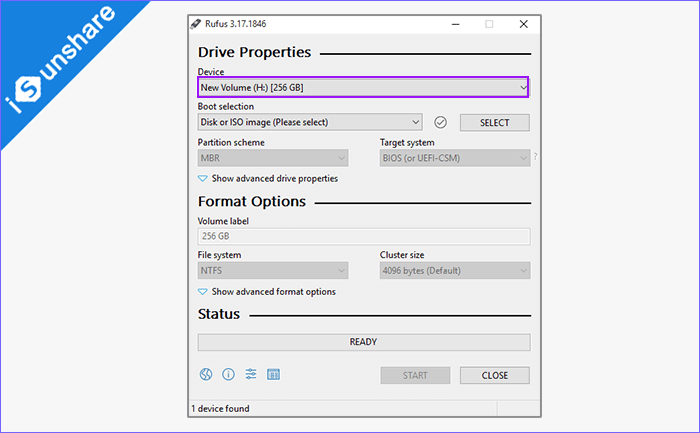
Step-2: Connect the USB drive to your computer and then launch Rufus. Then select the USB drive one the Device checkbox. Generally, it will be detected automatically when there is only one USB drive connected.
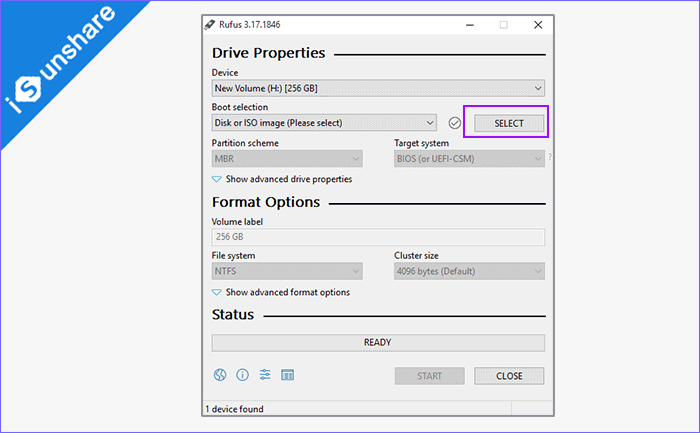
Step-3: Click the SELECT button to import the ISO image in Boot selection part.
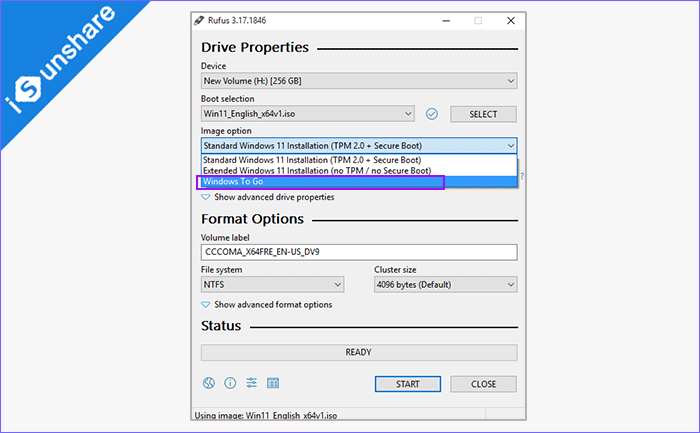
Step-4: Select Windows To Go from the drop-down button of Image option.
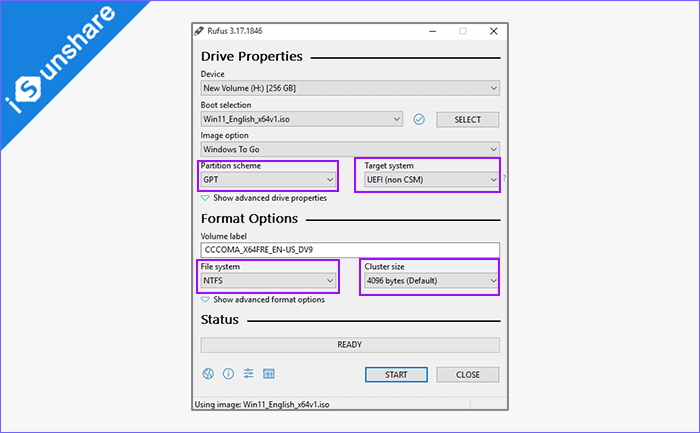
Step-5: Check the Partition scheme, Target system, File system and Cluster size. Generally, all these options will be filled in by default. But you can still customize it to satisfy your needs.
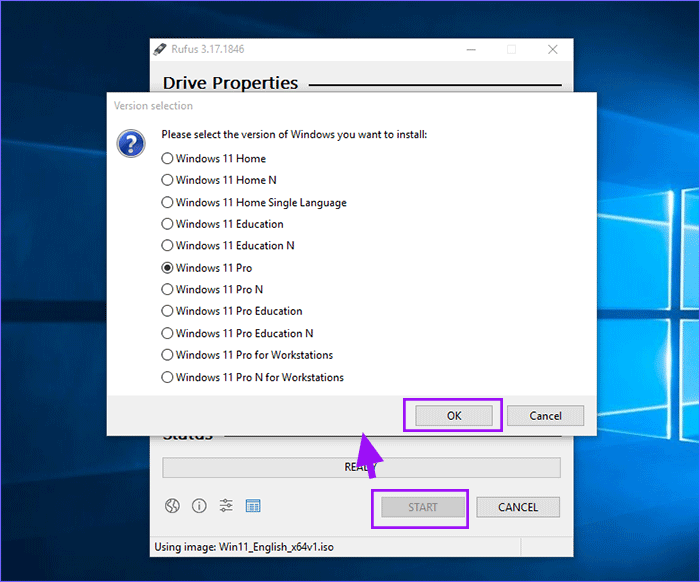
Step-6: Click the Start button and choose the Windows version you want to install. Then click the OK button.
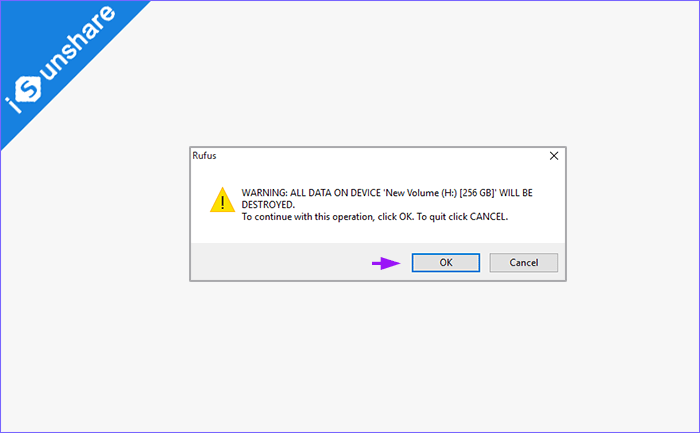
Step-7: The warning prompt comes to remind you that all data on the target USB drive will be destroyed. You can click OK to continue.
Step-8: Windows To Go drive is creating. You just need to wait for the ending and close the software.
Part 3: A Trustworthy Alternative to Rufus Windows To Go—iSunshare WinToGo Genius
If you fail to find the Rufus Windows To Go option or Rufus does not support Windows To Go option on your computer, such as Windows 7, you can use this reliable alternative to Rufus Windows To Go – iSunshare WinToGo Genius to create the portable system on USB drive.
iSunshare WinToGo Genius is fully compatible with almost all Windows systems, from Windows 7 to latest Windows 11, despite of Windows editions. Besides, you can use any USB drive: certified or non-certified USB drive, to create the Windows To Go USB drive.
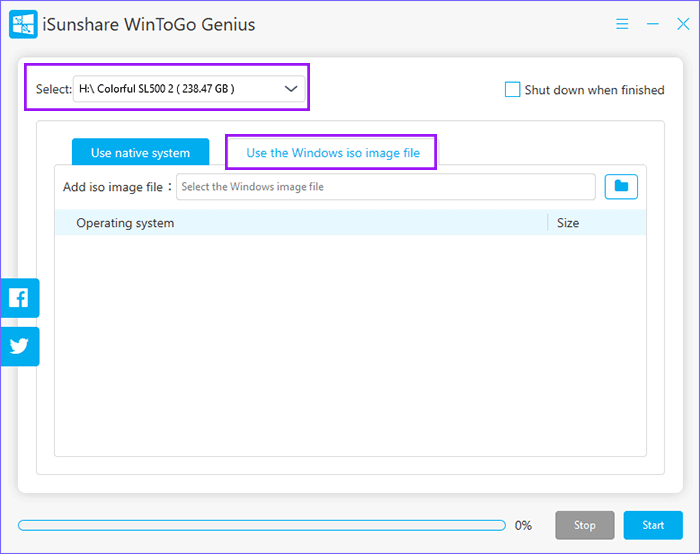
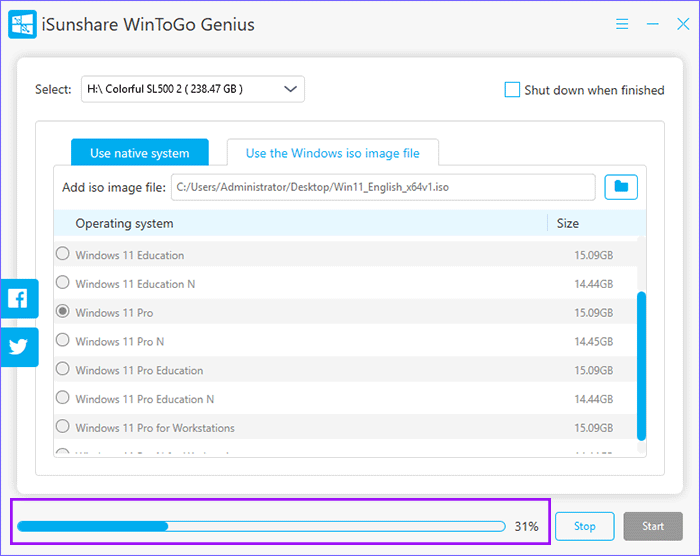
Step-1: Run iSunshare WinToGo Genius and then select the target USB drive to make portable Windows system. Then click Use the Windows iso image file option.
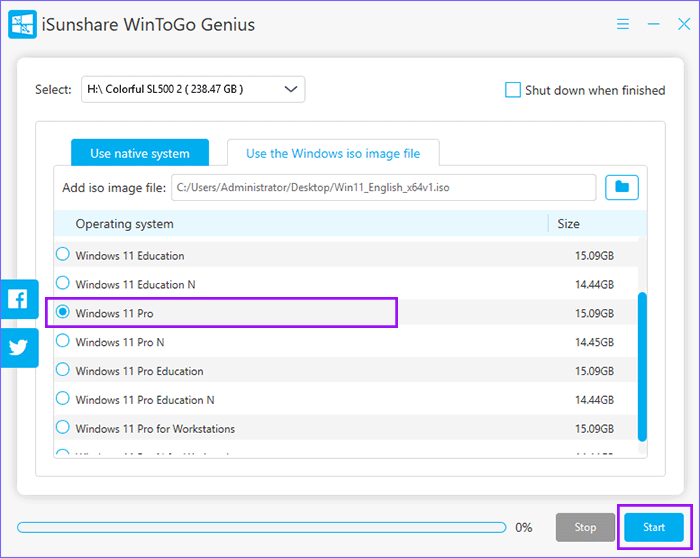
Step-2: Click the icon behind Add iso image file checkbox to add the ISO file from your computer.
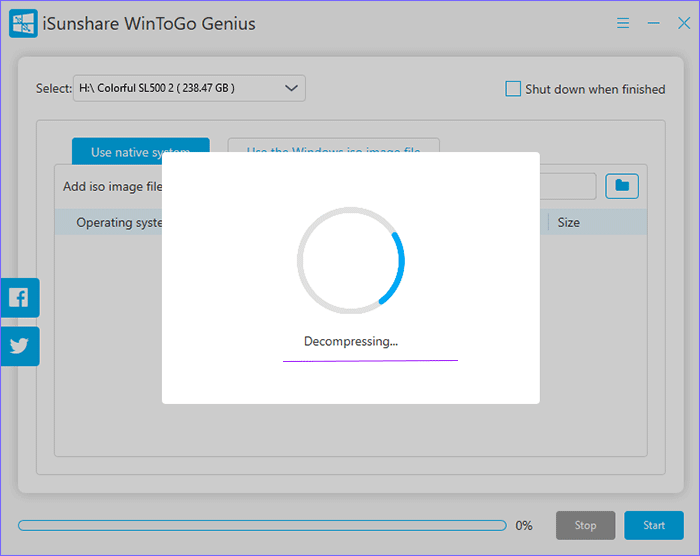
Step-3: After that, this program will decompress the image file immediately.
Step-4: Next, select the Windows system version and click the Start button.
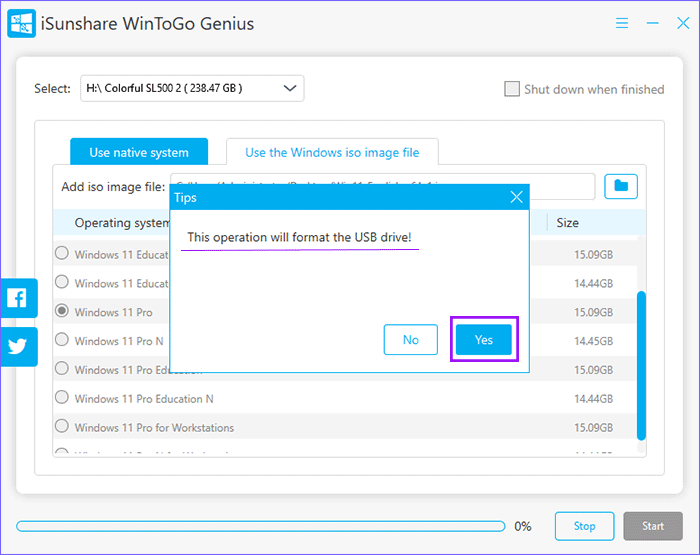
Step-5: Then you will get the prompt: This operation will format the USB drive. Click Yes and the software will begin creating the Windows To Go USB drive for you.
When the progress bar reaches 100%, you will get the successful prompt. At that time, the USB drive can be bootable. Now you can insert the portable Windows USB and boot any Windows computer from the USB disk to work in the clean Windows system.