We use cookies for personalizing content and ads and providing social media features. Your usage information on our website will be used for social media, advertising, and traffic analytics, or shared with our partners. Clicking "Accept" means you agree to use our cookies .
When asked why we need to back up the computer disk, we will absolutely say that it is due to the data safety. Yes, the disk backup can help us to protect the data from loss no matter it is caused by the sudden computer error or the virus. There are three options for users to back up computer disk data: back up to the cloud, back up to external hard drive, back up to the USB storage devices. In this article, we will help you to backup computer drive data to Seagate external hard drive.
Backup Computer to Seagate External Hard Drive with CloneGo
Seagate, the reliable brand with high quality products, offers users a variety of hard drive, such as Seagate Backup Plus. You can buy one according to your computer configurations. And here, you can learn how to backup computer disk partition to Seagate external hard drive.
Here, iSunshare CloneGo—the PC disk backup software, offers the much easier way for you to create a backup of the Windows system or data partition. Everyone can easily grasp and use it to realize disk system or partition backup to Seagate hard drive.
iSunshare Reliable Disk/Partition Clone Software
Safely perform disk to disk backup in Windows computer
Move Windows system to SSD without data loss
Easily copy the C drive to SSD and make it bootable
Back up the PC data without booting into Windows OS
Connect Seagate external hard drive to the PC and ensure the hard drive with enough space first of all.
If your Seagate external hard drive is new, you need to initialize and allocate new partitions for it.
Download and install CloneGo on your PC. Do not place the installation package in desktop or C drive.
If you are going to create backup for the essential files and folders, you should arrange them in one volume.
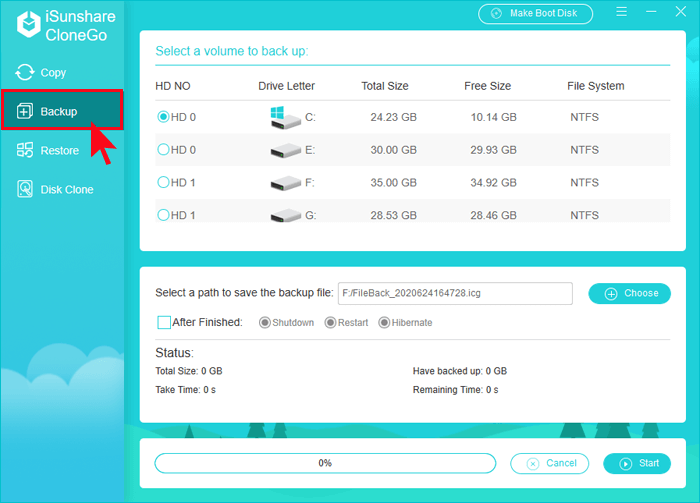
Step-1: Launch CloneGo on your personal computer. After the program opens, click the Backup button on the left side of the program window.
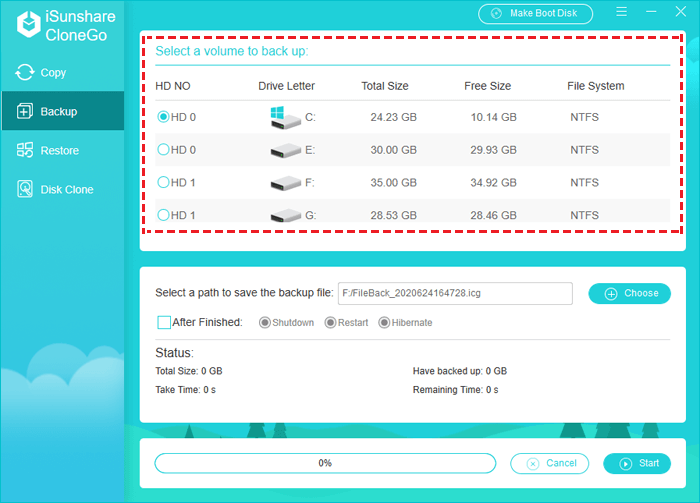
Step-2: Select a volume to backup. You will see the program shows you all the partitions from the disks. The C drive is listed firstly and then other drives are followed. The partitions from one disk will have the same HD No. You can choose the system partition or other data partition to make a backup.
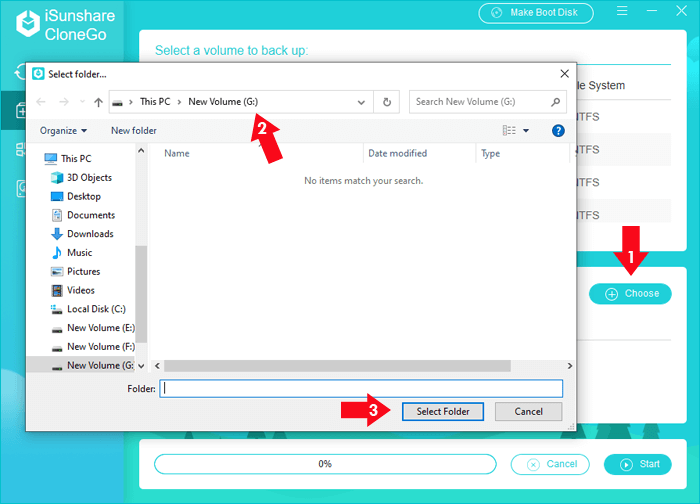
Step-3: Define where to store the backup file. Click the Choose button and you can place the backup icg file in the Seagate external hard drive.
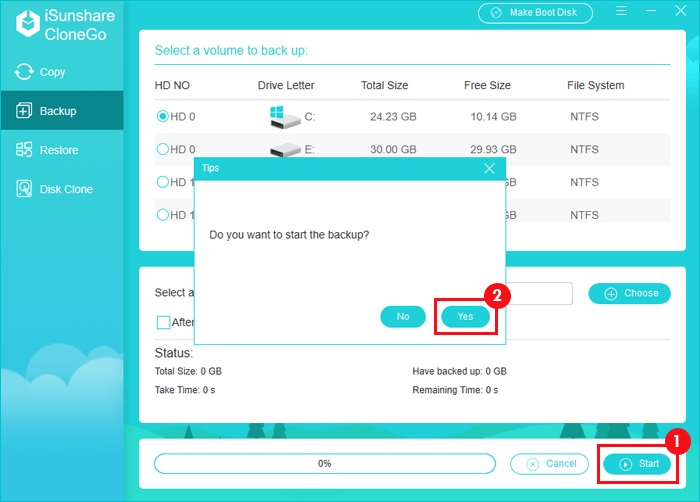
Step-4: Click the Start button and then get the Tips box. To go ahead, click the Yes button.
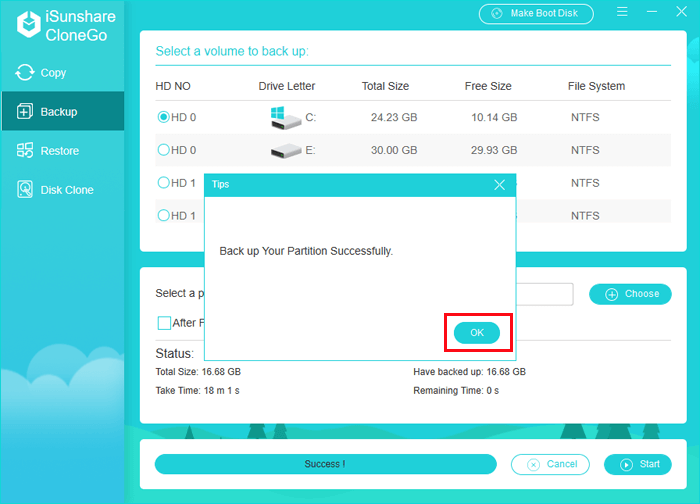
Step-5: After that, you just need to wait for the backup process to complete.
Steps to Restore the Windows System or Partition from Backup
Here comes another question - how can they restore the system or data from the backup? So easy to do that! You can use the function of Restore of iSunshare CloneGo to achieve it. Below are the steps:
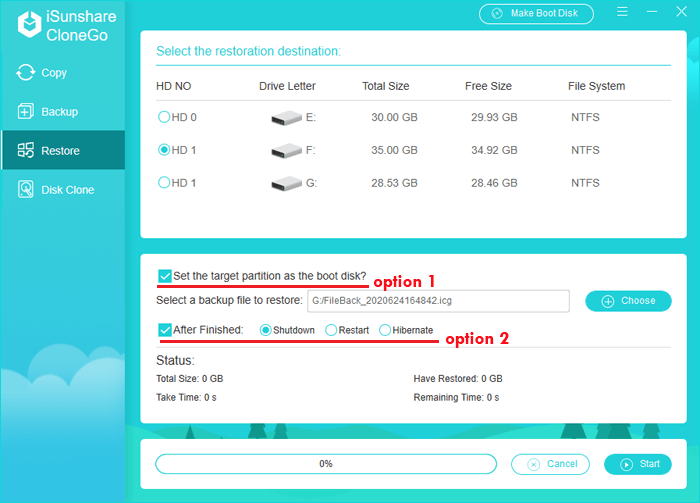
Step-1: Open CloneGo, choose the function of Restore on the left side, and then go to the option of Select the restoration destination to opt a partition with enough space as the restoration partition. Notice that the restoration destination partition should be located to a hard disk where your current windows system doesn't exist.
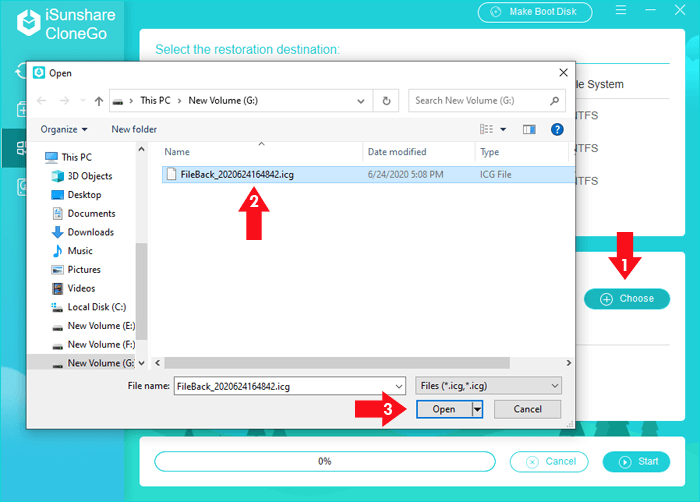
Step-2: Click the Choose button to open the icg file that you have backed up before in order to restore it.
Step-3: By the way, there are two options on the interface which deserve your attention. If what you need to restore is the Windows system backup, it is advised to tick the choice of Set the target partition as the boot disk to make the restoration destination bootable. And if you want your computer to shutdown, restart or hibernate after the process is completed, you can tick the After Finished option and then select a choice.
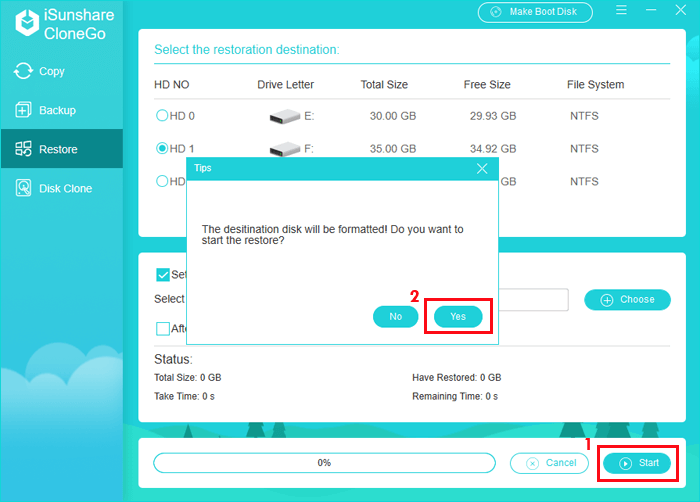
Step-4: Click the Start button to go ahead and you will be noticed "The destination disk will be formatted! Do you want to start the restore", click the button of Yes to confirm. As this operation will format the restoration destination disk, you'd better back up the important files and data in it in advance if necessary.
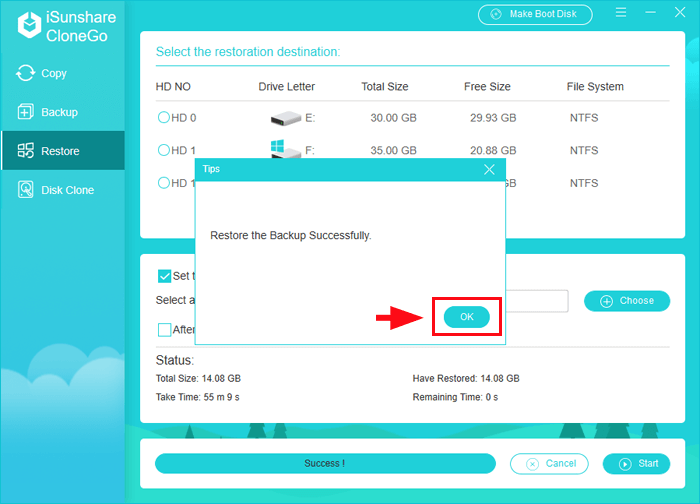
Step-5: After the restoration is completed, you will get the tips "Restore the Backup Successfully". And then you can exit and close the software.