We use cookies for personalizing content and ads and providing social media features. Your usage information on our website will be used for social media, advertising, and traffic analytics, or shared with our partners. Clicking "Accept" means you agree to use our cookies .
Here, you can learn about how to use iSunshare iBypass Genius to bypass the iPhone/iPad/iPod touch activation lock and turn off Find My [device] function on your iOS device without the password.
Before running iSunshare iBypass Genius, please make sure that iTunes is installed on your Windows computer.
Note: After iCloud lock bypassing, you might be unable to use phone call, Cellular and iCloud of the new ID on your iOS device.
Part 1: Bypass iCloud Activation Lock on iOS 12-iOS 14.8
The following operations can help to remove the iCloud Activation Lock on iOS 12 .0 to iOS 14.8 of iPhone 5s to iPhone X, iPad 4-7, iPod touch 6 &7.
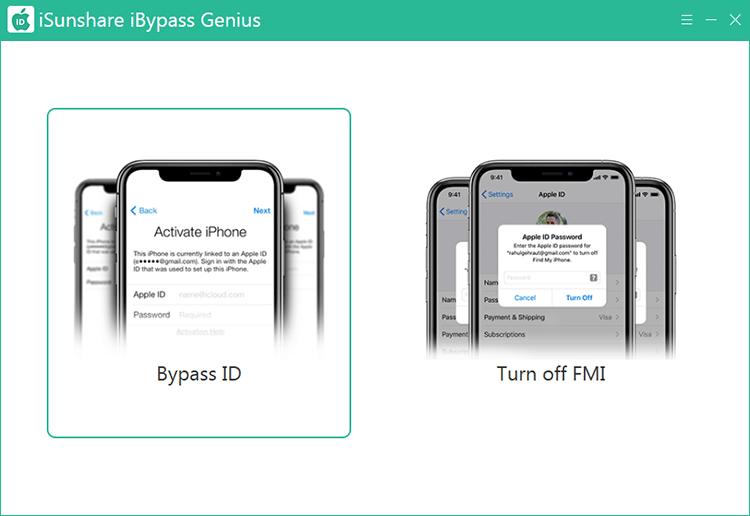
Step 1: Connect your iPhone/iPad/iPod touch to the computer. Then launch iBypass Genius and select Bypass ID.
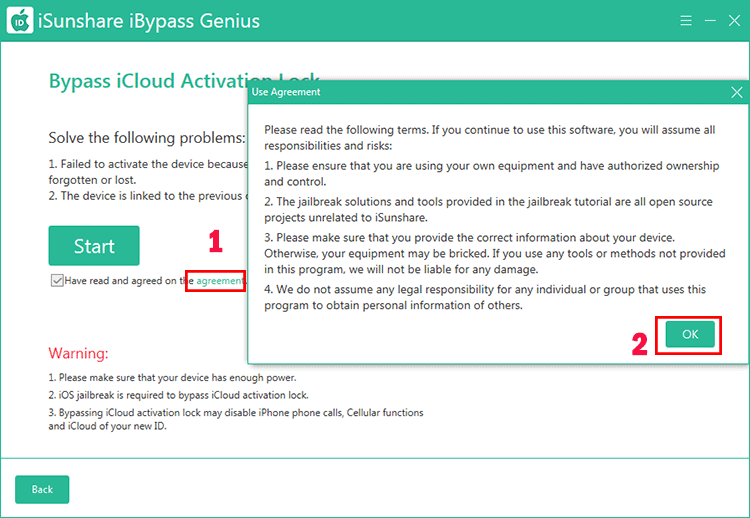
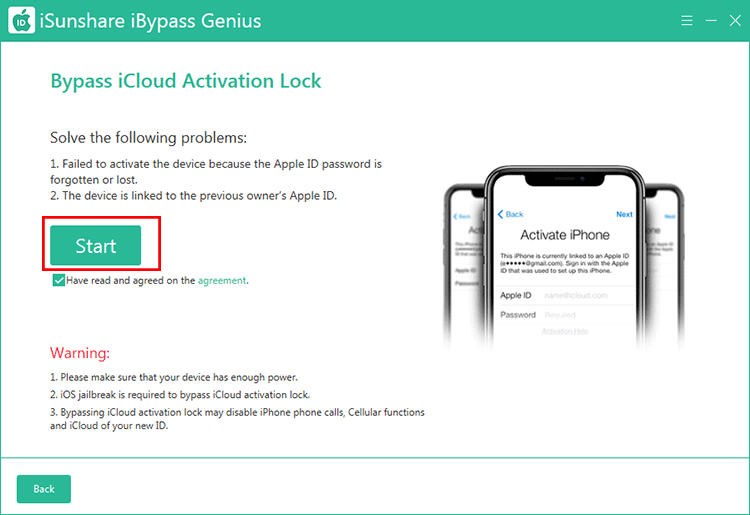
Step 2: Now you are on Bypass iCloud Activation Lock interface. Below the Start button, you can see Have read and agreed on the agreement is checked by default. You can click agreement to read the items.
If you agree on the items, click the Start to proceed.
Step 3: You need to jailbreak the iPhone/iPad/iPod firstly. You can click the iOS jailbreak tutorial text to get the specific steps to jailbreak iPhone. Or you can click the OK button to jailbreak iPhone with this software.
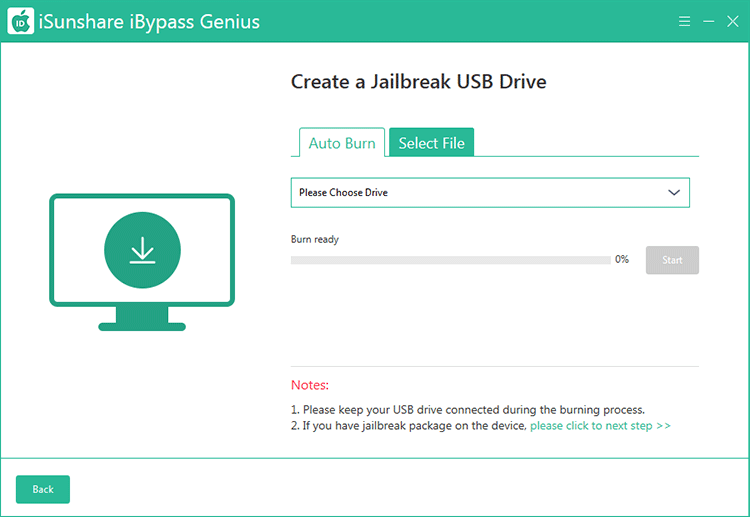
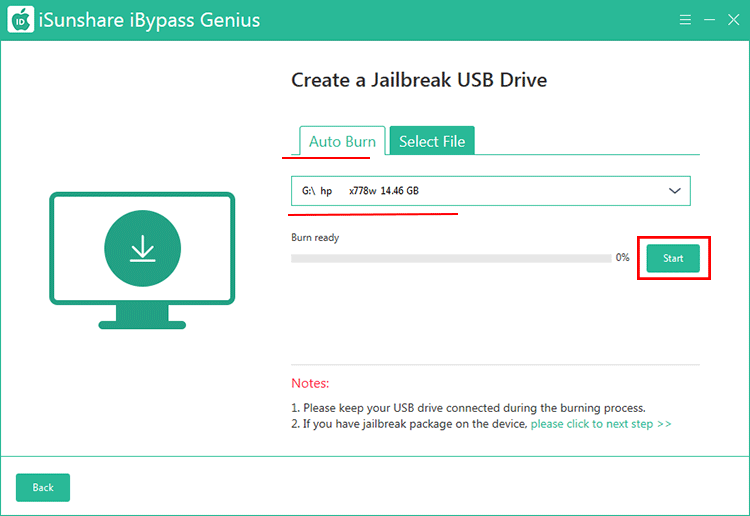
Step 4: There are two options to create a jailbreak USB drive: Auto Burn and Select File. Now, insert a USB drive into your computer.
Option 1: In the Auto Burn section, choose the inserted USB drive and click Start to proceed.
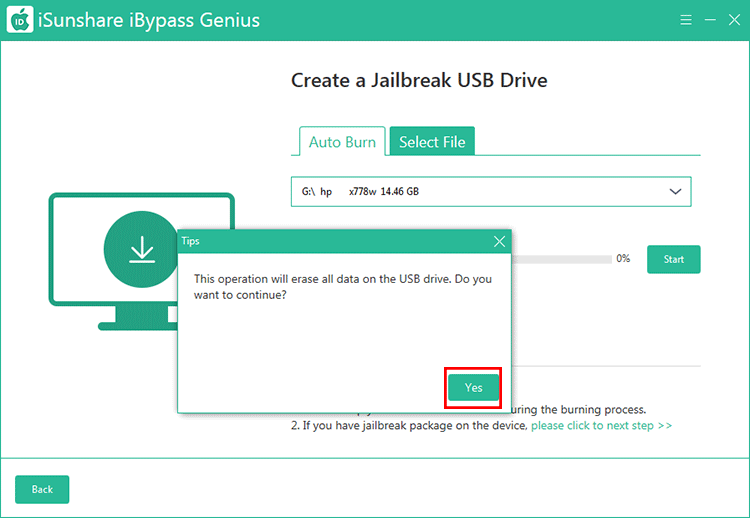
Then it will tell you that all data on the USB drive will be erased. Click Yes to to download the firmware file and create a jailbreak drive.
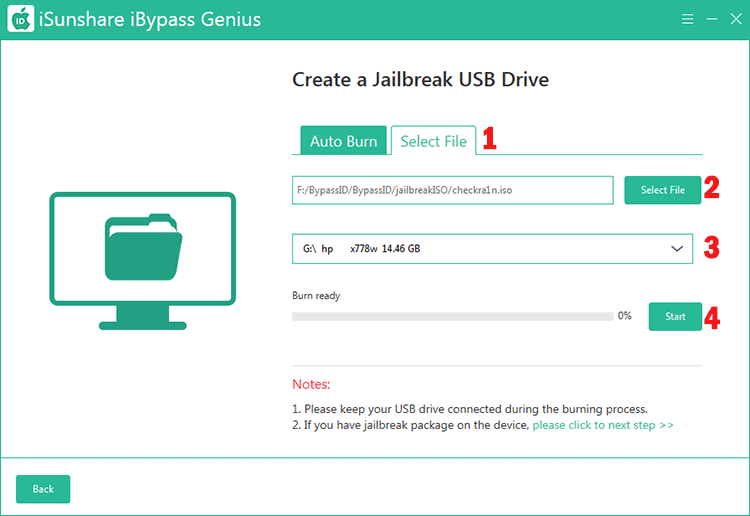
Option 2: If there is the firmware file on your Windows PC, you can switch to Select File tab. Then click the Select File button to choose the firmware file. After that, choose your USB drive and click the Start button.
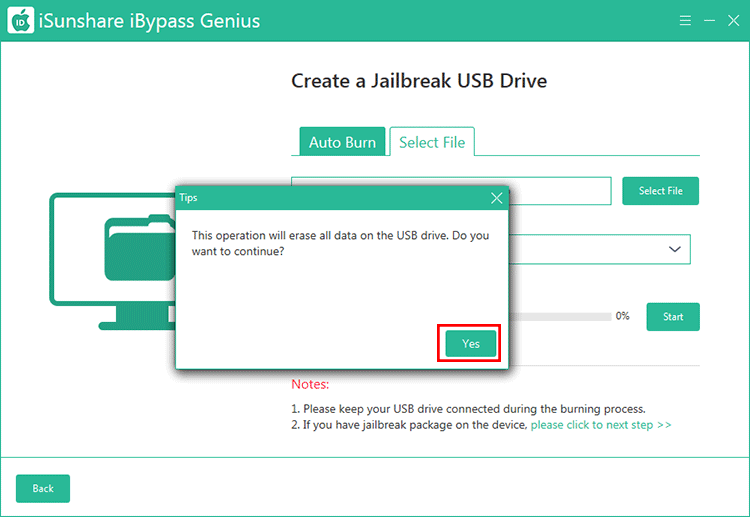
The Tips prompt comes to inform you the operation will erase all data on the USB drive. Click Yes to burn the jailbreak USB drive.
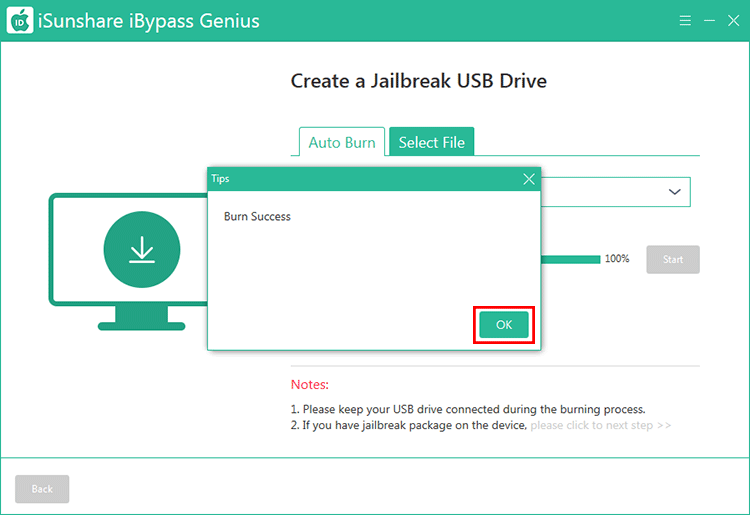
Step 5: After successfully creating the jailbreak drive, you can click OK to continue.
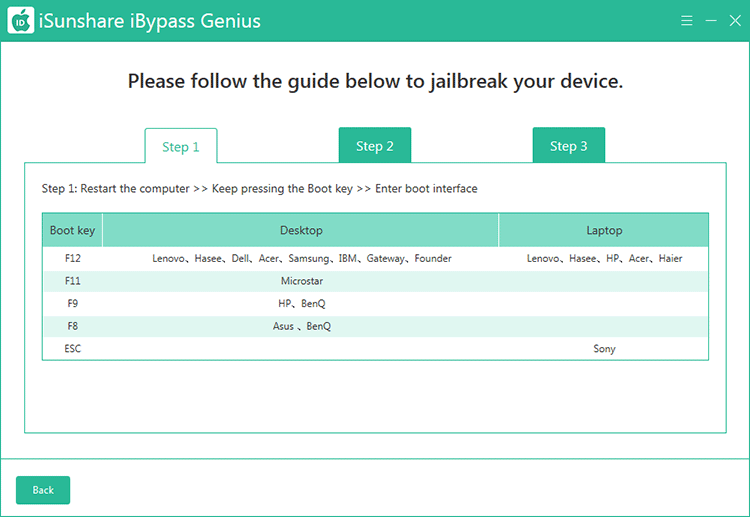
Step 6: Follow the detailed guide to jailbreak your device with the USB drive.
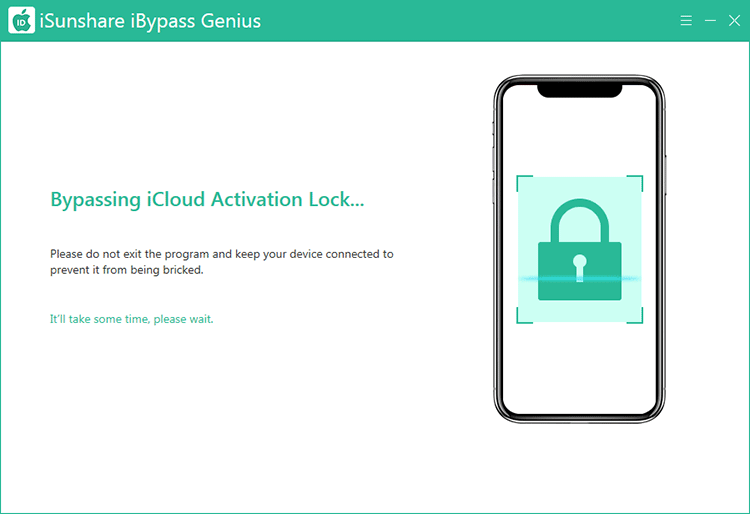
Step 7: When your device is jailbroken, open the software and repeat the first three steps. Then the software will start bypassing the Activation Lock on your device. Wait for the bypassing process and it might take some time to complete.
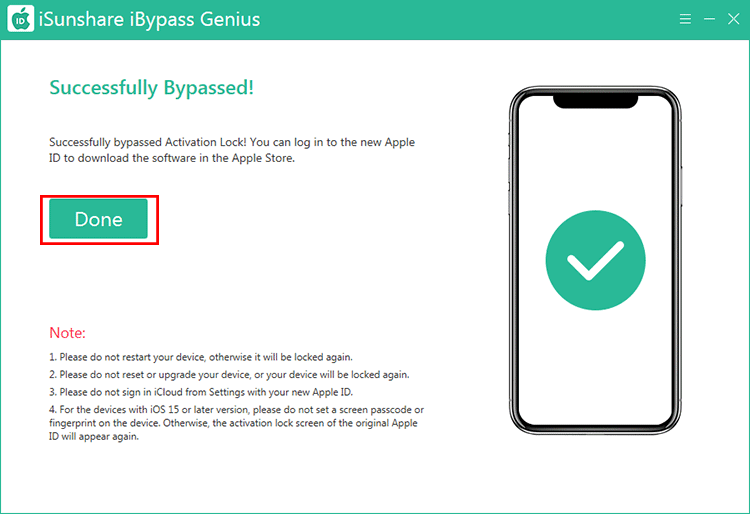
Step 8: The Activation Lock is removed from your device. You get the Successfully Bypassed message on the software.
Notes:
1. If you restart, reset or upgrade your device, you will encounter the Activation Lock screen again. You can use this software to bypass it agaion.
2. After you set up the device, it is not recommended to sign in iCloud from Settings with your new Apple ID.
Part 2: Bypass iCloud Activation Lock on iOS 15-iOS 16.7
If your device is with iOS 15-iOS 16.7, you can follow below steps to bypass iCloud Activation Lock on your device without a password.
Tips: It is better to use Windows 8/10/11 computer to perform following operations.
Step 1: Connect the device to your computer and open iSunshare iBypass Genius. Then choose Bypass ID to proceed.
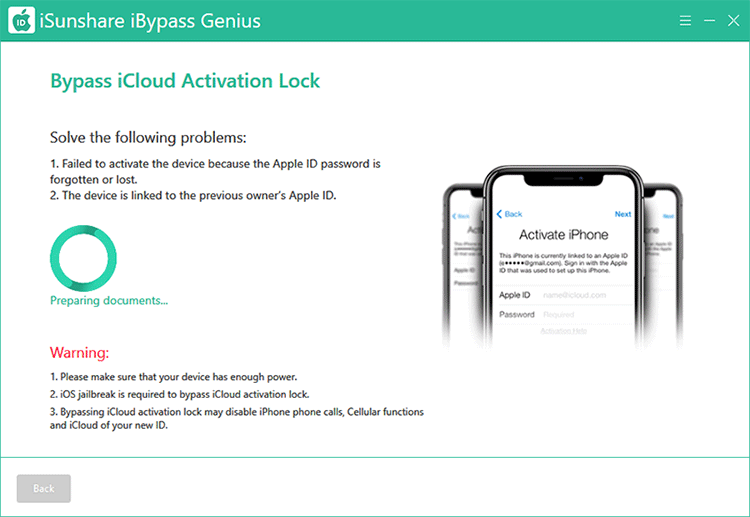
Step 2: Read the warning items & agree items. Then click the Start button to go ahead.
In no time, the software will start preparing documents.
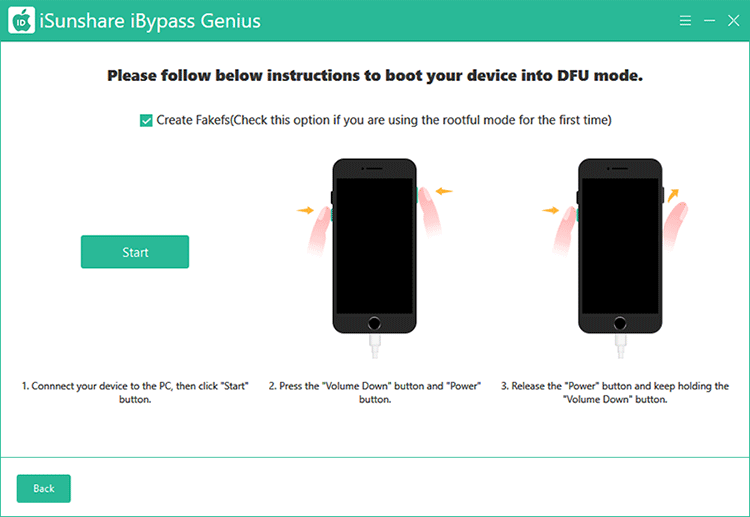
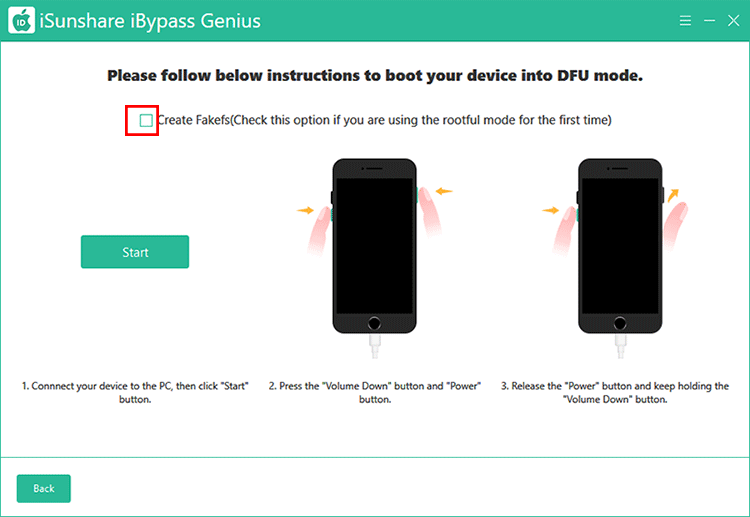
The Create Fakefs option is checked by default. If the activation lock on your iPhone is bypassed before and it appears again after you restart the iPhone, you should uncheck this option to continue.
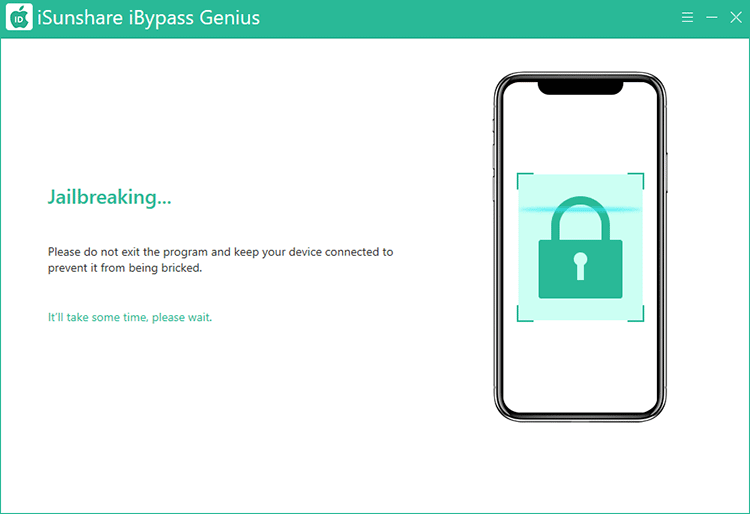
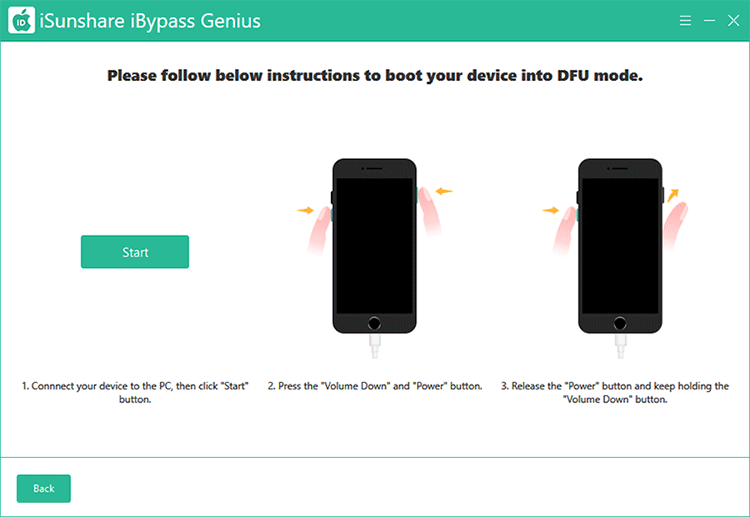
After your iPhone enters DFU mode, the software will start jailbreaking your device automatically.
Step 4: Now, you need to manually boot the device enter DFU mode again.
After that, the software will start the bypassing process.
Step 5: The iCloud Activation Lock is bypassed successfully. You need to set it up with no Touch ID, screen passcode and Apple ID. Otherwise, the Activation Lock will appear agin.
Part 3: Turn off FMI without Password
Preps: Disable the internet connection on your iDevice and keep your computer network connected.
Step 1: Jailbreak your iOS device by using the Burn function of iBypass Genius.
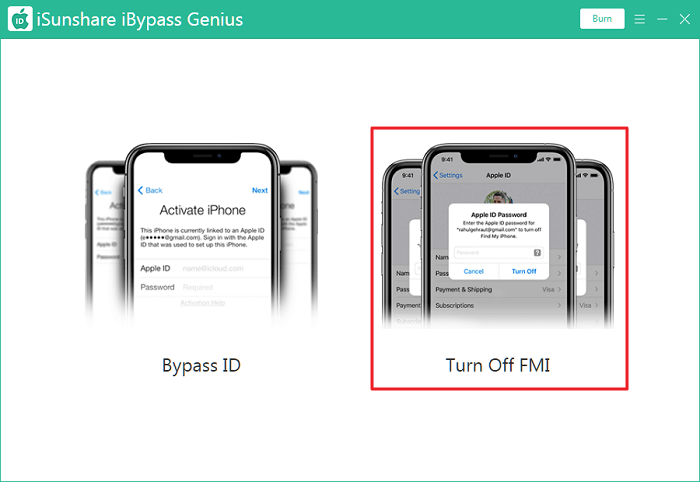
Step 2: Ensure that your device is connected to your computer. Then Launch iBypass Genius and choose Turn off FMI on the interface. To allow iBypass Genius detect your iPhone/iPad/iPod touch, you might need to unlock your device and tap Trust on the [Trust or Don't Trust the computer] prompt.
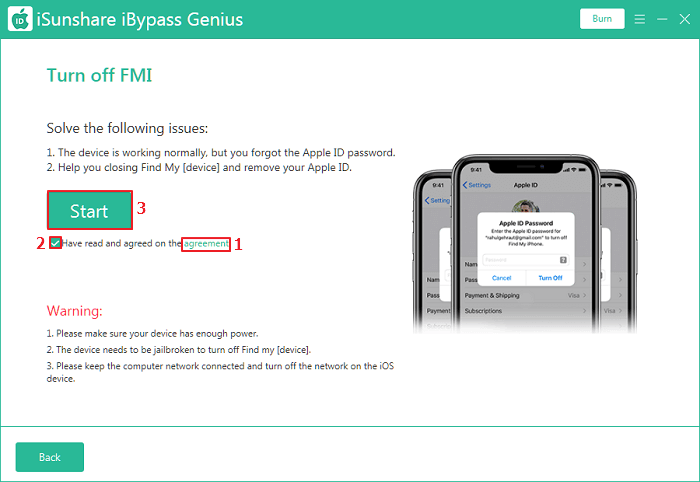
Step 3: Click agreement and patiently read its content. If you agree on what the agreement says, you can check Have read and agreed on the agreement and hit Start.
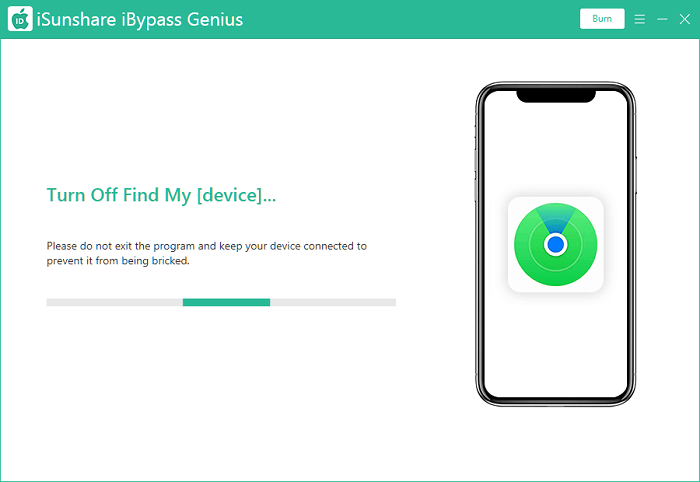
Instantly, iBypass Genius will begin turning off Find My for your device.
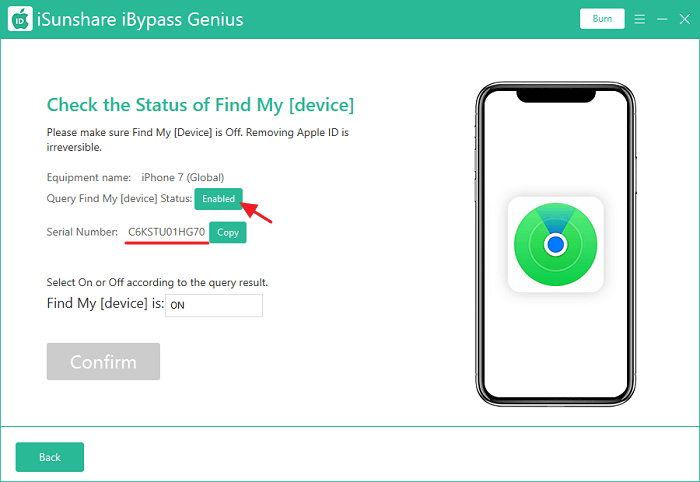
Step 4: To check whether FMI function is successfully turned off on your iPhone/iPad/iPod touch, you can click Enabled to access a safe website to query the FMI status of your device.
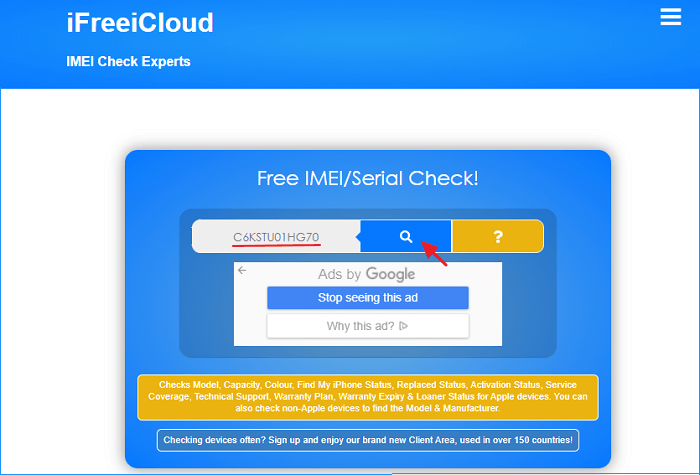
Just click Copy to copy the serial number(see the above screenshot) and paste it to the shown website for query. You will get the status soon.
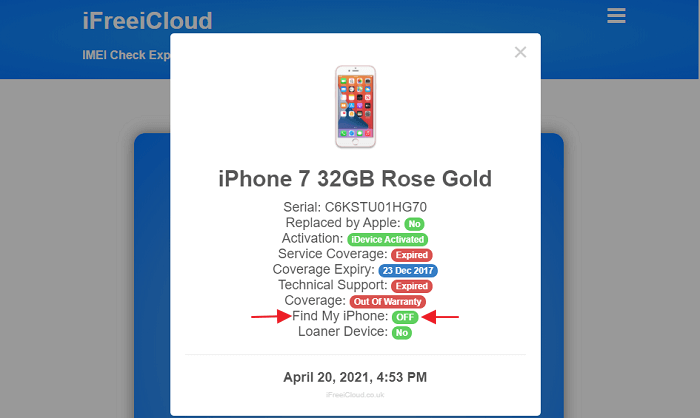
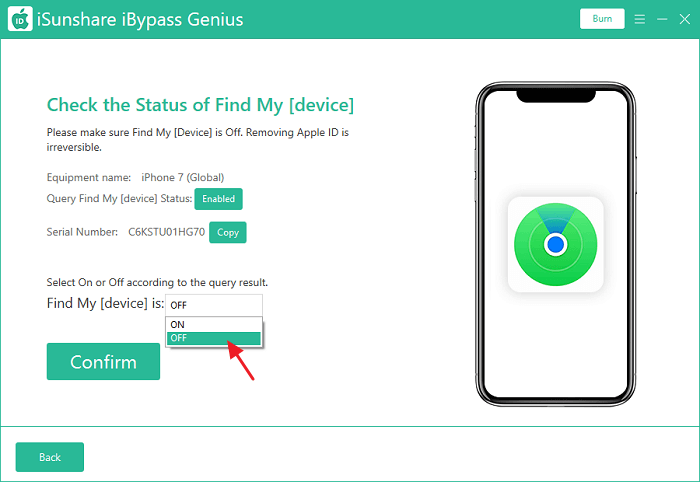
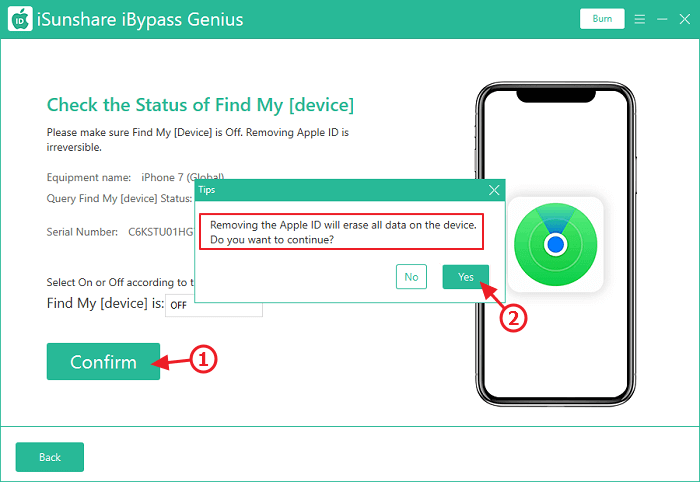
Step 5: If the FMI status is disabled on your device, you can choose OFF in the bar of Find My [device] is.
Step 6: Then hit Confirm to remove the Apple ID from your device. Here please note that removing the Apple ID will erase all data on your iOS device.
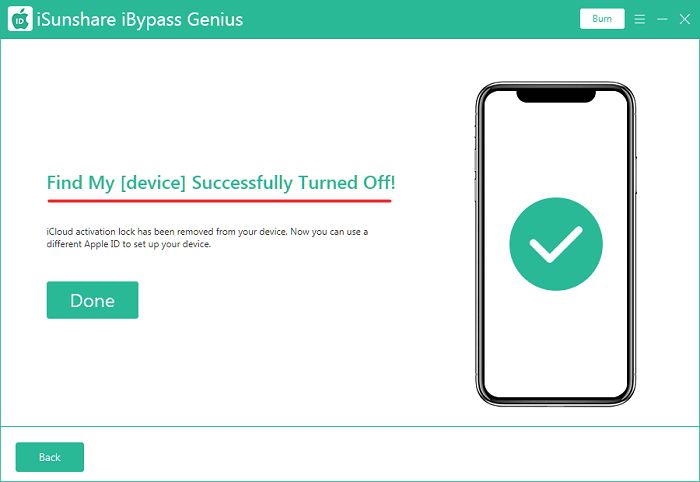
Step 7: After a while, FMI function will be disabled on your device. Now, you can set up your iOS device as new.