We use cookies for personalizing content and ads and providing social media features. Your usage information on our website will be used for social media, advertising, and traffic analytics, or shared with our partners. Clicking "Accept" means you agree to use our cookies .
"My sister plays with my computer and I don't know what she's pressing. When I use my laptop, I notice that my display turns yellow."
Have you encountered this similar situation? Don't worry, in most cases this is easy to fix. A yellow tint is a common issue related to the computer display. The main reason behind this is a change in software settings, sometimes because some third-party software is trying to interfere with your display settings. Display driver failure, the Enable Night Light setting in Control Panel, and a misconfigured color management profile can also cause this issue. But there are also a few cases where this is a sign of hardware failure. In this article, I will provide a step-by-step guide on how to fix yellow tint in Windows 10 & 11 display.
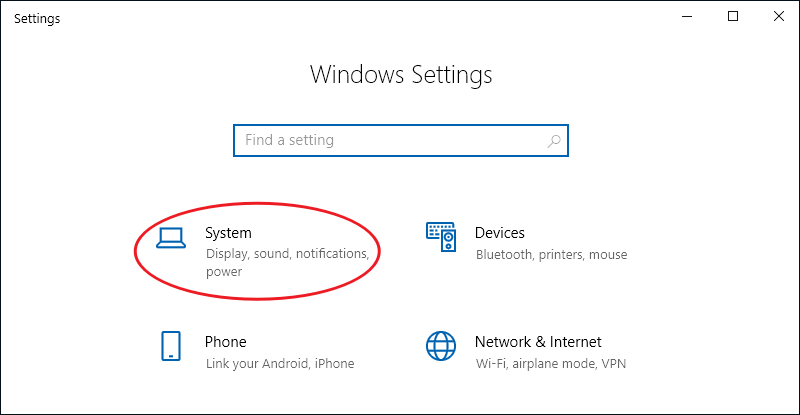
Step 1: Use WIN+I keys to open Windows Settings and select System from the options.
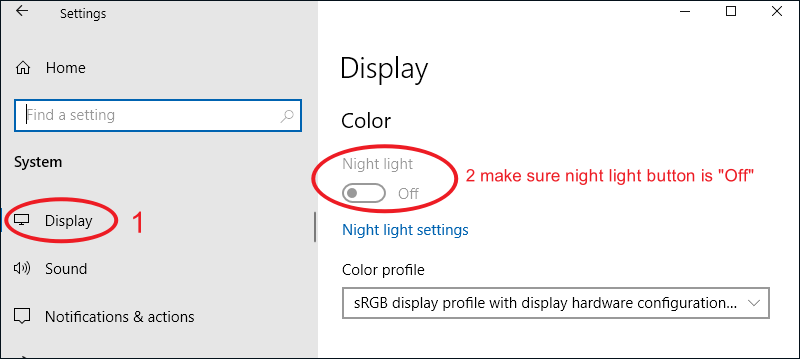
Step 2: Click Display in the left pane and turn off the Night light button under Color Settings on the right. After turning it off, you can check if the display has a yellow tint.
Fix 2: Change color profile
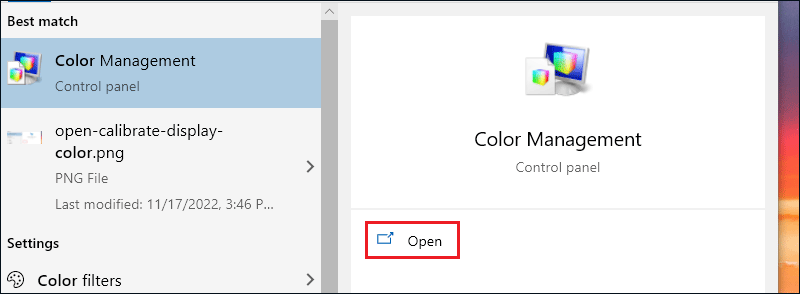
A color profile is like a set of data that tells the system what the colors should look like on the screen. Sometimes colors may look washed out, and other times a particular color may dominate the display. Normally, Windows has a balanced display color scheme, but some modifications in the system may cause the color profile to change and colors may look faded or worn out. To check if this is the cause of the yellow tint, follow these steps.
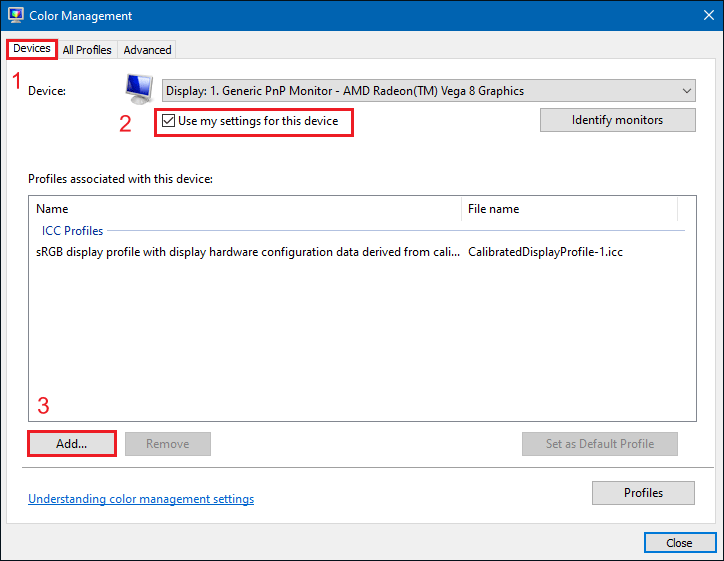
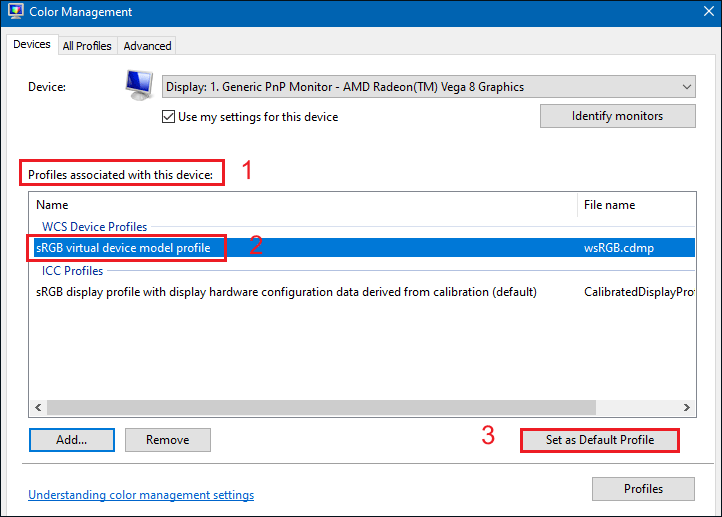
Step 2: In the Devices section, select the yellow-tinted display from the menu. Then check the Use my settings for this device option and click the Add button.
Step 3: Select sRGB virtual device model profile and click OK.
Step 4: In the Profiles associated with this device section, select the profile you have just added and click Set as Default Profile.
Step 5: When you change the color profile to this one, the yellow tint should disappear. If it still exists, try the next fix.
Fix 3: Update Display driver
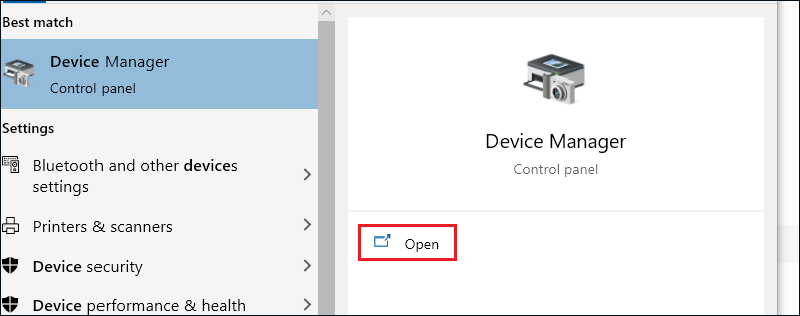
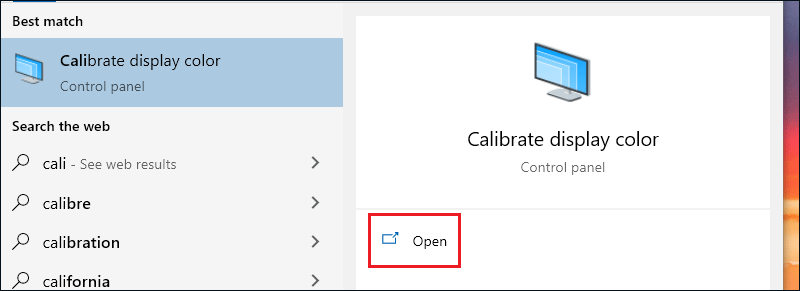
Step 1: Search for Device Manager in the Start menu bar and click Open.
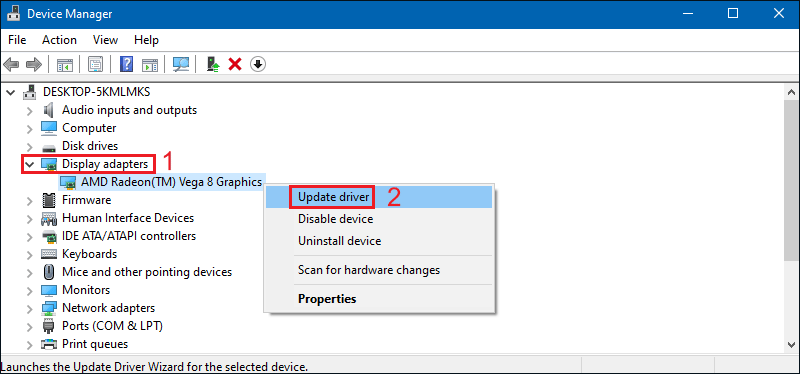
Step 2: Expand the Display adapters option, right click on your display adapter and click Update driver.
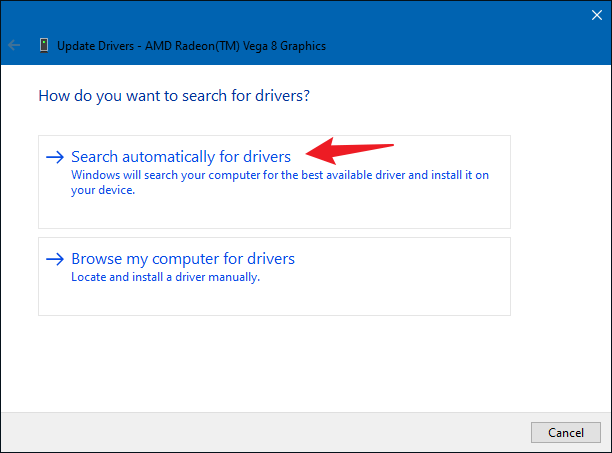
Step 3: Select Search automatically for drivers and let it update automatically.
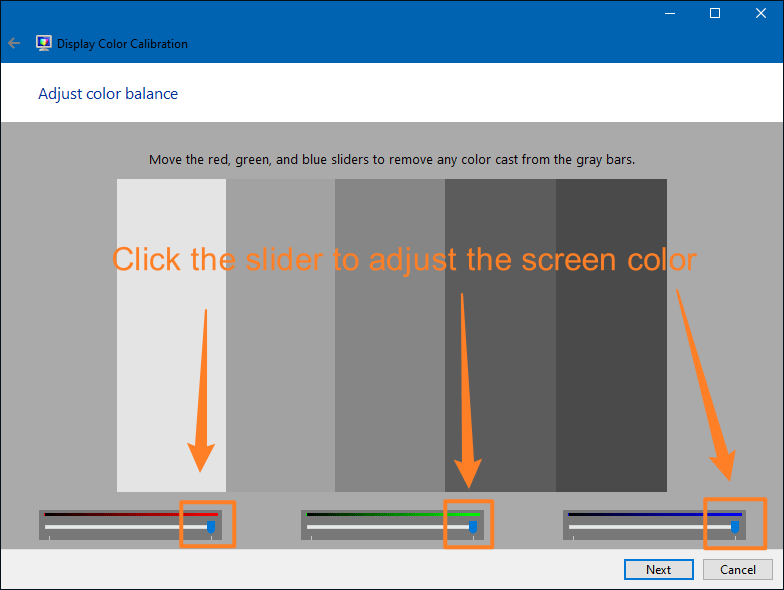
Fix 4: Change Color Calibration settings
The color calibration feature in the Window 10 & 11 allows you to ensure that your display produces colors as accurately as possible. To check if there is something wrong with the calibration settings, or if a color you accidentally calibrated has a yellow tint on the screen, follow the steps below to adjust it.