"I am used to sharing my photos on my iPhone with my friends. but once when I was about to share photos, suddenly the iPhone prompted that there was an error while preparing to share. There were no reasons and explanations and I was very confused about this. Any advice or help?"
iPhone allows us to share photos and videos from the Photos app in iMail or iMessage or other apps you install. However, some unpredictable changes and glitches may cause that iPhone is unable to share photos prompting a message that there is an error while preparing to share. So, how can we fix this issue? This tutorial will give you four detailed solutions to help you out.
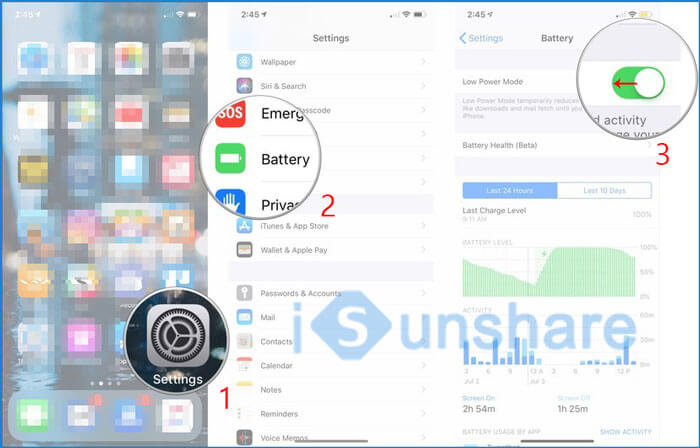
Low Power mode in iPhone can improve the battery life but some features will be disabled as a price. Therefore, when you find that your iPhone is unable to share photos, it is possible that your iPhone is in the Low Power mode. Here is how to disable low Power mode in iPhone.
Step 1: Go to Settings > Battery.
Step 2: Turn off the toggle key next to Low Power Mode option. That's all. Then you can check if your iPhone is able to share photos.
Solution 2: Check Internet connection
An Internet connection is one of fundamental conditions of sharing photos. So, if you want to share photos or videos with others, you need to make sure that your iPhone has a stable Internet connection. It is very easy to check. If you can open a site in Safari without further ado, that means your iPhone has a good Internet connection. Otherwise, a poor Internet connection will be a culprit of iPhone unable to share photos.
Solution 3: Reset Network Settings
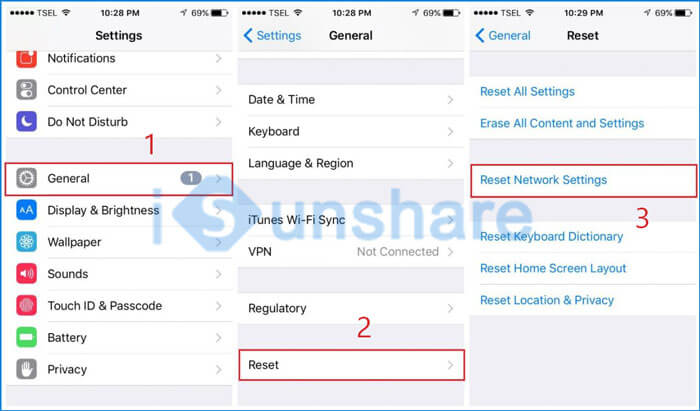
Sometimes even if your iPhone has a good network, you may disable Internet access for some apps by accident. As a result, the system will prompt a message that there is an error while preparing to share. To solve this problem, you can reset all network settings to default settings. Here are detailed steps.
Step 1: Go to Settings > General > Reset > Reset Network Settings.
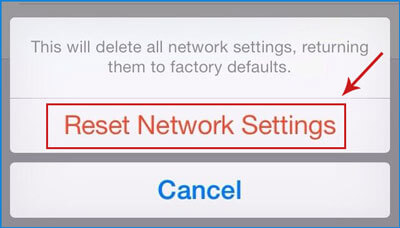
Step 2: A message pops up, click Reset Network Settings to continue. Wait for a while and the iPhone will reset all the network settings and restart automatically. That's all.
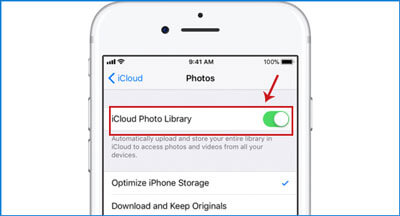
Solution 4: Toggle Off & On iCloud Photo Library
It seems to be in vain but actually it can fix some potential bugs that make iPhone fail to share photos. It is easy to operate and worth trying. Here's what to do.
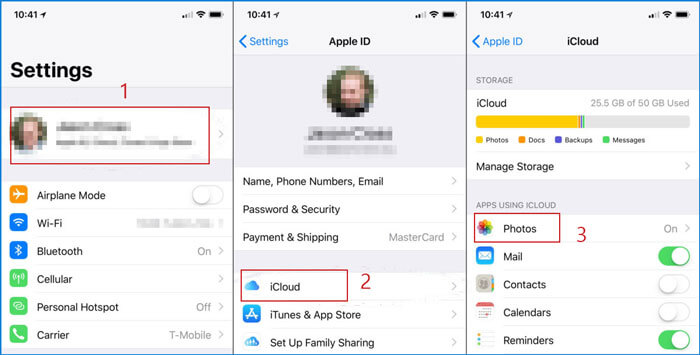
Step 1: Go to Settings > [your name] > iCloud > Photos.
Step 2: Toggle off iCloud Photo Library and wait for a second. Then toggle it on once again.
Solution 5: Fix iOS with software
If the ways mentioned above still can't solve the problem, it is very likely that there is a glitch with iOS system. If so, it is advisable for you to fix your iPhone with a reliable and powerful repair tool like iSunshare iOS Repair Genius, which can help you safely and quickly repair system without any data loss. Here is the guide of how to use this tool to fix.
Preparations:
1. Install and launch iOS Repair Genius on your Windows computer.
2. You'd better install iTunes on your computer to lets iOS Repair Genius run more smoothly.
3. Connect iPhone to the computer with USB cable.
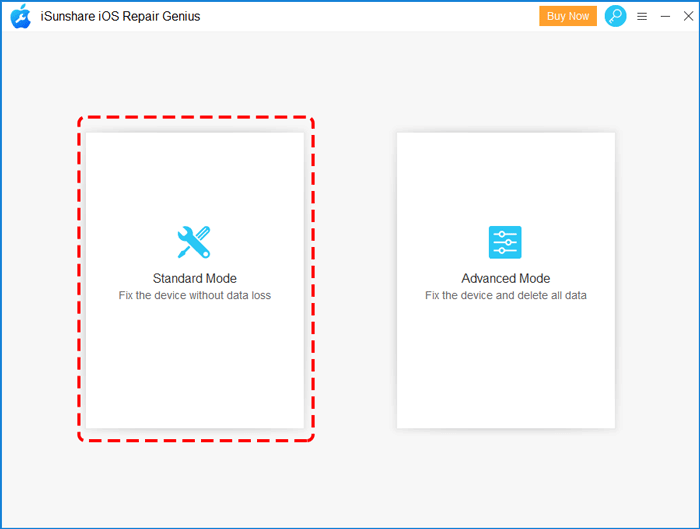
Step 1: Open this tool and choose Standard Mode function.
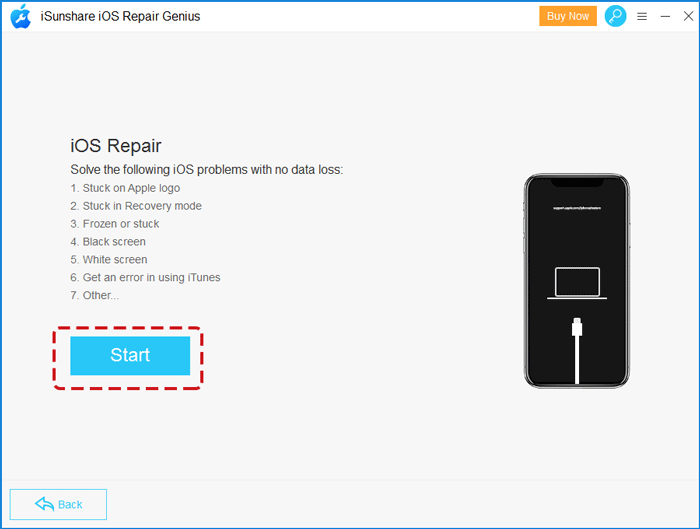
Step 2: Click Start button to continue.
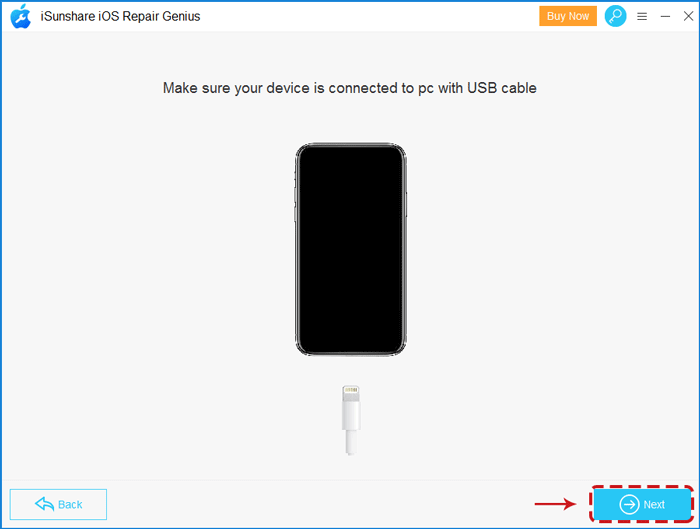
Step 3: Click Next button in the lower-right corner.
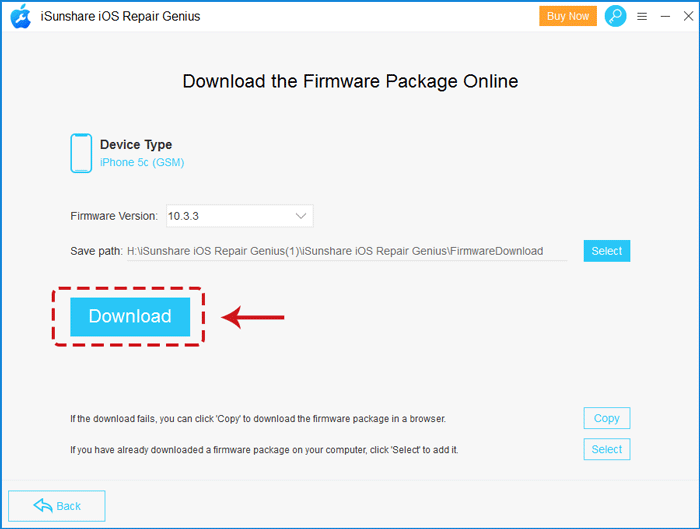
Step 4: The tool will detect the iPhone model and firmware version automatically. Click Download button to download the firmware package. It's optional to click Select option to set the destination for saving the firmware file. Once finished, the firmware file will be verified automatically.
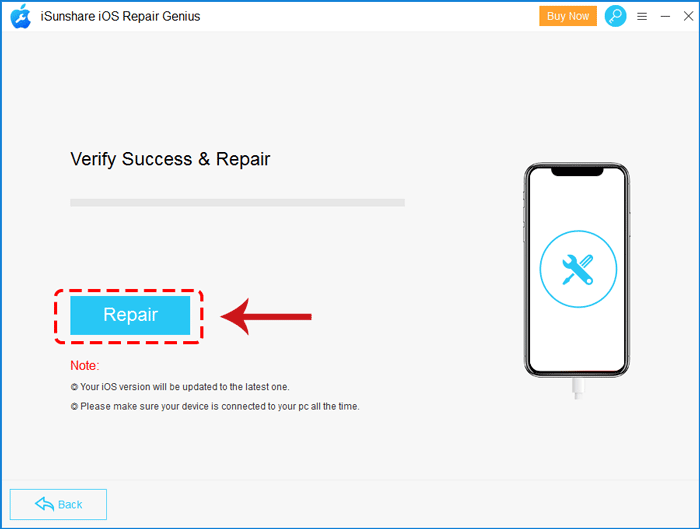
Step 5: Click Repair button to begin repairing your iPhone.
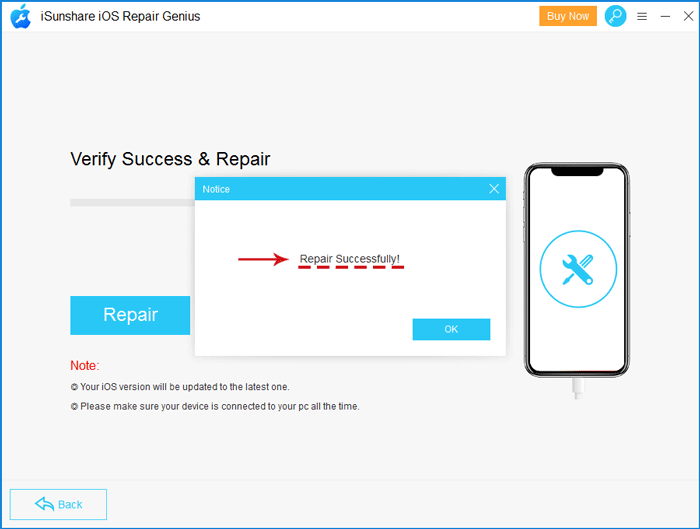
Step 6: Once finished, a tips box will be popped out to prompt you that it has been repaired successfully and your iPhone will reboot automatically. Now your iPhone gets back to normal and the issue of unable to share photos has been solved.