Disk Management is a built-in feature of Windows 10/11 that provides PC administrators with a user interface for managing disk partitions. Occasionally, Disk Management fails to load or work on Windows 10/11. And you may receive the error message "Unable to Connect to Virtual Disk Service" or "Disk Management could not start the Virtual Disk Service. In this article, I will provide you with a step-by-step guide to fix the disk management not working properly in Windows 10/11 issue.
Disk Management in Windows 10/11 may also not work if you have some missing or corrupted system files on your PC. For this reason, you can run the System File Checker (SFC).
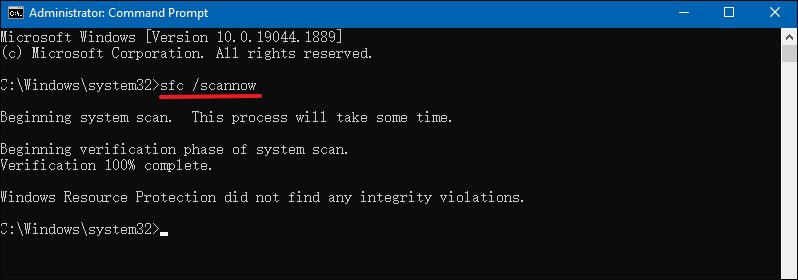
Step 1: Press Windows + S simultaneously, type cmd and click Run as administrator.
Step 2: At the command prompt, type "sfc /scannow" and press the Enter key. This operation automatically scans and repairs corrupted files on the system.
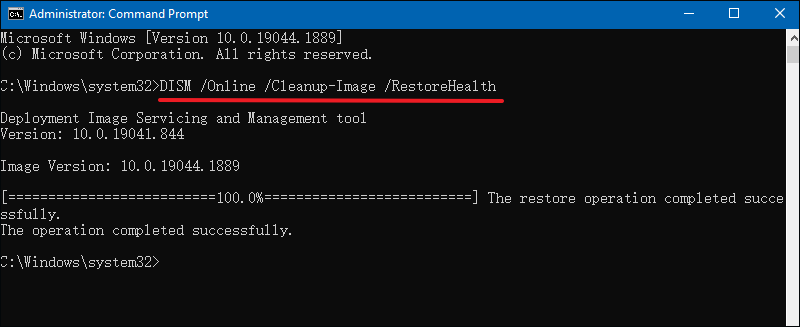
Step 2: Type the following command in cmd and press Enter. After the scan is complete, check if the problem with Disk Management not working in Windows 10/11 still exists.
DISM /Online /Cleanup-Image /RestoreHealth
Fix 3: Change service settings
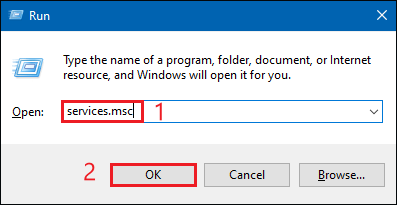
Step 1: Use WIN+R to open the Run dialog box, type services.msc and click OK to open the Services window.
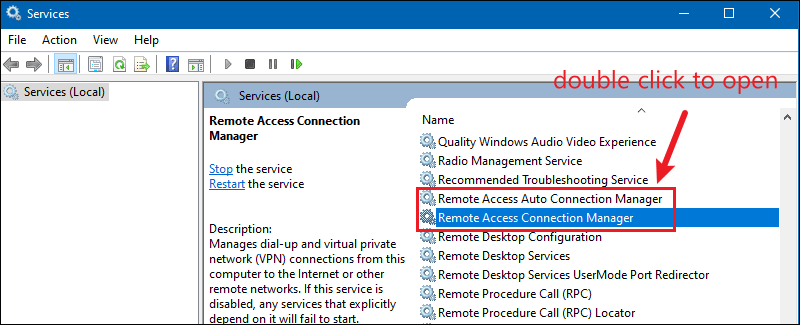
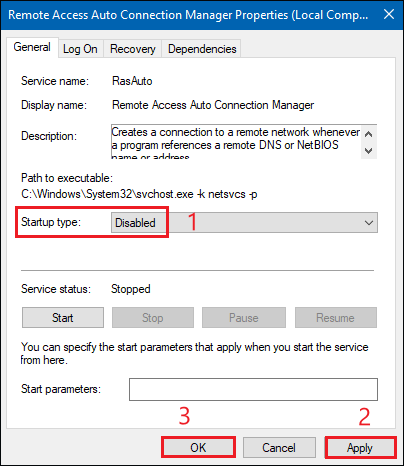
Step 2: Scroll down and locate the Remote Access Auto Connection Manager and double-click to open it.
Step 3: Select Disabled in the Startup type and click Apply and OK.
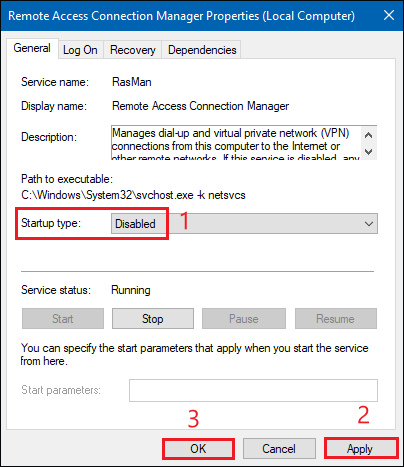
Step 4: Double click to open Remote Access Connection Manager Properties. Click Disabled in the Startup type and click Apply and OK as in the previous step.
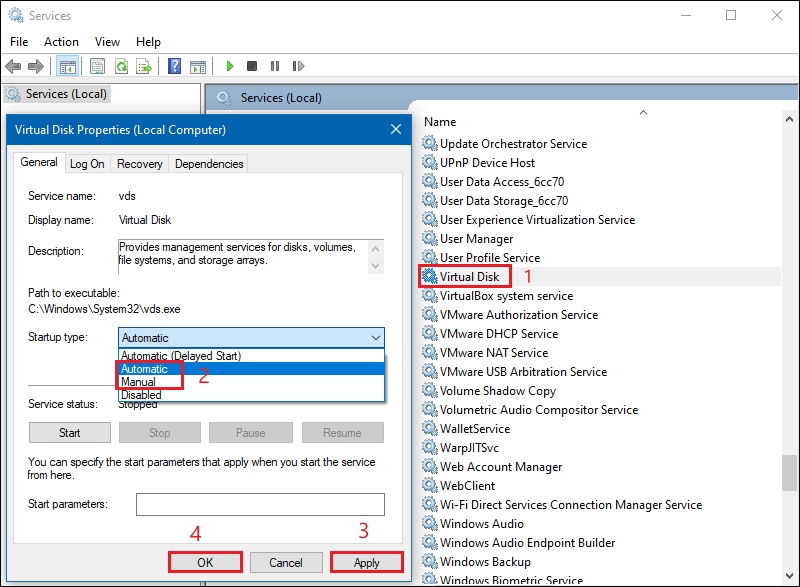
Step 5: Scroll down to find the Virtual Disk and double click to open it, select its Startup type as Manual or Automatic, click Apply and OK to complete the changes.
Step 6: Reboot your PC, and try to open disk management tool.
Fix 4: Check for system updates
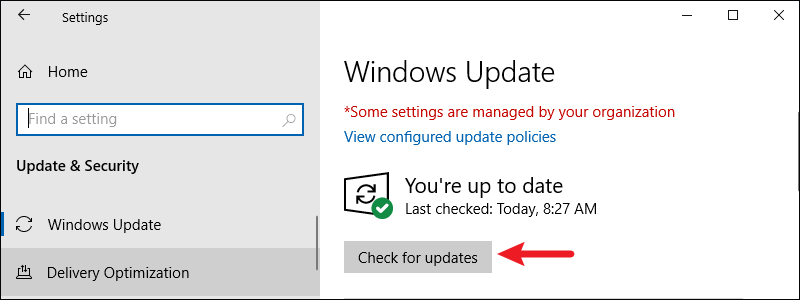
Step 1: Use Windows + I to open Settings and click on Update & Security.
Step 2: Click the Check for updates button. If there are any updates available, they will be downloaded in the background. Once the update has been downloaded, reboot your PC in order to install the update. After updating your system, check if the issue still persists.
Fix 5: Create a new user profile
If Disk Management does not work properly on your PC, the problem may be a corrupt user profile. We can create a new profile.
Step 1: Use Windows + I to open settings and click on Accounts.
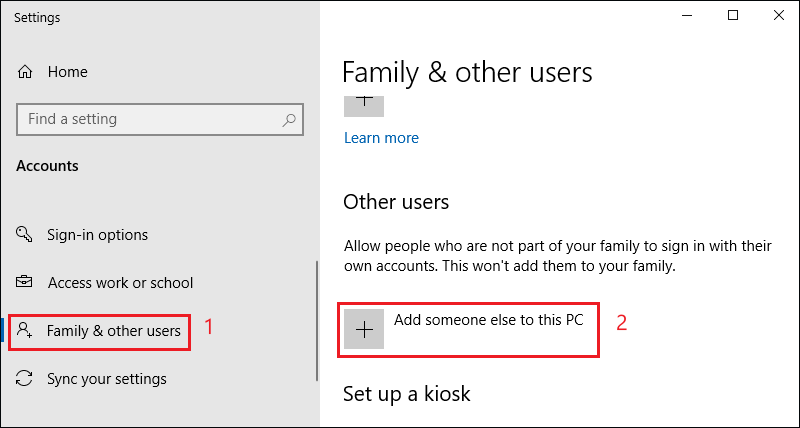
Step 2: In the left pane, click on Family & other users, and in the right pane, click on Add someone else to this PC.
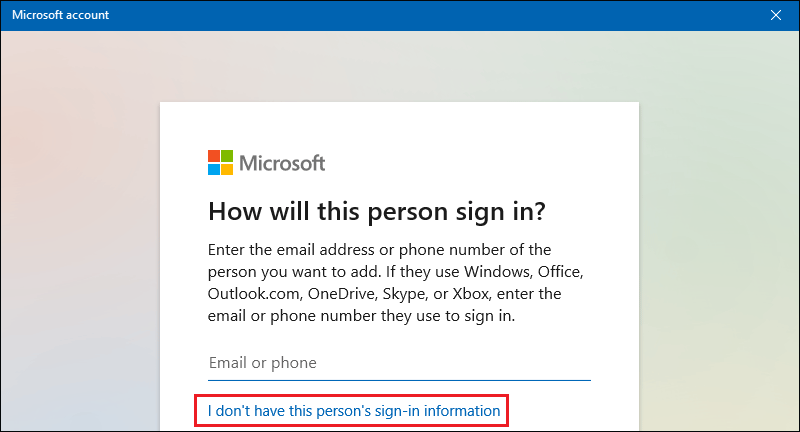
Step 3: Click on I don't have this person's sign-in information.
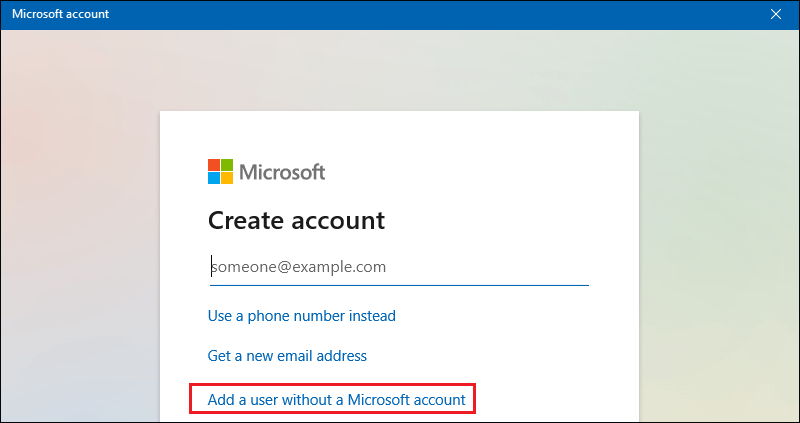
Step 4: Click on the option Add a user without a Microsoft account.
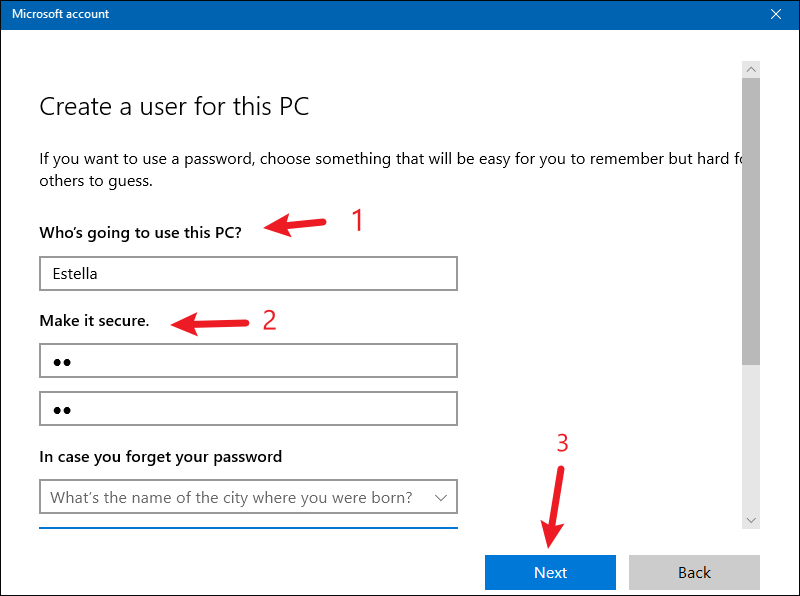
Step 5: Enter the required user name and password, then click Next.
Step 6: Once the creation of a new account is complete, switch to it and check if the problem was solved.