Hyper-V is a virtualization product from Microsoft. With Hyper-V, different Windows systems can be easily created and used. If you have checked that your current PC version is Windows 10 Pro, the system type is a 64-bit processor, the CPU supports VM monitor mode expansion and at least 4 GB of memory, you can enable Hyper-V in Windows 10 smoothly. In this step-by-step tutorial, learn how to Enable Hyper-V in Windows 10 Pro.
Option 1: Enable Hyper-V in Windows 10 Pro Using Windows PowerShell
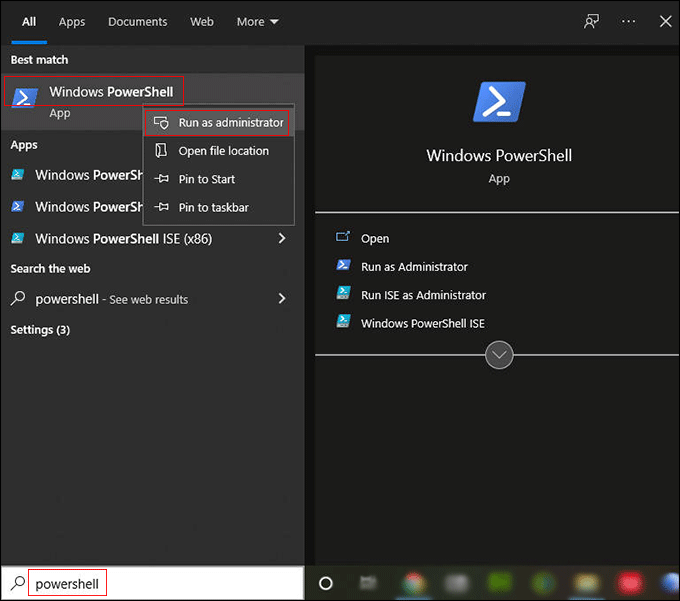
Step 1: Search for Windows PowerShell in the Search box next to the Start menu on your PC Windows 10 Pro.
Step 2: Not to open it directly, please right-click and tap "Run as administrator".
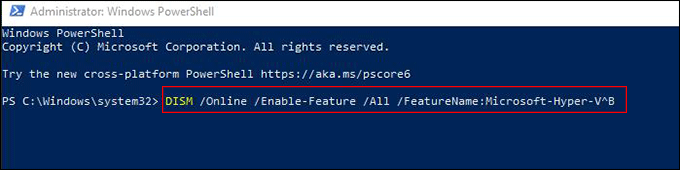
Step 3: Copy the command "DISM /Online /Enable-Feature /All /FeatureName:Microsoft-Hyper-V " and paste it on Windows PowerShell. After that, press "Enter" on your keyboard to run the command.
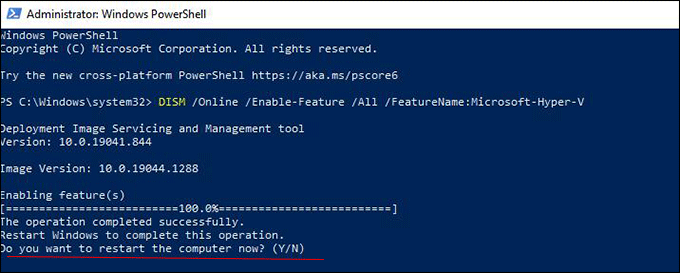
Step 4: Continue to type "Y" on Windows PowerShell to restart Windows to complete this operation when it asks you to restart or not. After doing this, you've enabled Hyper-V in your Windows 10 Pro successfully.
Option 2: Enable Hyper-V in Windows 10 Pro Using Turn Windows Features on or off
Hyper-V is an optional feature and is disabled by default. If you want to enable Hyper-V in your Windows 10 Pro by turning the feature on, follow the following step to enable Hyper-V in your Windows 10 Pro.
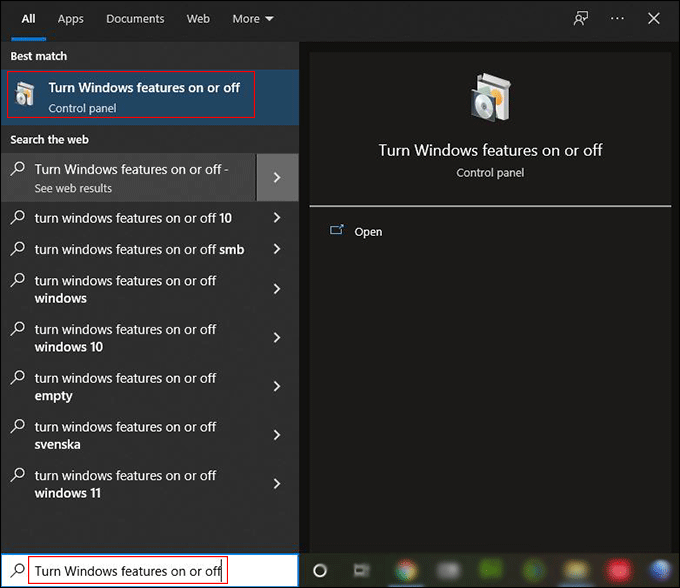
Step 1: Search for Turn Windows features on or off in the Search box.
Step 2: Open it and you can see there are a ton of features here.
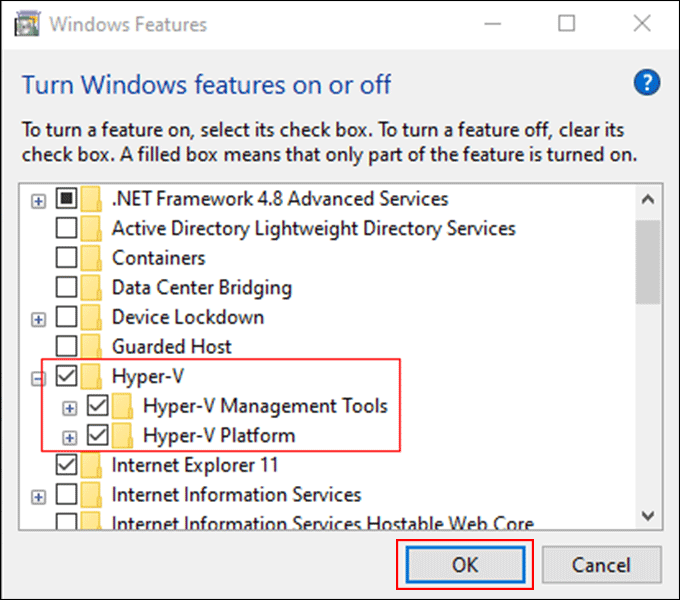
Step 3: Find the Hyper-V and then select its checkbox.
Step 4: Click "OK" to turn the feature on. If this is your first time doing it, you need to restart your computer when you have completed all these steps.
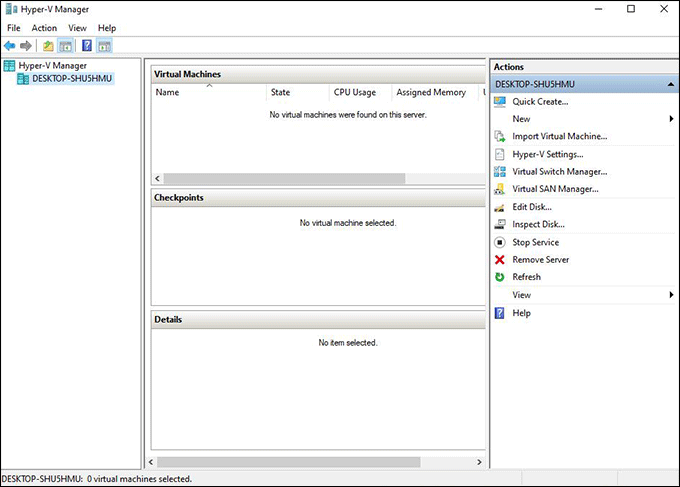
Step 5: Afterward, the Hyper-V has been enabled successfully. You can go into the Search box now to search for Hyper-V manager and start to create new virtual machines to use.
That is what this tutorial is all about how to enable Hyper-V in Windows 10 Pro edition. If you wondering how to create a new Hyper-V virtual machine, you can refer to more details on How to Install Windows 11 in Virtual Machine.