Windows machine allows users to schedule computer to turn on, as a result, you canset computer to auto-start on a schedule. To schedule computer to auto-start at a precise time, we have to enable computer to wake up on alarm and then set auto-start in Task Scheduler.
Step 1: Start or restart your computer and keep pressing a hotkey such as Delete or F2 to enter the BIOS settings.
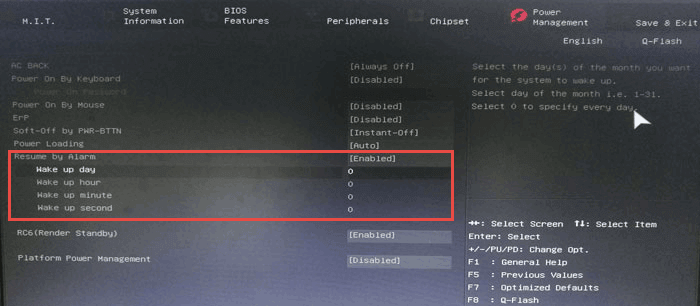
Step 2: Use the direction keys to locate to Power Management tab.
Step 3: Locate to the Resume by alarm to change settings.
Schedule Computer to Auto-Start with Task Scheduler
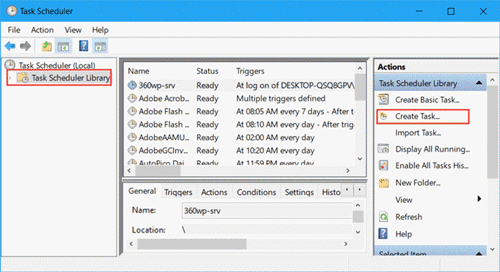
Step 1: Input Task Scheduler in the Cortana and hit Enter to open it.
Step 2: Click on Task Scheduler Library and then tap on Create Task in the right sidebar. On the other way, you can right-click on Task Scheduler Library and select Create Task as well.
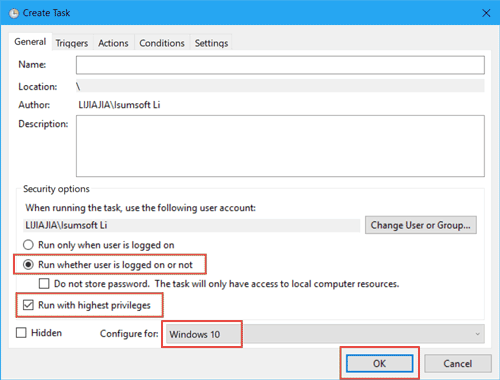
Step 3: Type a name for the task and tick on Run whether user is logged on or not and Run with highest privileges.
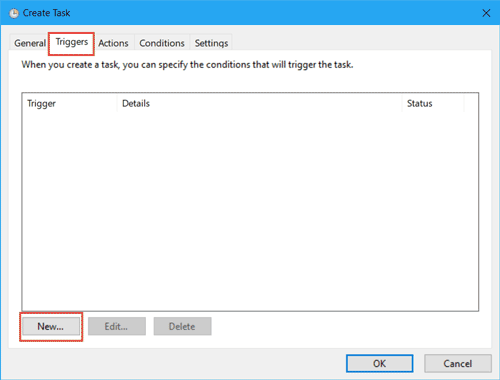
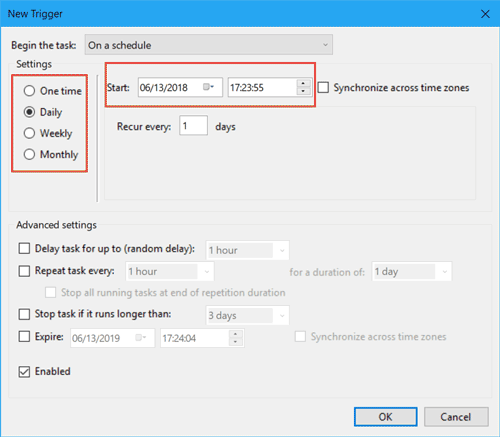
Step 4: Go to Triggers tab, click on New.
Step 5: Change the settings to your needs.
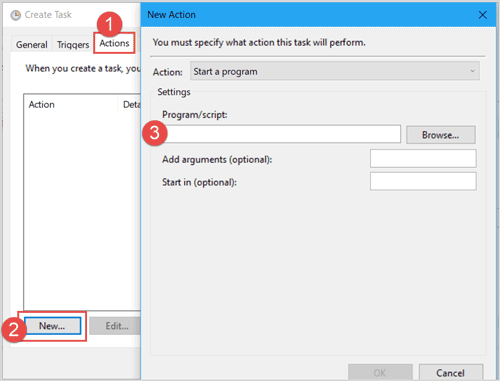
Step 6: In the action tab, click on New and type a name for the action.
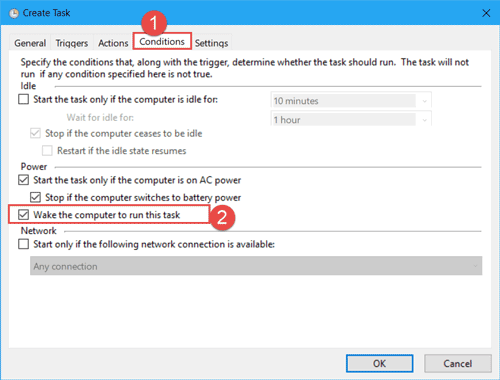
Step 7: Locate to the Conditions tab, click on the checkbox of Wake the computer to run this task.
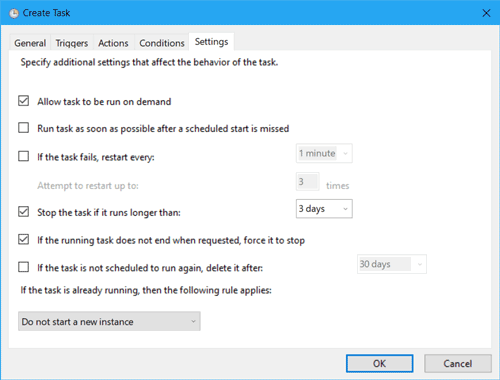
Step 8: You can change some settings in the Settings tab. Now you have accomplished creating a new task for auto-starting of computer. Tap on OK button and input your login password then you will back to the Task Scheduler window. Right-click on the task and Run it.
Why Does My Windows 10 Restart after Entering Sleep Mode?
At times, few of computers would restart after entering sleep mode, especially for computers set auto start or shutdown. Here are two ways to address the issue.
Way 1: Cancel "Automatically restart" and change advanced settings of battery
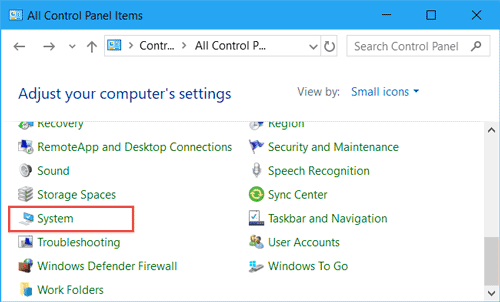
Step 1: Open Control Panel, select Small icon next to View by and click on System.
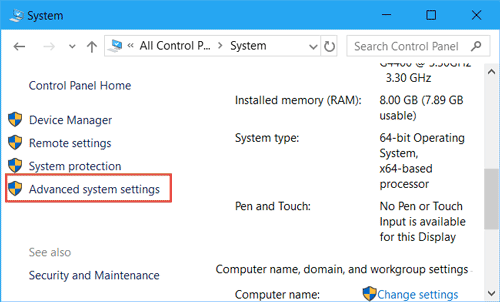
Step 2: Click on Advanced system settings on the left sidebar.
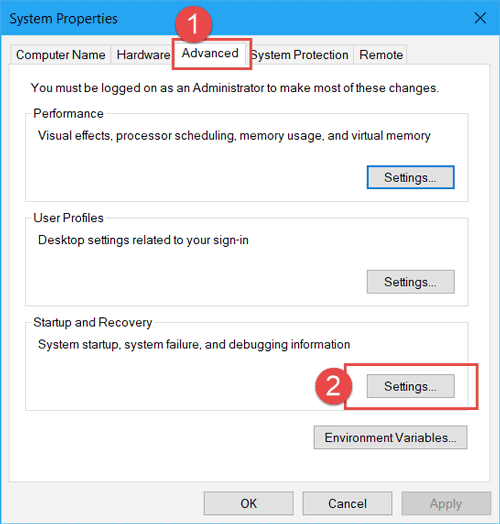
Step 3: In the System Properties window, click on Settings in Startup and Recovery section.
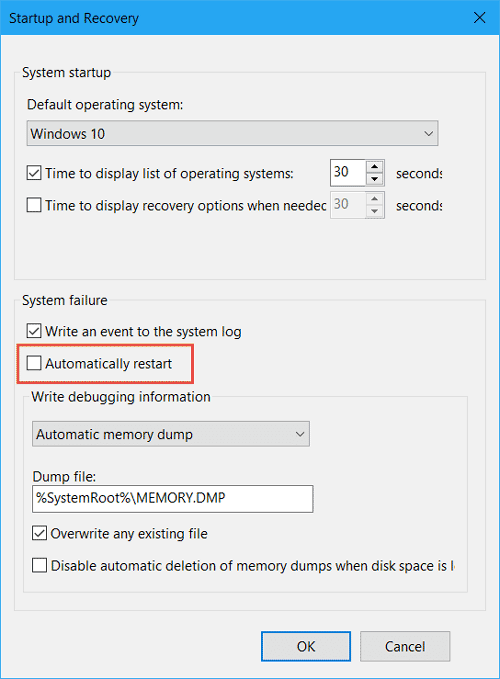
Step 4: Uncheck the "Automatically start".
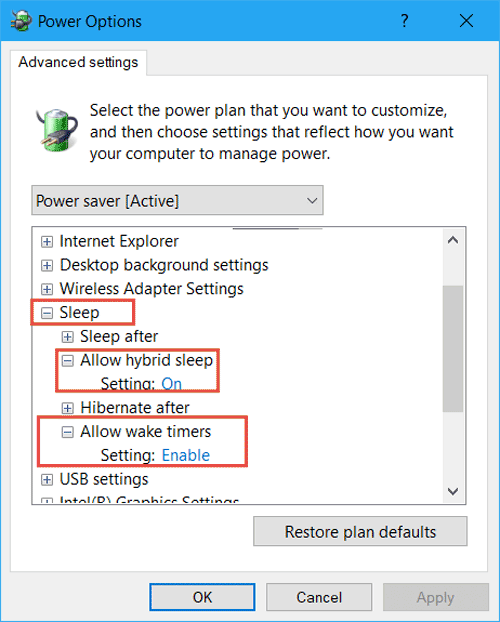
Step 5: Go back to Control Panel window above and navigate to Power Options > Change when the computer sleepsChange advanced power settings. In the Power Options window, expand Sleep > Allow hybrid sleep. Turn it on next to Settings. Expand Allow awake timer and Enable it.
Way 2: Disable device from waking on Magic Packet or pattern match
If the method above doesn't work, try to disable device from waking on Magic Packet or pattern match.
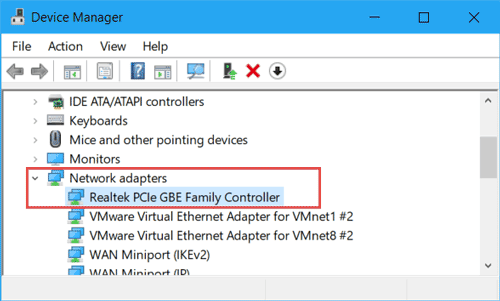
Step 1: Right-click on Start and select Device Manager.
Step 2: Expand Network adapters and right-click on the wireless network adapter, select Properties.
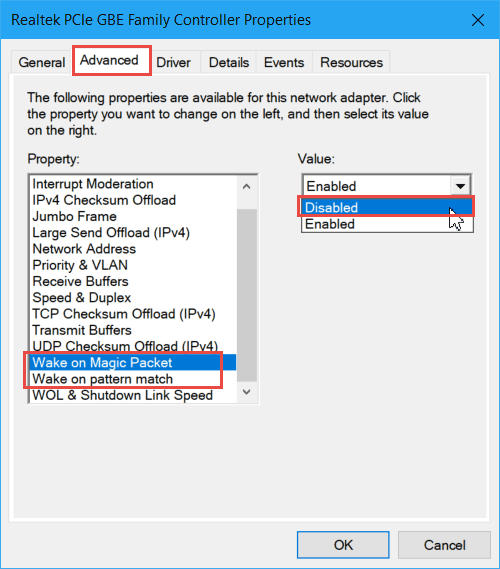
Step 3: In the Advanced tab, click on Wake on Magic Packet and Wake on pattern match, select Disabled in the right side.