Any Windows device can encounter system problems. In most circumstances, you can use the built-in troubleshooters to solve these system problems. However, it can be very frustrating when even these troubleshooters suddenly crash. When this happens, you will usually see an error message that says "A problem is preventing the troubleshooter from starting".
Way 1: Activate Troubleshooter by Local Group Policy Editor
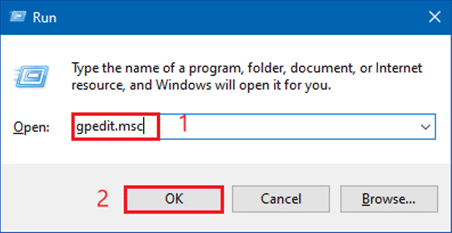
Step 1: Use the Windows+R keys to open Run dialog box, type gpedit.msc and click OK to open local group policy editor.
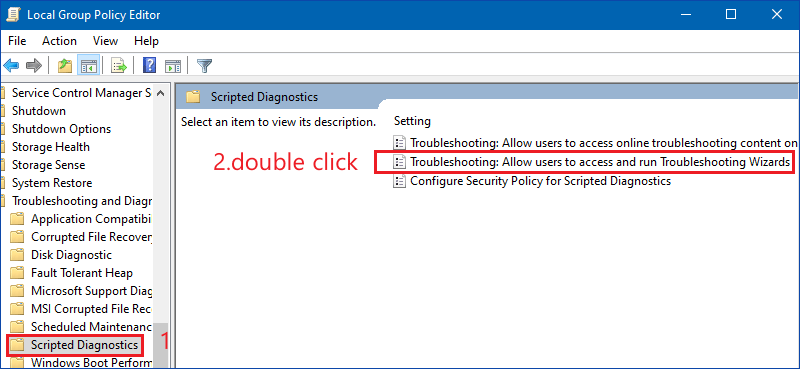
Step 2: Locate the following path in the Group Policy Editor. Then double click to open the Allow users to access and run Troubleshooting Wizards option.
Computer Configuration > Administrative Templates > System > Troubleshooting and Diagnostics > Scripted Diagnostics.
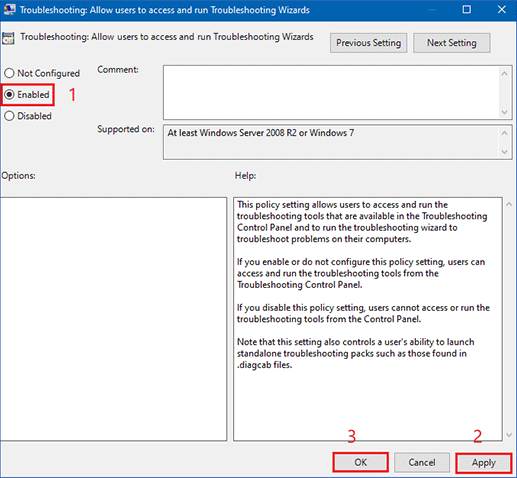
Step 3: Check Enabled option, press Apply and OK button. Once done, repeat the same steps to enable the other two options in the Script Diagnostics folder. Then reboot your PC to save these settings.
Way 2: Perform SFC scan
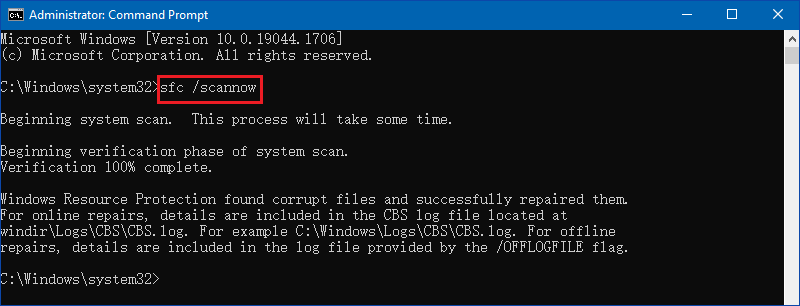
The SFC scan tool will scan your Windows system files for corrupted or missing files and it can repair or replace these files immediately. This can be quite helpful if you need these files during troubleshooting, as this error can occur if there is a problem with one of the system files you use to run the troubleshooter.
Step 1: Type CMD in start menu and click on Run as administrator.
Step 2: Execute the following command in CMD. Wait patiently for it to finish scanning.
sfc /scannow
Way 3: Enable Cryptography Services
A broken cryptography service, which is either stopped by another app, or by an error on Windows. Either way, the service needs to be started to get rid of the error message you are presently processing.
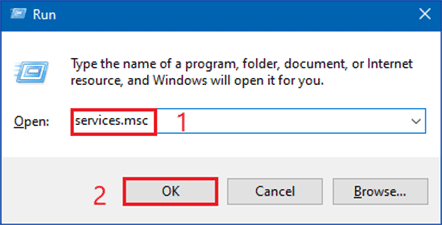
Step 1: Use Windows+R keys to open Run dialog box, type services.msc and click OK to open Services.
Step 2: Find and double click to open Cryptographic Services. If the service is already running (you can check it next to the service status information), you should immediately click the Stop button in the middle of the window to discover it. If it is stopped, leave it as it is.
Step 3: Before you proceed with the instructions, make sure that the option under the Startup Type menu is set to Automatic. Before exiting, click the Start button. When you click Start, you may receive the following error message:
"Windows could not start the Cryptographic Service on Local Computer. Error 1079: The account specified for this service differs from the account specified for other services running in the same process."
If this error occurs, please follow the instructions below to fix it.
Step 4: Repeat Steps 1-3 above. Move to the Log On option, then click on Browse.
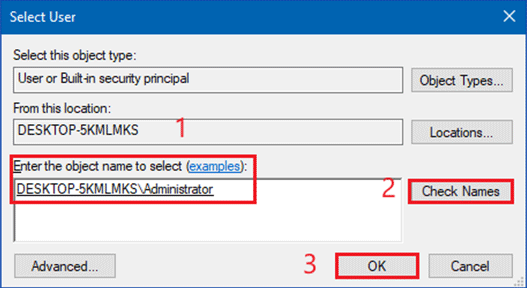
Step 5: In the Enter the object name to select box, type your account name, click Check Names, and wait for the name to be recognized. Click OK when you're done, and if you set a password, type it in the password box when you're prompted to enter it. Now you should be able to start without any problems.
Way 4: Execute a system restore point
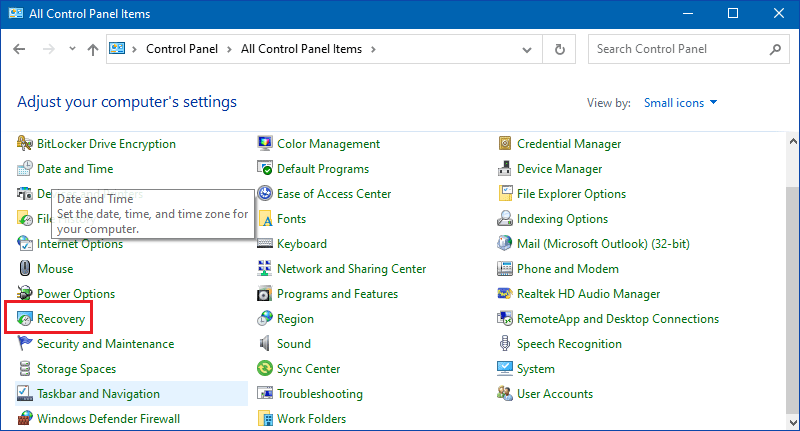
Step 1: Type Control Panel in the Start menu bar and click Open. Select the Recovery option from there.
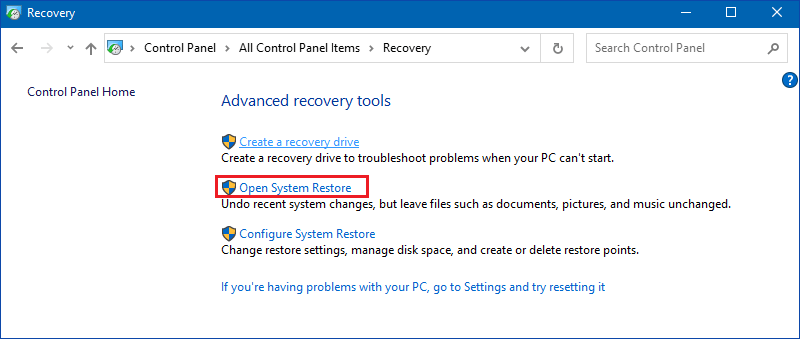
Step 2: In the Recovery pane, simply click on the Open System Restore and in the next pop-up window, click on Next.
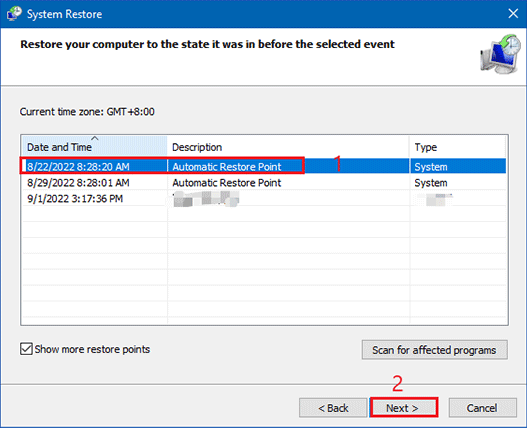
Step 3: In the System Restore window, select a restore point, and then click Next to continue. Follow the on-screen instructions to complete the system restore.
Way 5: Set the correct temporary folder location
When you run a troubleshooting tool, it automatically writes files to a temporary folder on your computer. This process helps the tool to run smoothly. However, if you change the default temporary folder location, then this can cause problems.
In this circumstance, you need to make sure that your PC is writing the files to the correct Temp folder. Here are the full steps.
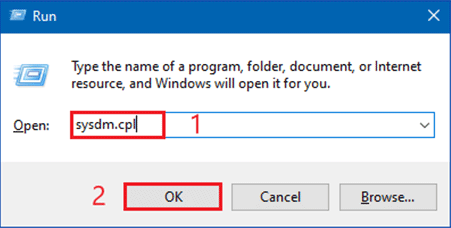
Step 1: Press Windows+R at the same time to open Run dialog box, type sysdm.cpl, and then click OK to open system properties.
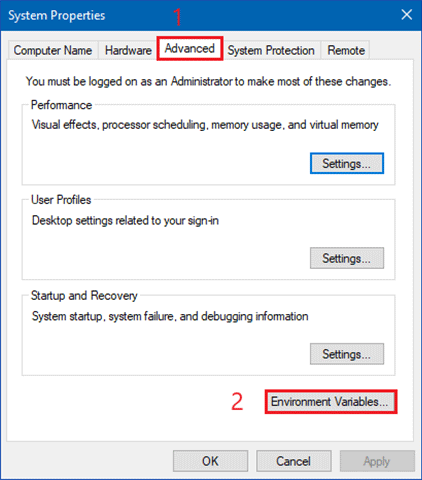
Step 2: Move to Advanced tab and click on the Environment Variables option.
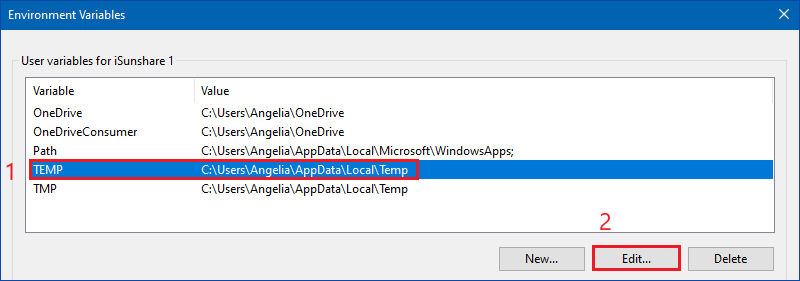
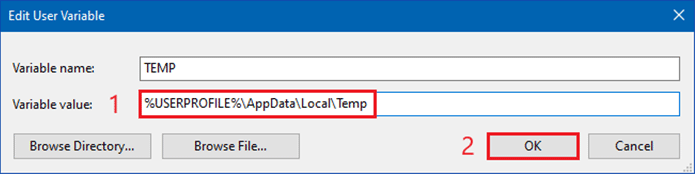
Step 3: In the Environment Variables dialog box, find TEMP and click Edit.
Step 4: Change its variable value to %USERPROFILE%\AppData\Local\Temp and click OK.
Step 5: Reboot your PC when you are done. This should fix the issue by setting the correct Temp folder location.