Windows Defender, the Microsoft built-in antivirus application, which surely prevents the Windows PC from most of malware infections like viruses, worms or Trojan horses. Whereas, it is not almighty and some of you might consider installing third-party software to manage your PC. Windows Defender isn't compatible with another antivirus. As a result, it is necessary to temporarily or permanently disable Windows Defender in Windows 10 beforehand.
Temporarily Disable Windows Defender in Windows 10
In this part, we will tell you how to temporarily turn off Windows Defender in Settings.
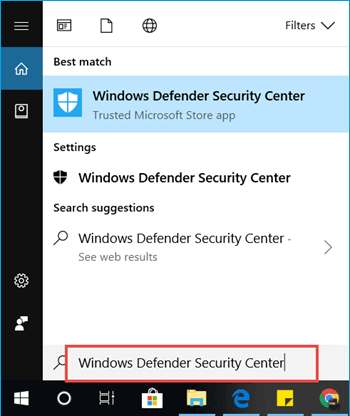
Step 1: In the Cortana search bar, type Windows Defender Security Center(or Windows Security in some versions of Windows 10) and hit Enter to open from the result.
Step 2: Click the Virus & threat protection icon in the left sidebar. Then, click Virus & threat protection settings. In some editions of Windows 10, instead of directly choosing Virus & threat protection settings, you need to choose Manage settings under it.
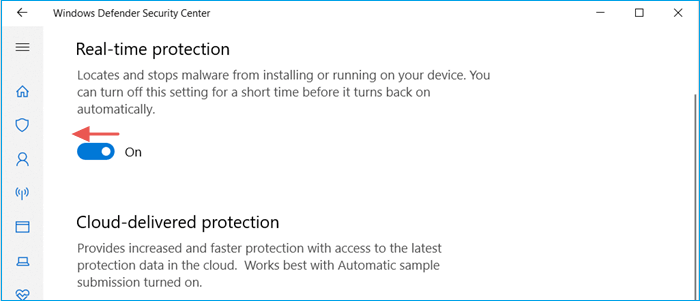
Step 3: Turn off the Real-time protection to temporarily disable Windows Defender in your Windows 10 PC.
Permanently Disable Windows Defender in Windows 10
Way 1. Turn off Windows Defender via Registry Editor
Before you try this method, it's highly suggested to backup your full Windows 10 PC firstly, which can prevent the data loss and system problems caused by wrong operations.
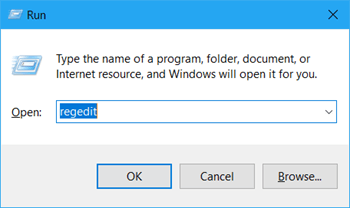
Step 1: Press Windows + R to open Run dialog. Type regedit and hit Enter to open Registry Editor window.
Step 2: Expand the following keys:
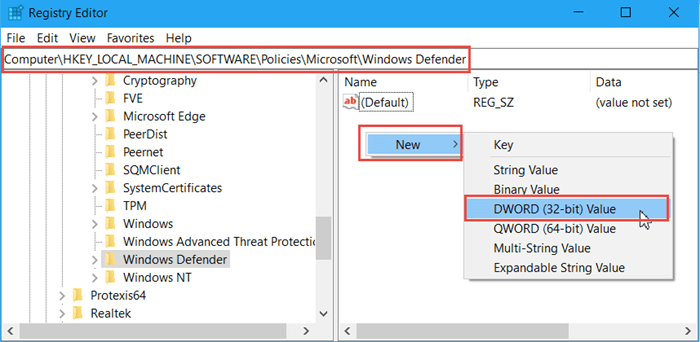
HKEY_LOCAL_MACHINE \ SOFTWARE \ Policies \ Microsoft \ Windows Defender
Step 3: Right-click on the blank space of the right side to create a new DWORD (32bit) Value.
Step 4: Rename it to DisableAntiSpyware and set its value to 1. Tap on OK to exit.
Step 5: Restart your Windows 10 computer to make the change take effect.
Way 2. Turn off Windows Defender with Group Editor
When you are running Windows 10 Pro/Enterprise, you can apply this way to permanently turn off Windows Defender in your Windows 10 OS.
Step 1: Hold down Windows key and press R key to invoke Run dialog then type gpedit.msc. Click on OK to open Group Editor.
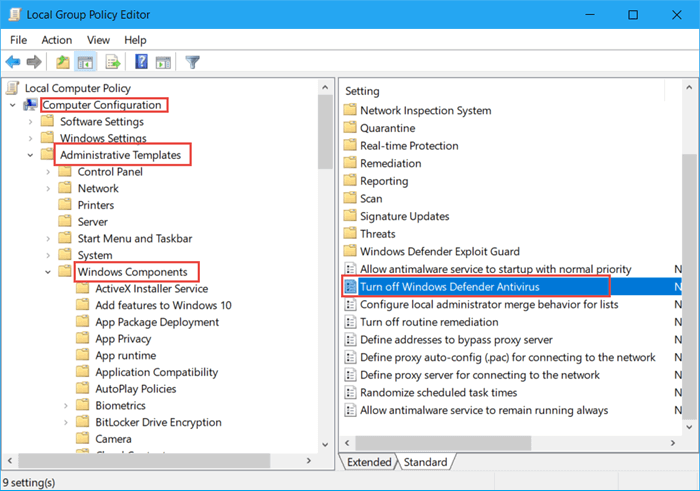
Step 2: Go to Computer Configuration > Administrative Templates > Windows ComponentsWindows Defender Antivirus. In the right pane, locate to Turn off Windows Defender Antivirus and double-click on it.
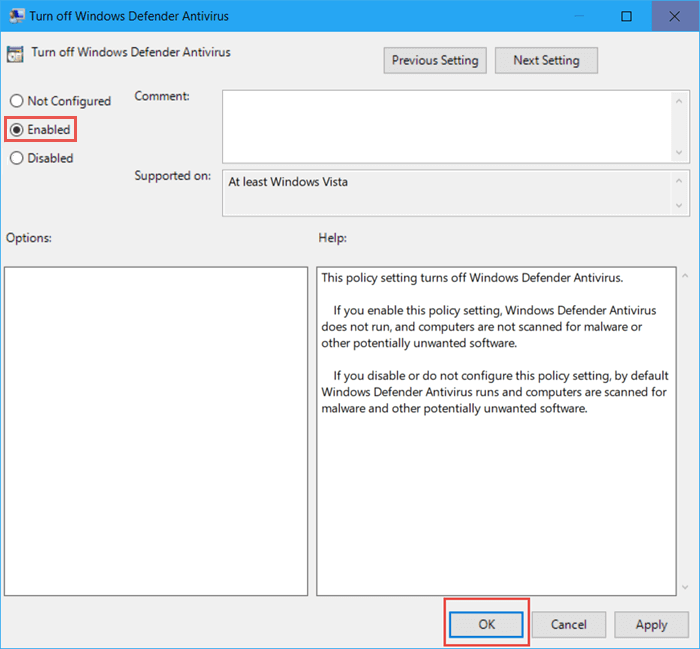
Step 3: In the pop-up window, check on Enabled and click OK to save the change. At last, reboot your PC and you will find that Windows Defender has been permanently disabled.