We use cookies for personalizing content and ads and providing social media features. Your usage information on our website will be used for social media, advertising, and traffic analytics, or shared with our partners. Clicking "Accept" means you agree to use our cookies .
In the interest of making a clear understanding of disk partition, let's start with computer hard disk. Nevertheless, it cannot store information unless slicing it, that is disk partition. Then following the quick rundown to make overall acknowledge of disk partition.
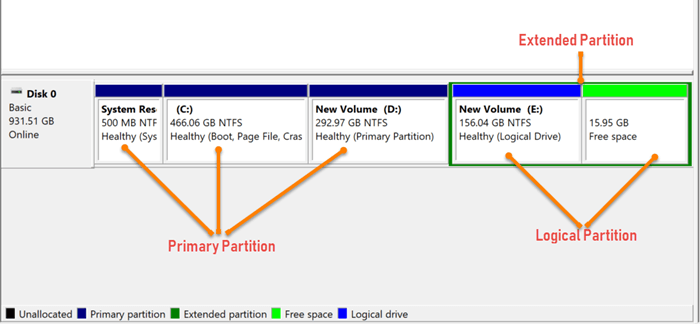
System administrators use a program called a partition editor to manage partitions such as create, resize, and delete them. On an MBR partition table type hard disk, it can be no more than four primary partitions. However, you must use the extended partitions if you want to utilize more than four partitions on your computer. In this case, the hard disk support at most three primary partitions and one extended partition overall. A hard disk can only create one extended partition, but it can be arbitrarily separated into multiple logical partitions. What's more, the extended partition must be re-segmentation before using it.
Here is what relationship between primary partition and extended partition:
Disk capacity= Primary partition capacity + Extended partition capacity
Note: The capacity of extended partition is the sum of each logical partition size.
MBR supports up to 2TB of hard disk and compatible with older operating systems like Windows XP 32-bit, Windows 2003 32-bit, Windows 2000, Windows NT.
On a GPT partition, it's maximum primary partition limit is 128. The capacity of each partition is up to 2 TB. What's more, system installed on GPT disk can only boot from UFIF.
2. How to View the Partition Style
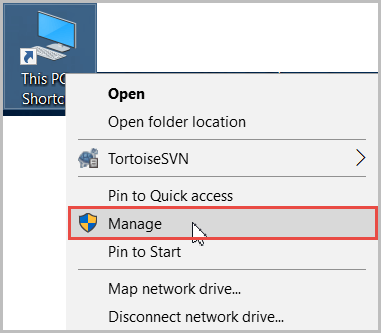
Step 1: Right-click on This PC and select Manage.
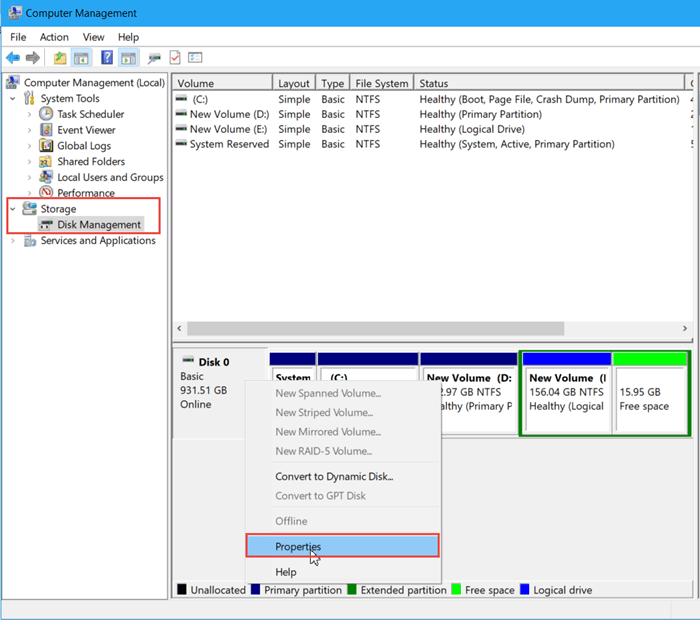
Step 2: Expand Storage > Disk Management.
Step 3: Right-click on the disk and choose Properties.
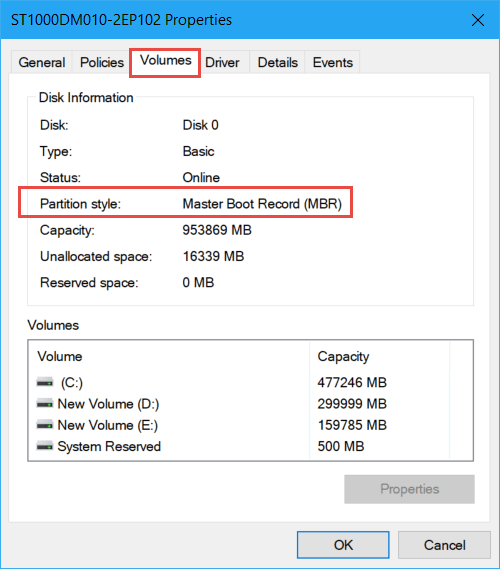
Step 4: Under the Volumes tab, you will see the partition style in the list.
3. Convert Disk between GPT and MBR Windows without Data Loss
Why should we convert disk between GPT and MBR in Windows 10? Here are two main reasons:
First, if you have an MBR disk of 3 TB but you can use only 2 TB in total then the rest of 1 TB would be unallocated, for the MBR supports up to 2 TB. So, in the interest of making full use of disk space, we should convert MBR to GPT.
Second, some people failed to install Windows because of the GPT partition table. In this case, we have to convert GPT to MBR to finish installation.
Here is how to convert disk between GPT and MBR Windows 10 by Command Prompt.
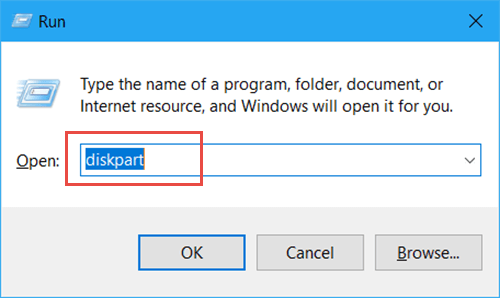
Step 1: Hit Windows + R combination key to invoke Run dialog. Input "diskpart" and hit Enter to run the command.
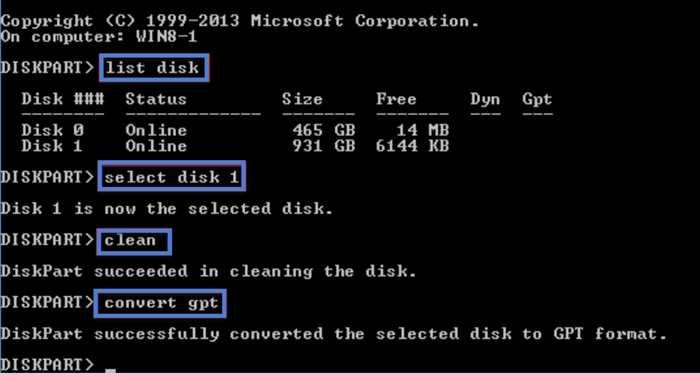
Step 2: Type "list disk" and press Enter key.
Step 3: Input "select disk n" to select the target partition. (take disk 1 for example)
Step 4: Type "clean" then press Enter as well.
Step 5: Input "convert mbr" to change from GPT to MBR. Or you can input "convert gpt" to change from MBR to GPT.
4. Differences between FAT16, FAT32, and NTFS
The most common disk formats are FAT16, FAT32, and NTFS. This section will briefly state their definition and differences.
FAT16: It is the most common formate in MS-DOS and the earlier Windows 95 operating system, almost all Windows support FAT16 formate. FAT16, as the name implies, takes a 16-bit file allocation table and supports at most 2 GB hard disk. But the biggest weakness is that disk utilization is too low.
FAT32: It adopts a 16-bit file allocation table. Comparing to FAT16, it greatly reduces the waste of the disk. What makes it terrible is that FAT32 runs lower than FAT16 for the allocation table's enlargement. Once you use the FAT32 format, you won't be able to use MS-DOS anymore.
NTFS: NTFS has released since Windows NT which is more outstanding than FAT16 and FAT32. Its advantages are excellent security and stability; on the flip side, it is not easy to produce file fragments during usage.
5. How to Create Partition in Windows 10
Create multiple partitions is convenient to classify different types of files and improve work efficiency.
Step 1: Right-click on This PC and choose Manage. Once the Computer Management window appears, expand Storage > Disk Management in the left sidebar.
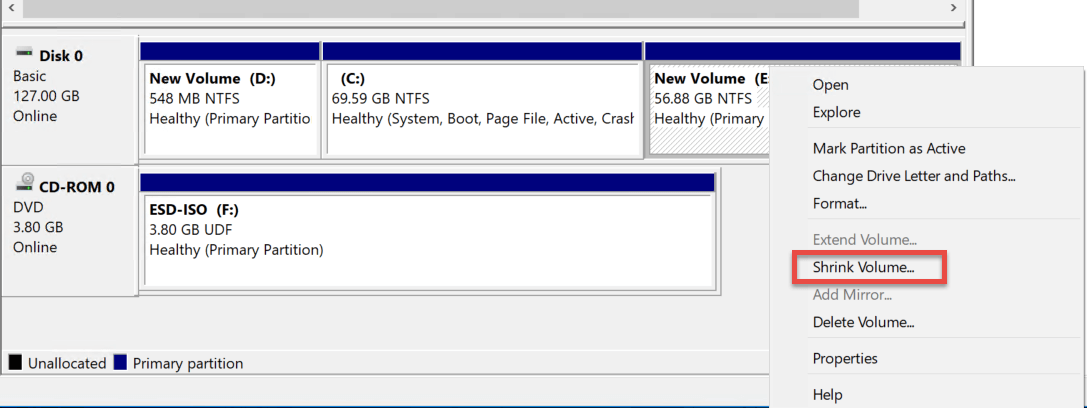
Step 2: Right-click on a drive that you want to shrink and select Shrink Volume.
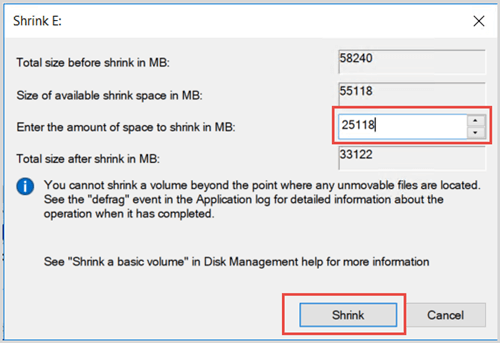
Step 3: Input amount of space for the new volume then tap on the Shrink button.
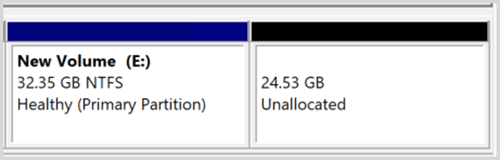
Step 4: Then you will see an unallocated partition next to the right side.
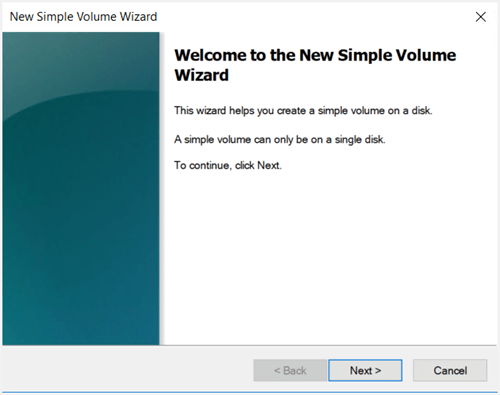
Step 5: Right-click on the unallocated volume and select New Simple Volume. Just follow the New Simple Volume Wizard to finish creating a partition in Windows 10.
6. How to Delete Partition in Windows 10
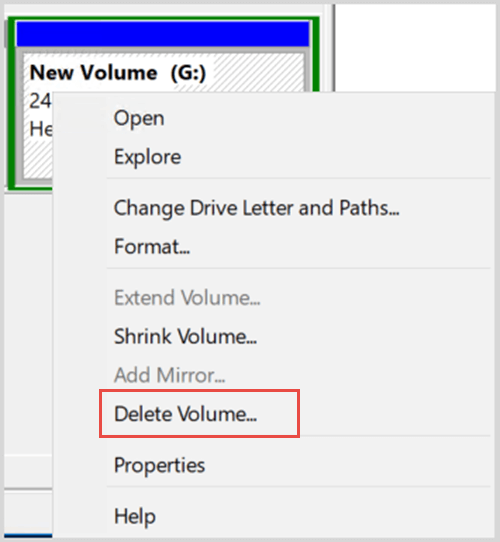
If you want to delete a volume, you can go to the Disk Management and right-click on the aim volume and select Delete Volume. Then a warning dialog will pop up, click on Yes to continue. It will turn into an unallocated volume.
Note: Deleting volume will cause data loss, so, we recommend that you should back up all files to a safe location such as iCloud.
7. How to Resize or Extend Partition by Windows Built-in Disk Management Tool
The Windows 10 built-in Disk Management Tool has the ability to resize partition space. Let's walk through two steps to resize or extend a volume.
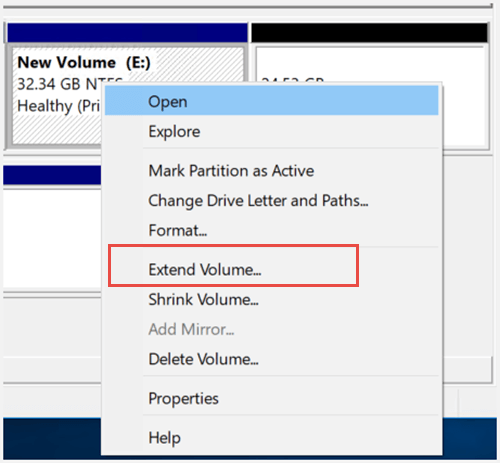
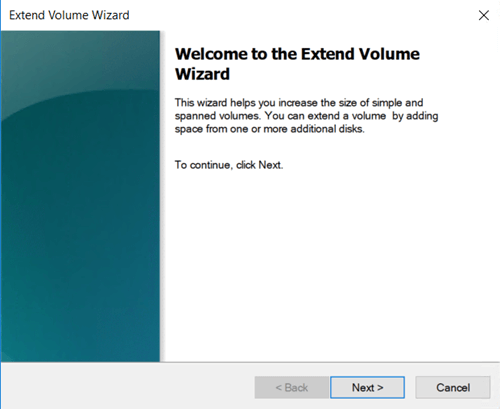
Step 1: Right-click on a volume and choose Extend Volume.
Step 2: The Extend Volume Wizard will guide you to accomplish the process.