We use cookies for personalizing content and ads and providing social media features. Your usage information on our website will be used for social media, advertising, and traffic analytics, or shared with our partners. Clicking "Accept" means you agree to use our cookies .
"There is not enough memory or disk space to run Word."
"There is not enough memory or disk space to complete the operation."
"There is not enough memory or disk space to update the display."
…
When you get such not enough memory or disk space error message, what can you do to free up the memory or disk space to make Microsoft Word working normally? You can refer to the following tricks to solve not enough available memory or disk space error in Word.
Trick 1: Free up Memory or Disk Space by Cleaning Junk Files
Just as the error describes "There is not enough memory or disk space", why not go to free up more space by cleaning the junk files and invalid entries? You can use iSunshare System Genius to do a disk cleanup and optimization. It would be of great help when you receive the not enough disk space for Word running message.
iSunshare Windows System Cleanup Software
Clean up disk space on your computer
Delete junk files and invalid registry files from your PC
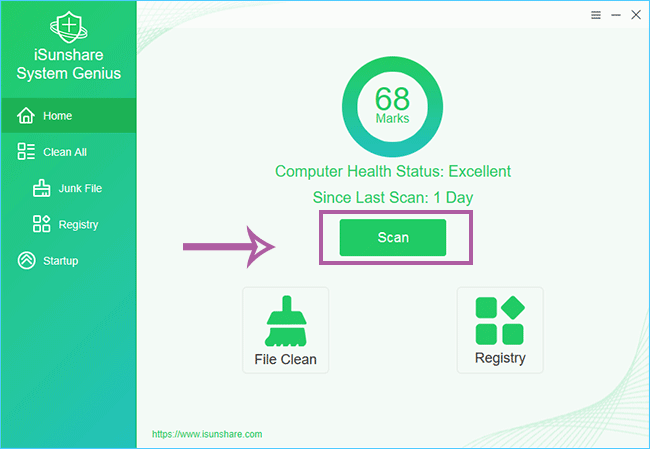
Step 1:Double click to open iSunshare System Genius. Then click "Scan" to do an entire check for the computer.
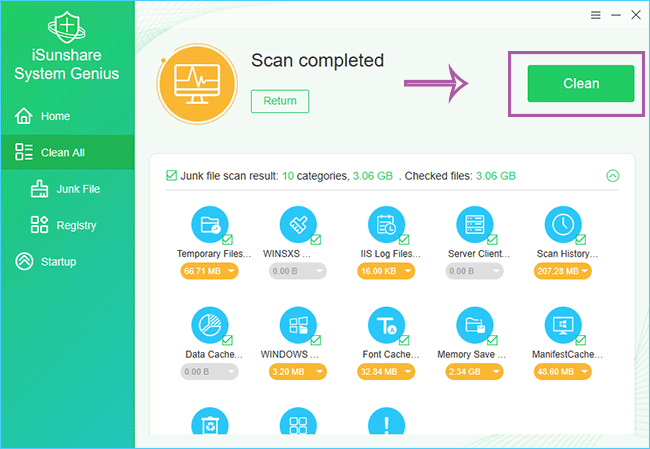
Step 2:You can click "Clean" and let the software to clear all selected junk files and registry entries from your computer.
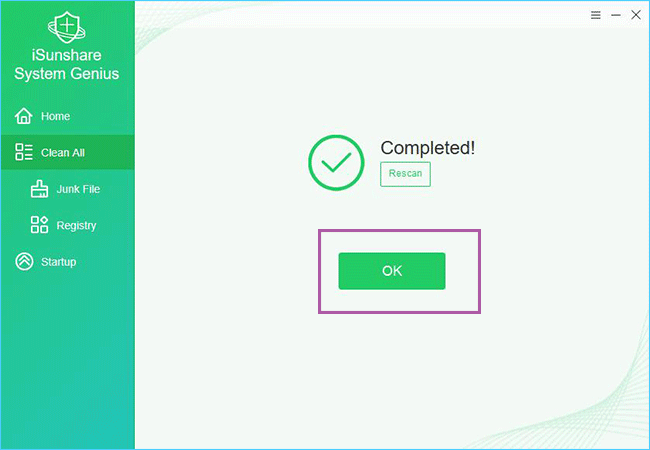
Step 3:Click "OK" to end the process. Also, you can close the software. At this time, run your Word document again to check whether the issue is solved. It is the easiest way to fix the insufficient space problem for Word.
Trick 2: Rename Normal.dotm file
The insufficient of disk space to make sure the Word normal working could be caused by the corrupted Normal.dotm file. You can follow the steps below to rename it.
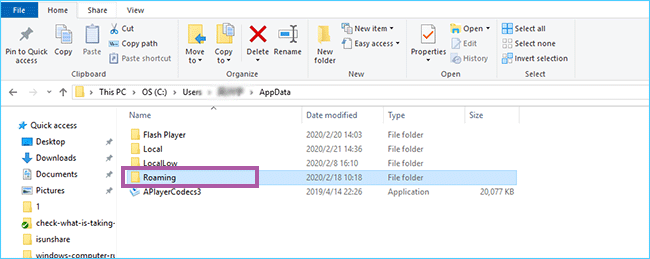
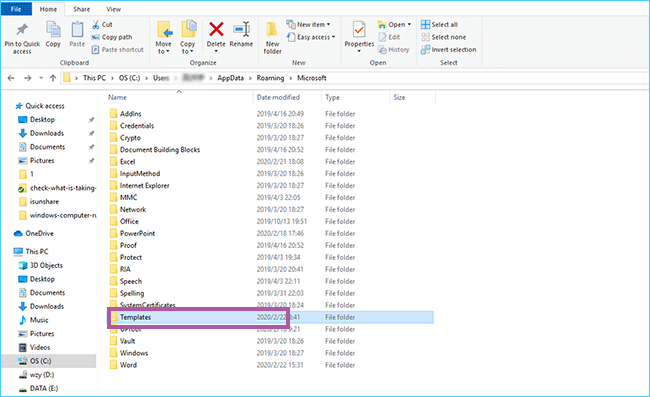
Step 1: Click This PC > C drive > Users > the folder with your username > AppData > Roaming.
Step 2: Open Roaming > Microsoft > Templates.
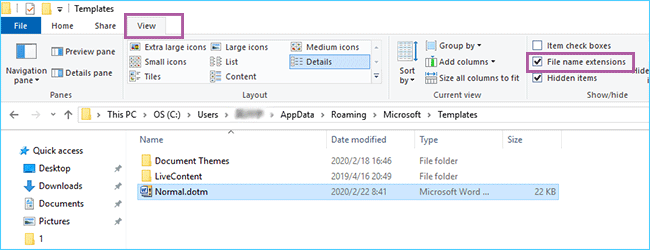
Step 3: Next, find and click View on the toolbar. Then tick File name extensions in the Show/hide area.
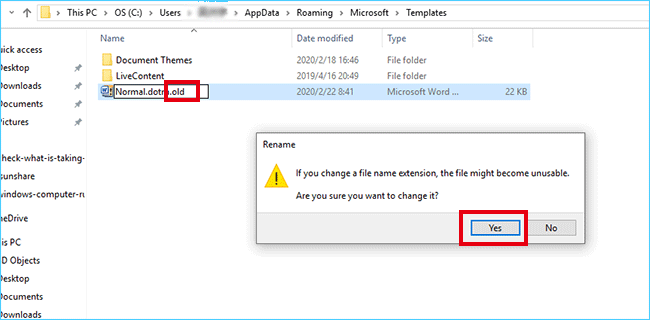
Step 4: Right click on the dotm file and select Rename. After that, add .old behind dotm and press Enter. Finally, click Yes to confirm the action.
Trick 3: Repair the Microsoft Office Installation
Assuming that your computer's memory and disk are fine and the "There is not enough memory or disk space" error still exists, then it may be that the Microsoft Office installer is corrupted or has other bugs. You can either repair the Office installation or reinstall it directly to try to fix this fault.
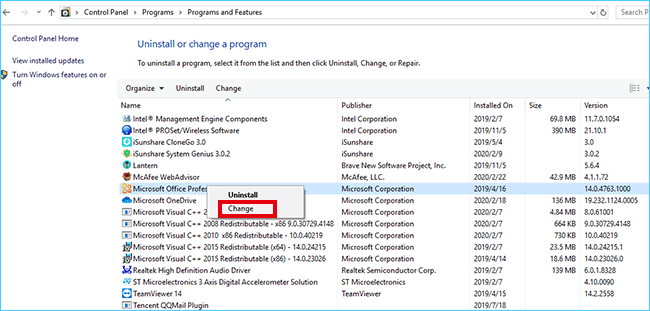
Step 2: Find Microsoft Office and right click it. Then you can select the Change option.
Step 3: Click Yes when the User Account Control window pop out.
Step 4: Tick Quick Repair option and then click Repair button at the bottom.
Step 5: Click Repair again for confirmation and then wait for the process to finish.
Trick 4: Disable the "Protected View" in Word
If you are opening a locally created file, Word works without any problem. However, when you try to open a file received or downloaded from the Internet, the message "There is not enough memory of disk space to complete this operation" shows. The error may be due to the fact that these files have been added to the "network tag" file attribute by Microsoft, which restricts access to them. You can disable the "Protected View" in Word to solve it.
Step 1: Open Word, click "File" in the upper left corner, and then select "Options".
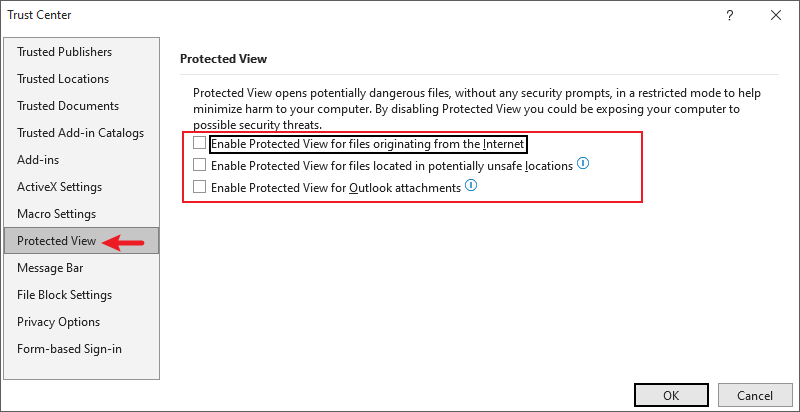
Step 2: In the "Options" window, go to the "Trust Center" tab.
Step 3: Then click on the "Protected View" option, uncheck its checkbox and click "Ok" to apply the changes.
Trick 5: Disable Hardware Graphics Acceleration
Usually, the hardware graphics acceleration feature in Microsoft Office can improve the performance of Word. However, enabling this feature may be incompatible with certain hardware or software configurations of your computer, causing unexpected errors to occur, such as insufficient memory. Therefore, you may consider disabling the graphics acceleration feature in Word to improve the stability of the program.
Step 1: Click the Word "File" menu, and then open the "Options".
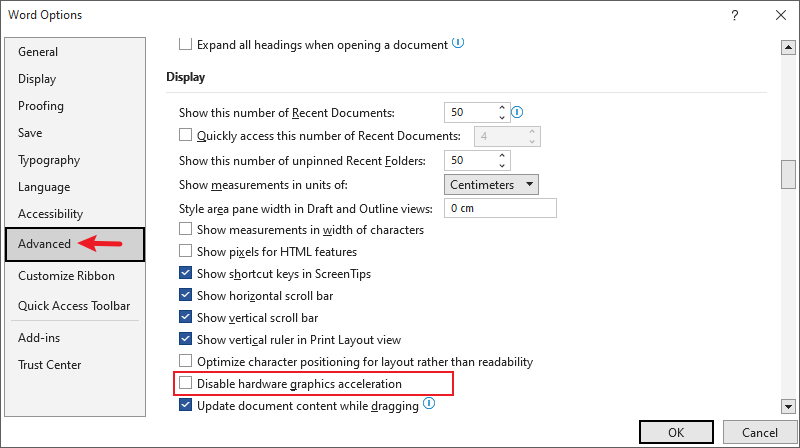
Step 2: Select the "Advanced" tab in the Options window.
Step 3: Scroll down the page to the "Display" section, find the "Disable hardware graphics acceleration" option, and check it.
Trick 5: Disable Hardware Graphics Acceleration
Users on forums have reported that the "There is not enough memory of disk space to complete this operation" error has recently occurred on their devices with Intel processors, and have shared their experiences with fix this annoying issue - updated Intel HD graphics drivers. Maybe you might want to try this proven method.
Step 1: Open "Device Manager" and find the model number of your Intel HD Graphics card..
Step 2: Visit Intel's official website and find the support page.
Step 3: Search and browse to find the latest driver for your graphics card model and operating system. Then download it, and follow the instructions to complete the installation of the update.