We use cookies for personalizing content and ads and providing social media features. Your usage information on our website will be used for social media, advertising, and traffic analytics, or shared with our partners. Clicking "Accept" means you agree to use our cookies .
How is your Windows 10 computer after it is upgraded from Windows 7 or Windows 8/8.1? Have some data on Windows 7/8 been lost because of Windows 10 upgrade? Lots of Windows users have encountered this problem, which led to important data loss.
So if your important data, such as videos, photos, or document have been saved on My Documents etc folder in previous Windows OS, probably data has been lost and you have not realized.
While Windows data loss is confirmed and you want to recover lost data, this article would help you. iSunshare BitGenius will be introduced here free for Windows users to restore lost data from Windows 10 hard drive.
Steps to recover lost data from Windows 10 hard drive:
iSunshare BitGenius is a powerful data recovery tool that can retrieve various kinds of the lost or deleted files like office documents, photos, videos, emails, etc. No matter accident deletion, format, partition or virus attack leads to data loss, iSunshare BitGenius always can restore the lost data in an extremely-high success rate in Windows 10. Here is a detailed guide on how to use it to restore lost data from Windows 10 hard drive.
Step 1: Free download and install iSunshare BitGenius on Windows 10 computer.
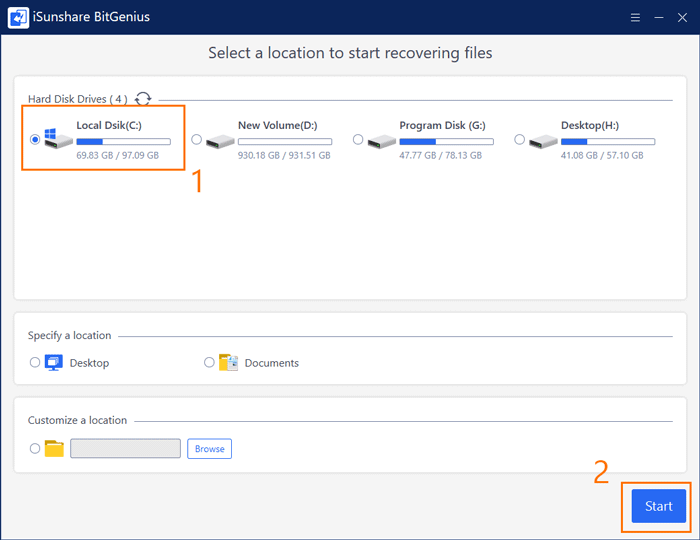
Step 2: Open this software and select the radio button next to C drive in the Hard Disk Drives section. Then click Start button on the bottom right of interface.
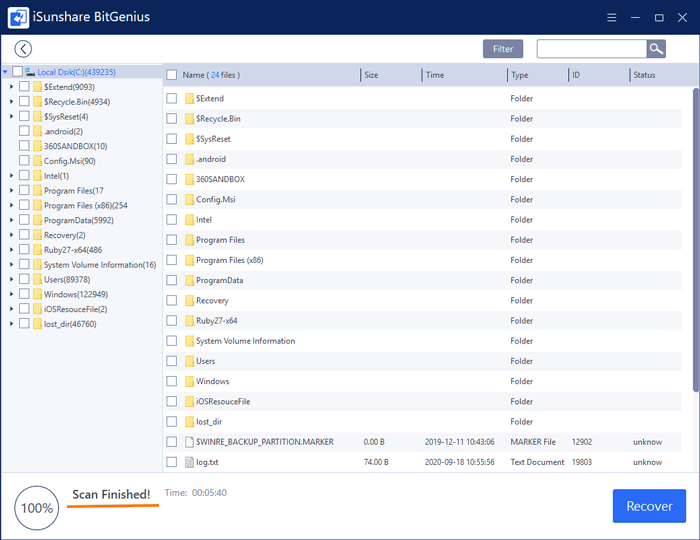
Step 3: The software starts scanning the lost or deleted files in C drive and the process may take much time. Once finished, all the lost files and their directories will be shown on the interface.
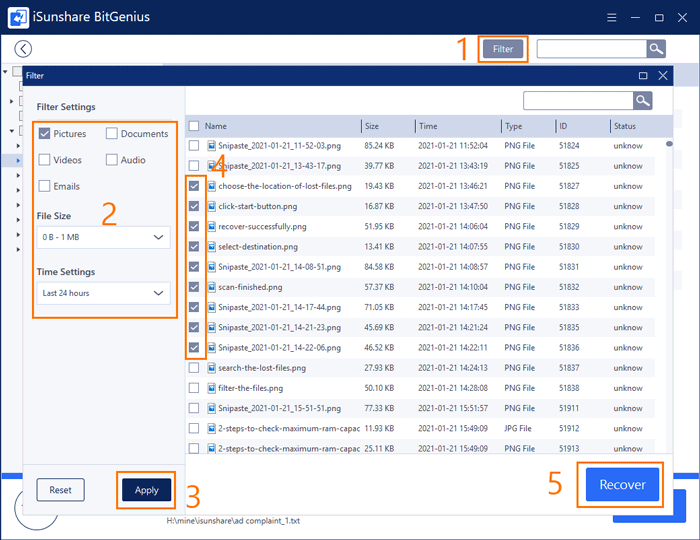
Step 4: Then you can start looking for the files that you want to restore. Click Filter button and a new window pops up. You can set the file type, size or time to shrink the scope of scanning result. Then click Apply button. Then only the files that match the conditions will be shown on the right pane. Finally, you can check the lost files that you want to restore and click Recover button to restore them.
Alternatively, you can use the feature of searching to look for the lost files from scanning result. Type the name or some characters of the file in the searching box and click search button. Then the matched files will be displayed on the screen. Check the files that you want to recover and click Recover button.
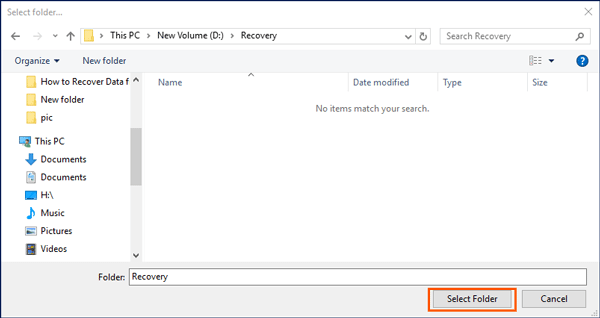
Step 5: Then choose a location to store the recovered files.
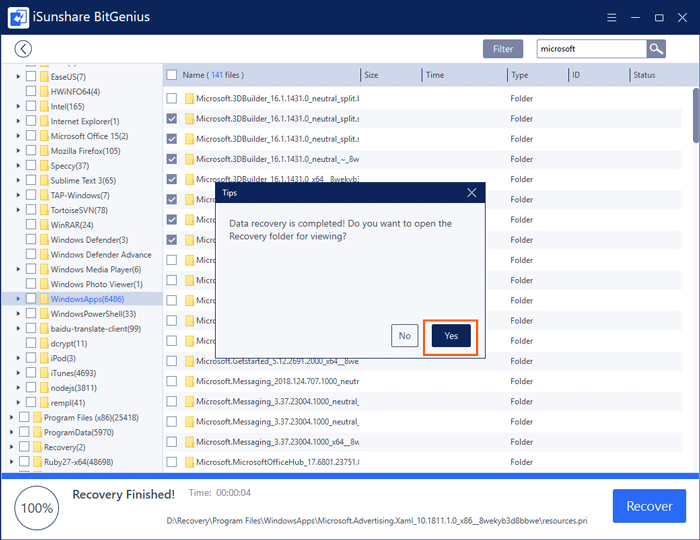
Step 6: When the files are restored successfully, a tips box pops up prompting that data recovery is completed and ask you if open the recovery folder. Click Yes button and you will see all the lost files are recovered to your Windows 10 hard drive successfully.
Tips: This software can save the scanning process, when you scan the same location next time, this software will ask you whether to recover your lost data from the record, which can skip the scanning process saving much time.