We use cookies for personalizing content and ads and providing social media features. Your usage information on our website will be used for social media, advertising, and traffic analytics, or shared with our partners. Clicking "Accept" means you agree to use our cookies .
After using the computer for a period of time, some user's C drive were show "low disk space". How to deal it? This guide offers four comprehensive solutions to free up space and maintain performance.
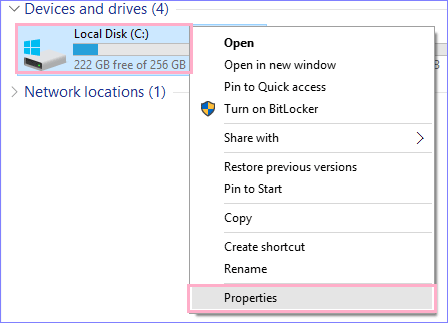
Step 1: Open "This PC". Find the C disk and right-click to open the shortcut menu. Then find the "Properties" on the shortcut menu's bottom.
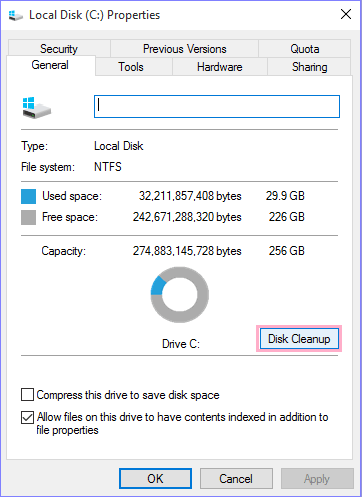
Step 2: Click the "Disk Cleanup" in the dialog box and wait for a while.
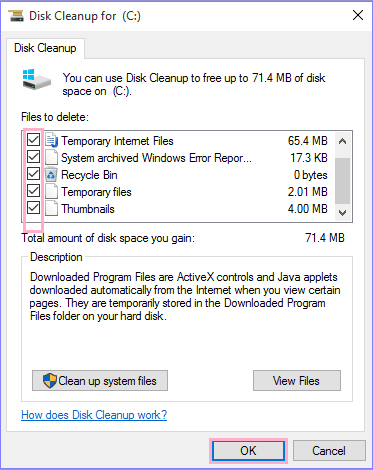
Step 3: Click all contents in the new dialog box and click the "OK"' button.
For continuous maintenance, enable Storage Sense under Settings → System → Storage, and configure automatic cleanup of temporary files and pinned files older than a set period.
This method helps to delete junk files for C disk space free up. Is there any alternative tool to do the disk cleanup faster than Windows built-in Disk Cleanup?
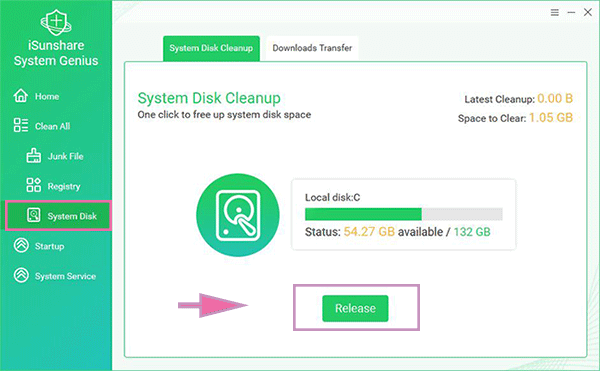
Yes, iSunshare System Genius is the right one, which enables you to one click free up system disk space. It is much easier for the beginners to handle. Once you start the program, you just need to click System Disk in the left menu and then the interface will show you the current status of C drive. What you need to do is click the Release button and more available space will be released soon. The C drive full problem can be solved easily.
Besides, if you have a large number of duplicate files on your C drive, such as pictures, documents, video copies, etc. isunshare DupFiles Genius is your best choice to clean up these file copies. It helps you to search and remove duplicate files quickly and accurately. In this way, you are able to free up space on your C drive and improve the performance of your Windows 10 PC.
Empty Recycle Bin
By default, deleted files linger in Recycle Bin and can accumulate several GB. You can right-click the recycle bin and choose the Empty Recycle Bin option to release space for your C drive.
Way 2: Move the Virtual Memory File (psgefilr.sys) to Free up Disk Space
Step 1: Display the hidden protected file pagefile.sys.
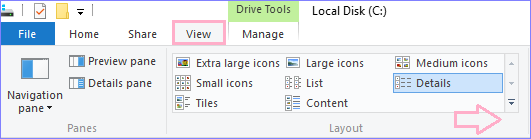
1. Open the C disk and click the "View" on the top of window→click the "Options" on the right. →select the "Change folder and search options".
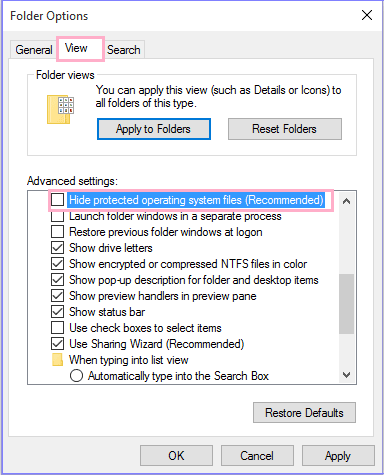
2. In the dialog box, click "View"→ cancel "Hidden protected operating system files (Recommended)".
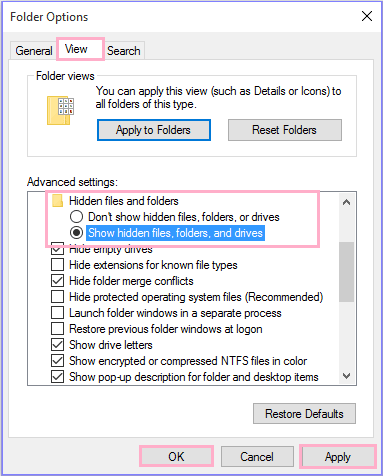
3. Select the content "Show hidden files, folder and driver"→ "Apply" and "OK".
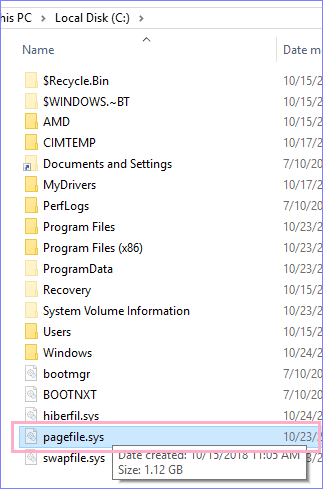
The pagefiles.sys file is displaying on the C disk.
Step 2: Create the virtual memory file on the other disk
1. Right click on the blank area of "This PC" window to open the shortcut menu→ click "Properties".
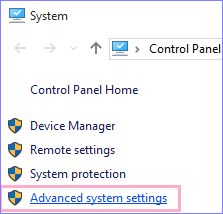
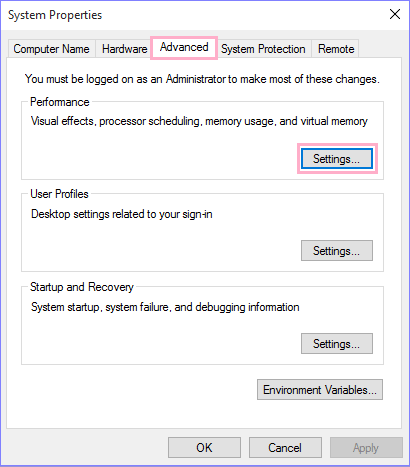
2. Click "Advanced system setting" on the left side of the popup window→ click the first "Setting" in "Advanced".
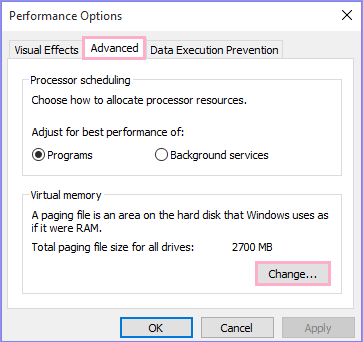
3. Select "Advanced" again→ click the "Change" below it.
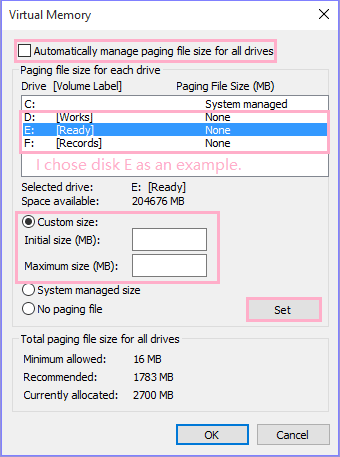
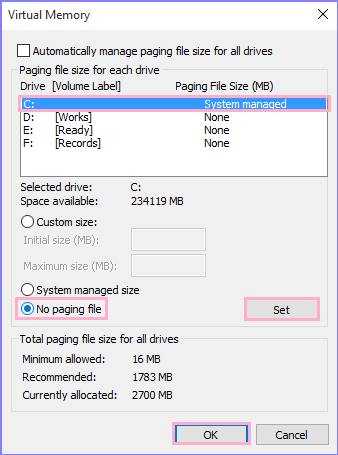
4. Select target disk (I chose disk E as an example) on pop-up dialog box, select "Custom size" and enter "Initial size" and "Maximum size".
5. Click "Set" and "OK". (Virtual memory file have been created.)
Step 3: Delete the pagefile.sys file on the C disk
In just virtual memory window, select C drive and select the "No paging file"→click "Set"→ "OK".
Way 3: Disable Space-Hungry Windows Features
Turn Off Hibernation
1. Right click on the computer desk's blank area to open shortcut menu.
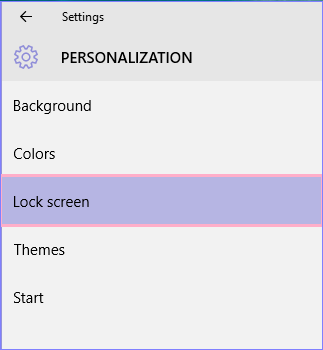
2. Click "Personalize" and select "Lock screen" in the pop-up window.
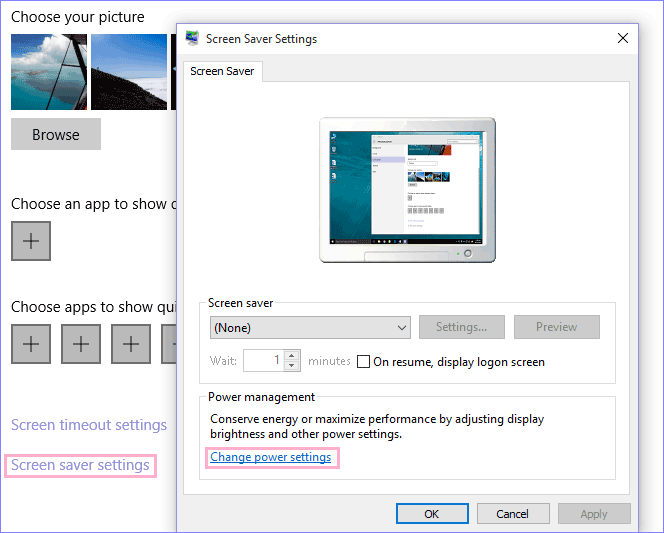
3. Select "Screen saver settings" and click "Change power settings".
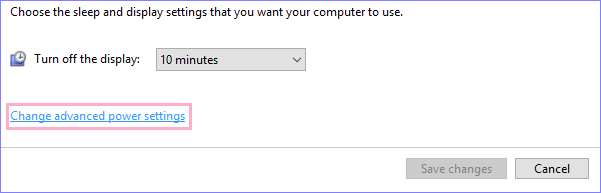
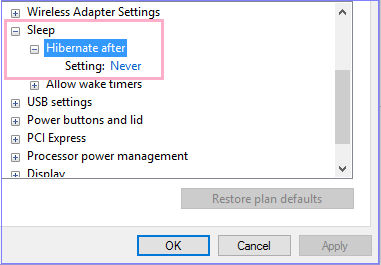
4. "Change plan settings"→ "Change advanced power settings".
5. Choose "Never" in the "sleep" category. (Close the hibernation) → "Apply" and "OK".
Compress the Hibernate File Size
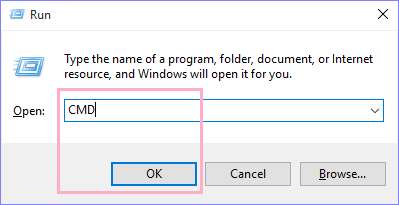
1. Using WIN+ R conbined shortcut key, enter "cmd" and "OK".
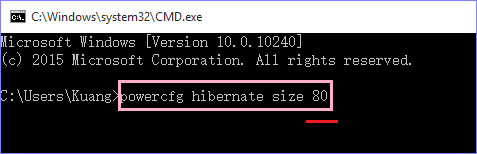
2. Input or copy this command: powercfg hibernate size XX
The XX above is the compression ratio, which ranges from 40 to 100 integers.
3. Press Enter key to run to compress the sleep file.
Way 4: Increase Disk Space by Resizing Partition
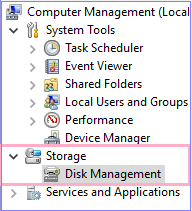
Step 1: Right click on "This PC" and select the "Manage".
Step 2: Find "Storage" in the left popup window →open the drop-down menu and click "Disk management".
Wait for system to load the hard disk information. Then the lower right of window will show each disk's status.
Due to the special mechanism, the unallocated space on the hard disk can only be allocated to its adjacent partition.
Step 3: If there is only one disk partition (disk C).
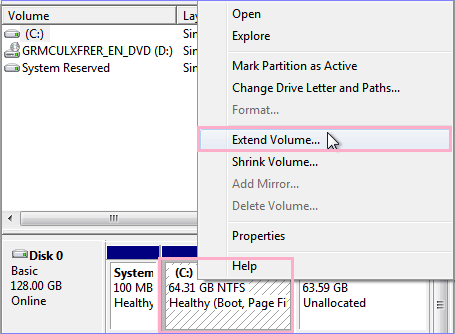
1. Right click on the status bar of disk C to open the shortcut menu and click "Extend volume".
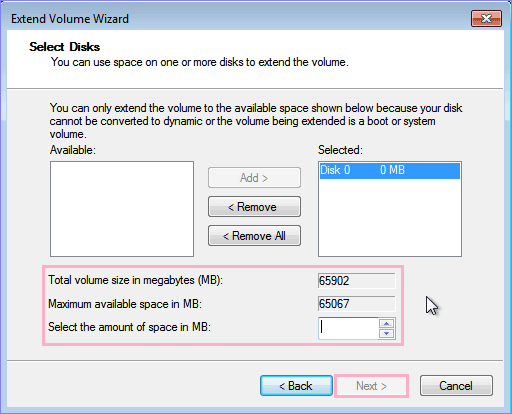
2. The system will prompts you to input the value of extension (the capacity will be separate from the disk unallocated).
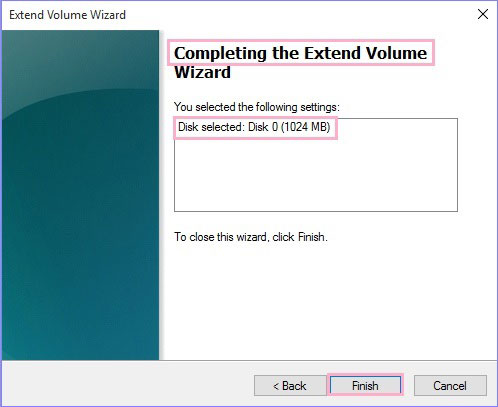
3. After the input completed, click "Next" and "Finish" later.
Complete the extension of disk C.
Step 4: If there is more than one partition.
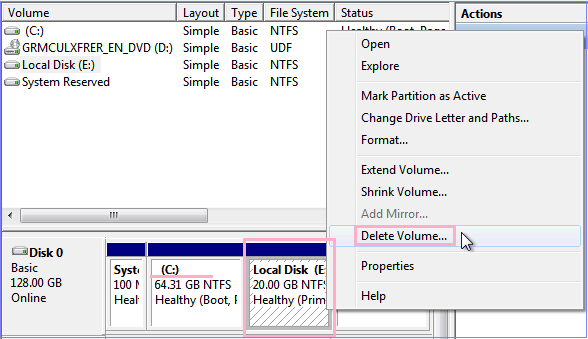
You may need to split the unallocated space into a new disk and move the contents of the previous disks into the new disk. Moving the data of each disk until the disk next to the disk C finish data transfer.
1. At this moment, right click the disk which next to C disk and choose "Delete volume".
2. Right click the C disk and select "Extend volume".
3.Input the desired expansion capacity according to the system suggestion.
4. Click the last "Finish" button and finish the extension capacity of C disk.