We use cookies for personalizing content and ads and providing social media features. Your usage information on our website will be used for social media, advertising, and traffic analytics, or shared with our partners. Clicking "Accept" means you agree to use our cookies .
The ODBC Data Source Administrator allows you to configure DSNs for databases like Oracle, SQL Server, or Excel. How can you easily open ODBC Data Source Administrator on Windows 10 computer? Read on to find 5 commonly-used methods.
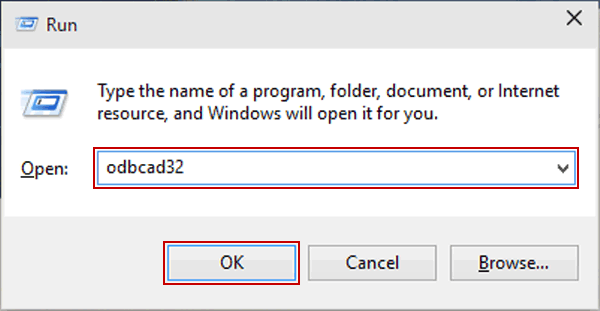
Way 1: Turn ODBC Data Source Administrator on via Run.
Show the Run dialog using Windows+R, type odbcad32 and tap OK.
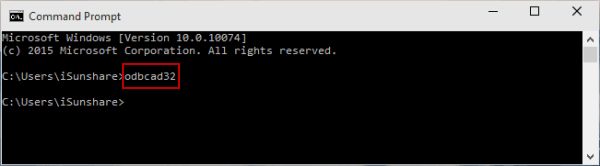
Way 2: Open ODBC Data Source Administrator in Command Prompt.
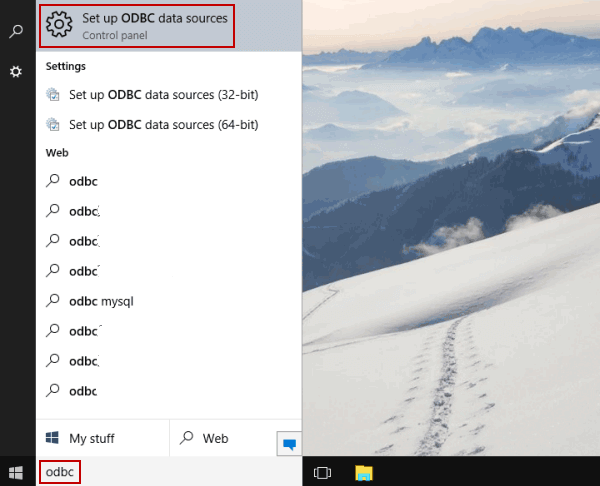
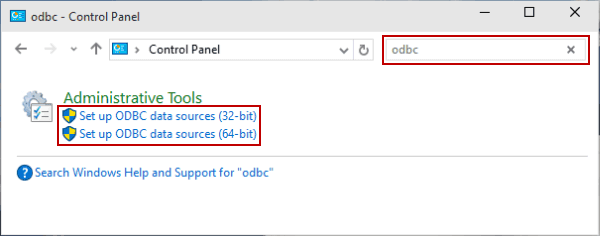
Step 2: Type odbc in the top-right box, and choose Set up ODBC data sources (32-bit) or Set up ODBC data sources (64-bit) according to your need.
32-bit vs. 64-bit ODBC
64-bit ODBC (System32) is for 64-bit apps.
32-bit ODBC (SysWOW64) is for older 32-bit apps.
Using the wrong version causes errors like "Data source name not found"—because user or system DSNs are stored separately for each.
FAQs on ODBC Data Source Administrator
Q1: Which ODBC version should I use?
You can use the 64-bit tool for modern applications (e.g., SQL Server, Access 64-bit), and use 32-bit (SysWOW64) when working with 32-bit apps like older Office versions.
Q2: Where to find ODBC application?
On 64-bit Windows, you can find it located in C:\Windows\System32\odbcad32.exe. As for 32-bit variant, it stores in C:\Windows\SysWOW64\odbcad32.exe.
Q3: How do I know which drivers are installed?
You can run ODBC Data Source Administrator with the above methods. Then click the Drivers tab to check driver names and versions.