We use cookies for personalizing content and ads and providing social media features. Your usage information on our website will be used for social media, advertising, and traffic analytics, or shared with our partners. Clicking "Accept" means you agree to use our cookies .
Tired of hearing the same notification chime every time an alert pops up? Windows 10 allows you to change the notification sound to something more personal or less distracting. Whether you want to pick from the default sounds or use a custom tone, the process is simple.
Steps to Change Notification Sound on Windows 10
Step 1:Press Win + R, type control, and hit Enter.
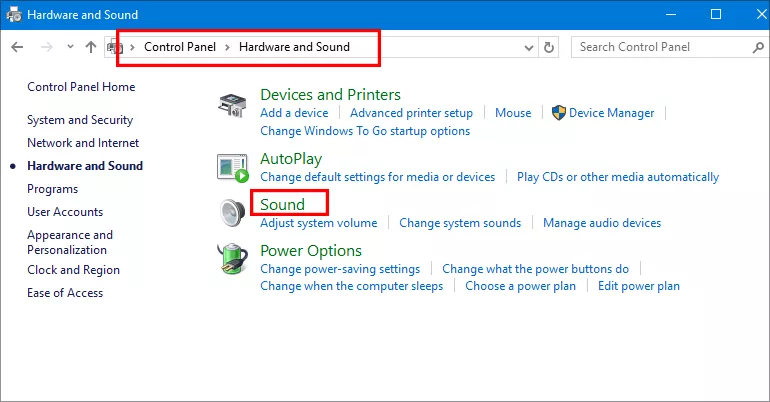
Step 2: Select Hardware and Sound > Sound.
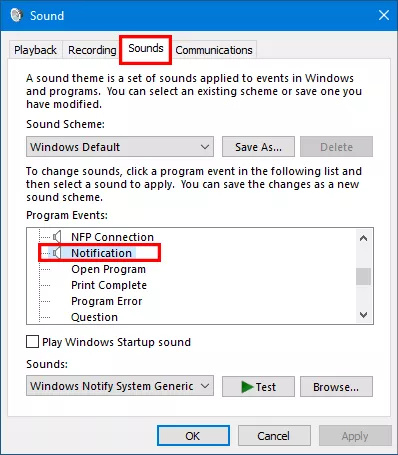
Step 3: In the Sound dialog, switch to the Sounds tab. Under Program Events, scroll down and select Notification.
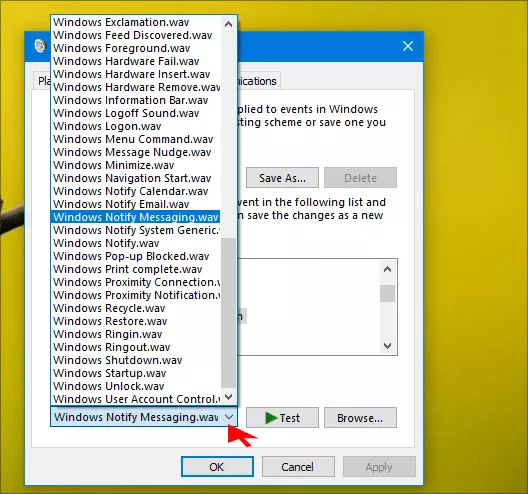
Step 4: In the Sounds section, click the down arrow and choose a sound from the list.
Step 5: Finally, click Apply and OK button. Now, your Windows 10 notifications will use the new sound you selected.
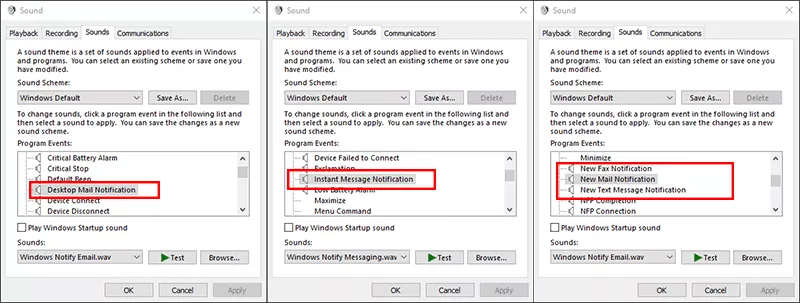
You can also select the Desktop Mail Notification, New Mail Notification, Instant Message Notification and New Text Message Notification in the Program Events list to define their unique notification sounds.
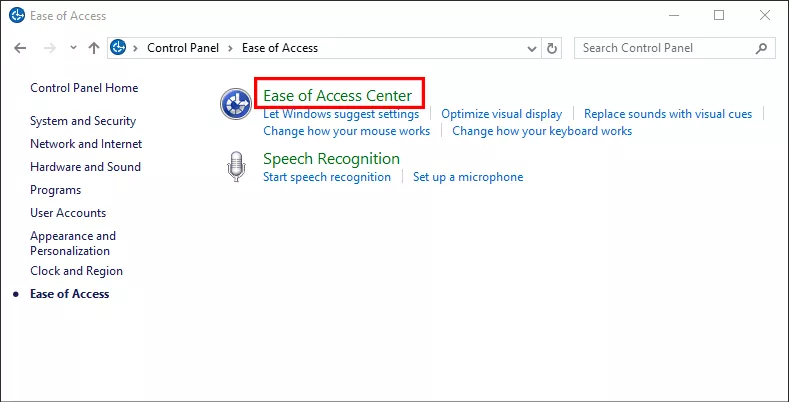
Tips: How to Change Visual Notifications for Sounds in Windows 10
If you want to change visual notifications for sound (i.e. flashing active title bar, flashing active window, flashing entire display and none) on Windows 10 computer, just follow the guidance below.
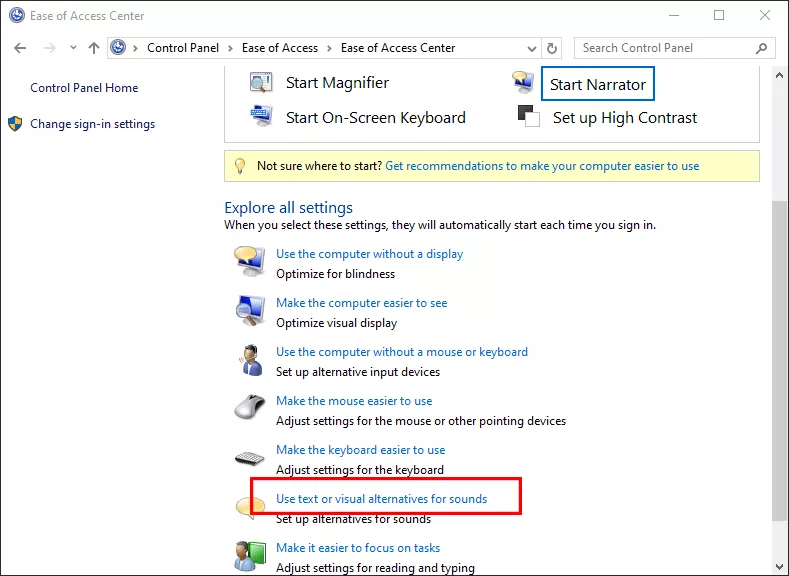
Step 3: Under Explore all settings, click the option –Use text or visual alternatives for sounds.
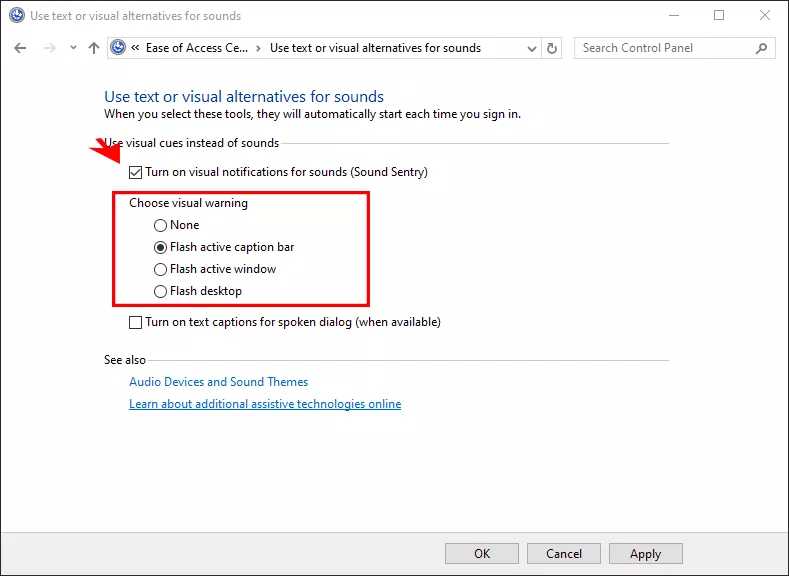
Step 4: Check the option—Turn on visual notifications for sounds (Sound Sentry) and choose the visual warning from Flash active caption bar, Flash active window, and Flash desktop. Finally, click Apply and OK to save the changes.