We use cookies for personalizing content and ads and providing social media features. Your usage information on our website will be used for social media, advertising, and traffic analytics, or shared with our partners. Clicking "Accept" means you agree to use our cookies .
Generally, Windows provide the latest system updates for its users automatically that includes feature improvements and security enhancements. But automatic updates can cause some issues actually, which makes some Windows users want to disable it. This text will particularly illustrate how to turn off Windows automatic updates in Windows 8/10/11 computer.
Way 1: Disable Windows Automatic Updates in Services
It can be said as the easiest and most effective way to disable automatic updates in Windows entirely by turning off Windows Update service and Windows Services program, which can help you perform it with the 3 steps below.
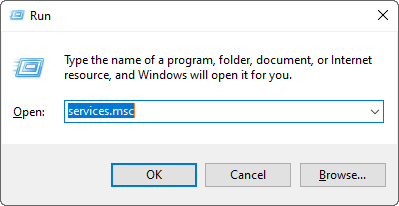
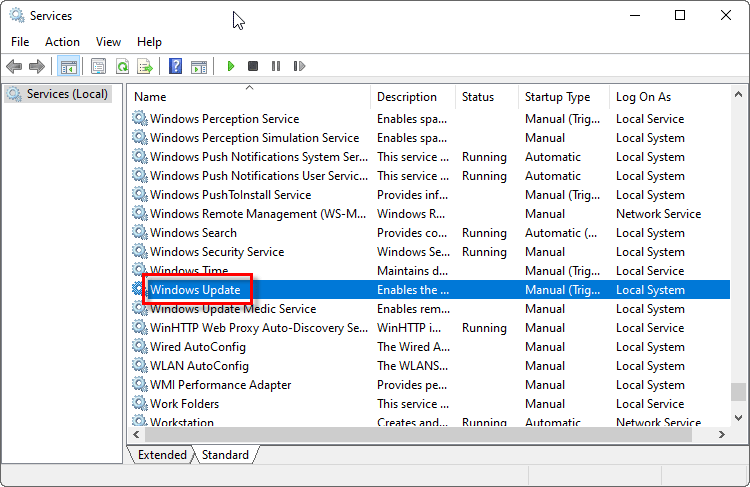
Step 1: Launch Run by pressing Windows+R, type services.msc and tap OK.
Step 2: Find Windows Update among the services and double-click it.
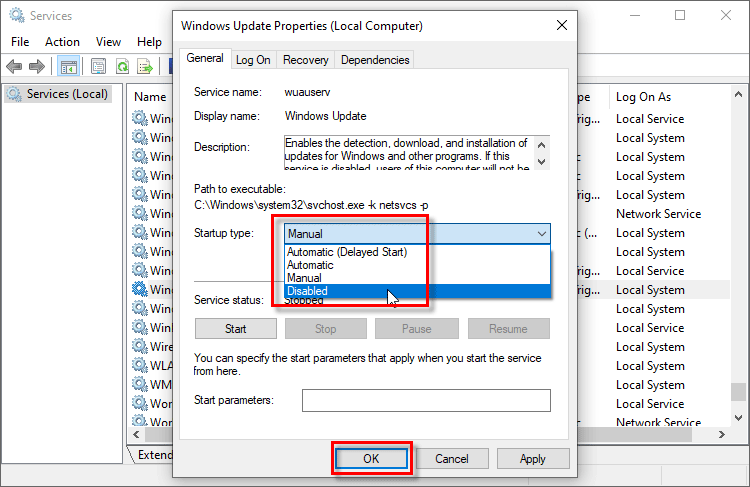
Step 3: Click the down arrow on the right of Startup type, choose Disabled in the list and hit OK to disable Windows Update in your Windows.
Step 4: Reboot your Windows 10 computer and then the change will take effect.
Way 2. Disable Windows Automatic Updates by System Genius
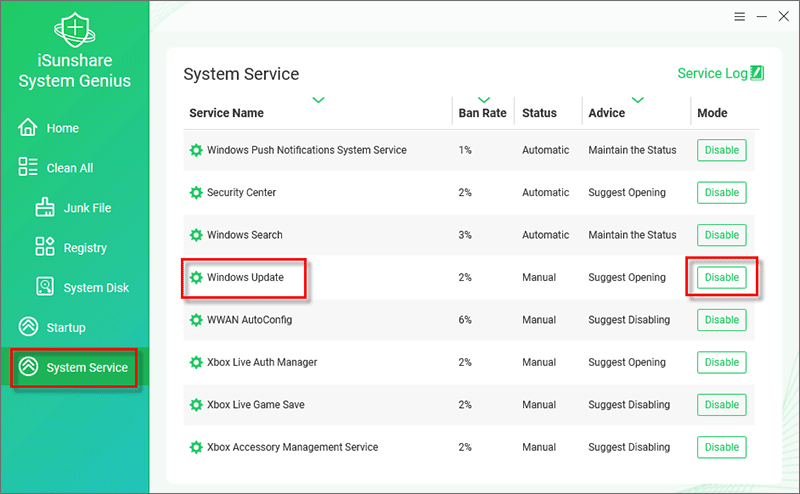
With its easy-to-use management function for system services, iSunshare System Genius is a good replacement for Windows Services application. You can follow the instructions here to disable updates in Windows permanently with the tool.
Step 1: Install iSunshare System Genius on your PC.
Step 2: Open the software and access its System Service function. Then locate to Windows Update Service and hit Disable at the end of it.
Way 3. Stop Windows Automatic Updates via Settings Temporary
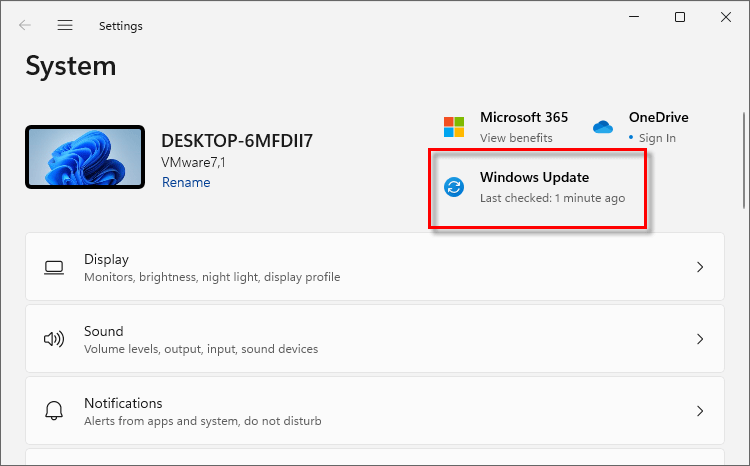
Step 1: Click the Start button and select the Settings icon .
Step 2: After hitting Settings, tap Windows Updates on System or you can find and tap it at the bottom of the left-hand sidebar.
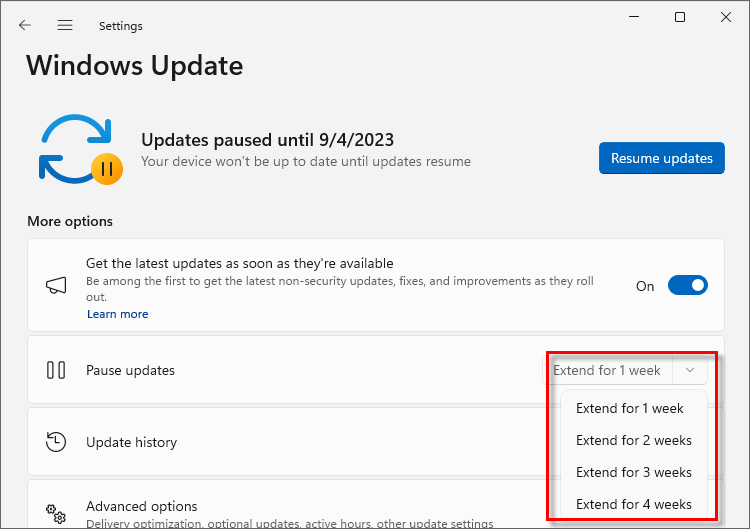
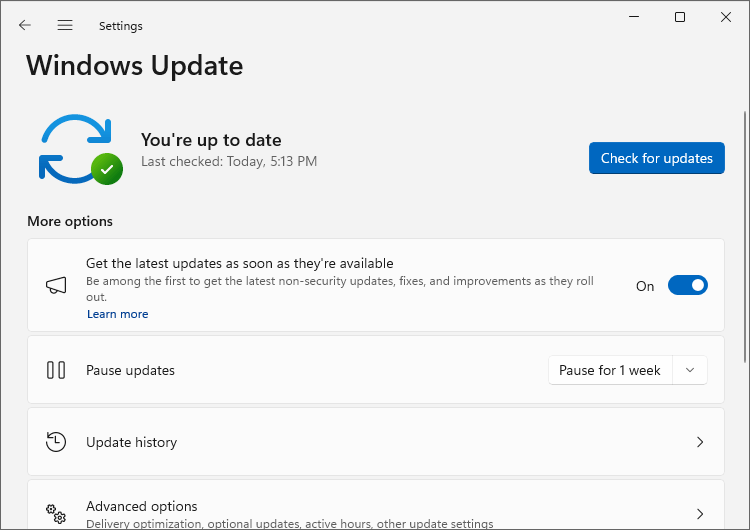
Step 3: Tap on the drop-down icon next to Pause for 1 week and select a date to update Windows.
Step 4: After doing this, it says “Updates paused until xxx” under Windows Update. Your Windows won't be up to date until updates resume.
Way 4: Disable Windows Automatic Updates with Local Group Policy Editor
Step 1: Search for gpedit.msc on the search box from the taskbar and then open it. By doing this, you can smoothly open Local Group Policy Editor to continue stopping Windows 11 automatic updates.
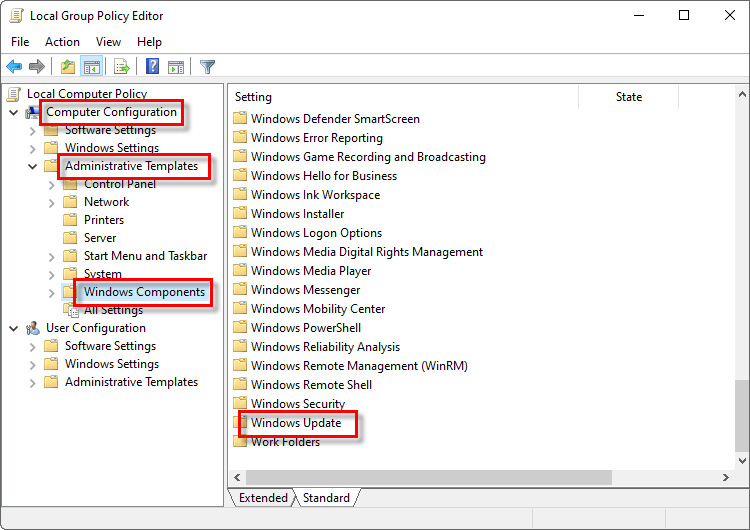
Step 2: In the Local Group Policy Editor screen, double-click Computer Configuration>> Administrative Templates>>Windows Components>>Windows Update.
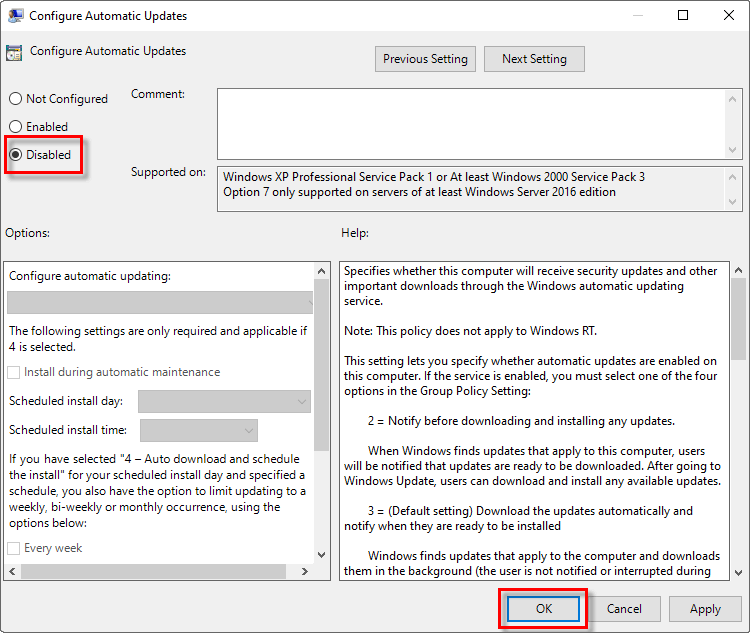
Step 3: Double-click Configure Automatic Updates to continue.
Step 4: Select Disable and then click the OK button.
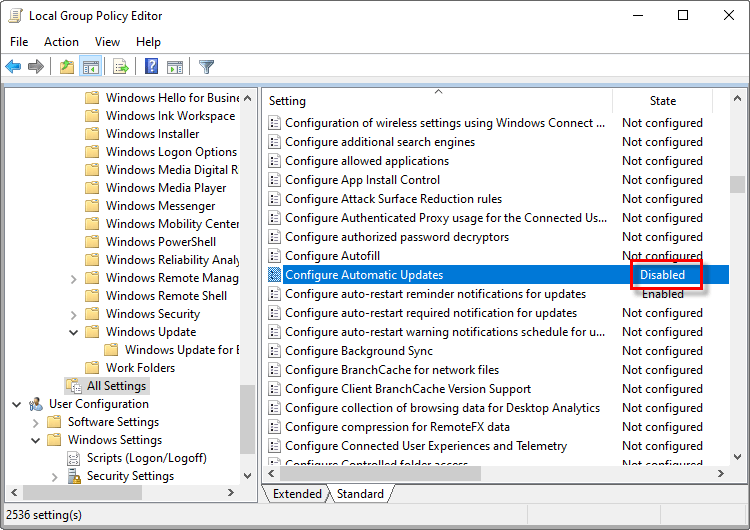
Step 5: After disabling the Configure Automatic Updates, you can see that its state has changed to disabled. It means you'v disabled Windows Update successfully. That is all steps of how to disable Windows automatic updates with Local Group Policy Editor.
FAQs on Windows 10 Updates
Q1: Is it safe to disable automatic updates?
It can expose your system to security risks. If you choose to disable them, ensure you have alternative security measures and update your system manually.
Q2: Can I disable updates on Windows 10 Home?
Windows 10 Home doesn't include the Group Policy Editor, but you can use the Services or Settings.
Q3: How can I manually check for updates?
You can open Settings > Update & Security > Windows Update and hit Check for updates to check Windows 10 updates.
Conclusions
By following these methods, you can control how and when Windows 10 updates occur, tailoring the update process to your specific needs.


 and select the Settings icon
  .
.