We use cookies for personalizing content and ads and providing social media features. Your usage information on our website will be used for social media, advertising, and traffic analytics, or shared with our partners. Clicking "Accept" means you agree to use our cookies .
Font Cache enables the Windows OS to load fonts faster when you run the programs, explorer and so on. However, it can corrupt sometimes, which makes the fonts display incorrectly. For example, the system fails to switch to your wanted language completely. At this time, you can clear the Font Cache to rebuild it. For how to delete the Font Cache in Windows 10, you can follow the 2 effective ways below.
Font cache is a series of temporary files saved by Windows to fasten font loading. These files are created automatically by the system and used by apps to render fonts faster.
However, the cache can become corrupted, leading to: fonts not displaying properly, new fonts not appearing after installation, font rendering glitches in apps or system UI. Clearing the font cache forces Windows to rebuild it—often fixing such problems.
Way 1. Manually Delete Font Cache
Before applying this way, it's suggested to backup your Windows 10 and important files to avoid data loss or system crash caused by mistakes.
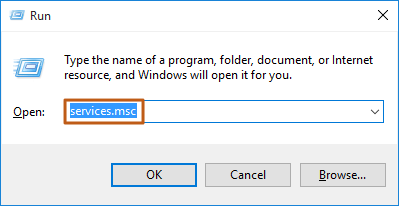
Step 1: Press Win+R to access the Run box and input services.msc in it. Then hit Enter to open the Services window.
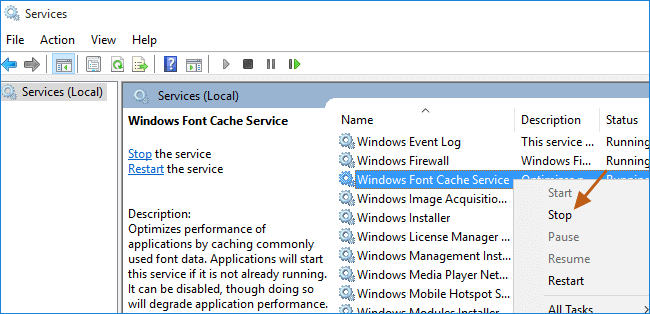
Step 2: Locate to Windows Font Cache Service and right-click it to choose the Stop option.
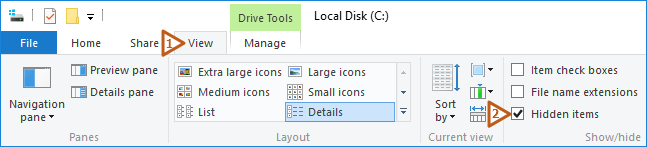
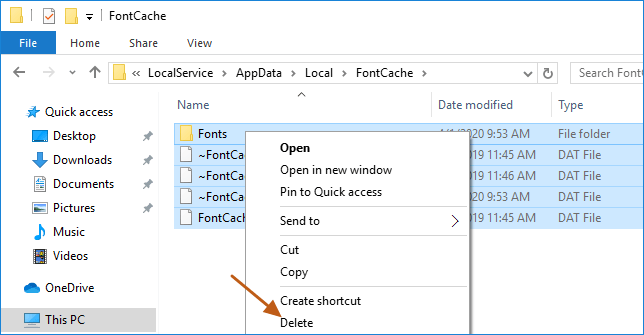
Step 3: Access This PC, choose View in the upper tool bar and show hidden items. Then negative to the path step by step: C:\Windows\ServiceProfiles\LocalService\AppData\Local\FontCache.
Step 4: Empty the FontCache folder.
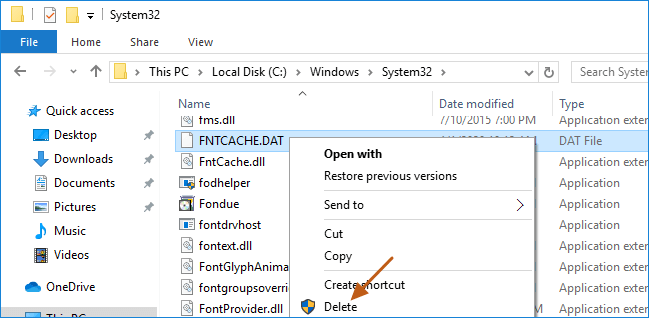
Step 5: Head to C:\Windows\System32\. After that, find and delete FNTCACHE.DAT.
Step 6: Reboot your Windows 10 computer and the Font Cache will be rebuilt.
Way 2. Use System Genius to Delete Font Cache
Not good at operating the system or just want a tool to easily clear the Font Cache in Windows 10? Then iSunshare System Genius must be what you want. As a smart Windows junk cleaner, iSunshare System Genius realizes junk deletion within a simple few clicks. It can remove the junk files including the Font Cache, temporary files, invalid registry entries, etc. So, how to free try this user-friendly utility? Here is the detailed guide.
Step 1: Free download iSunshare System Genius and then install it in your Windows 10 PC.
Tips: iSunshare System Genius has a 3-day free trial.
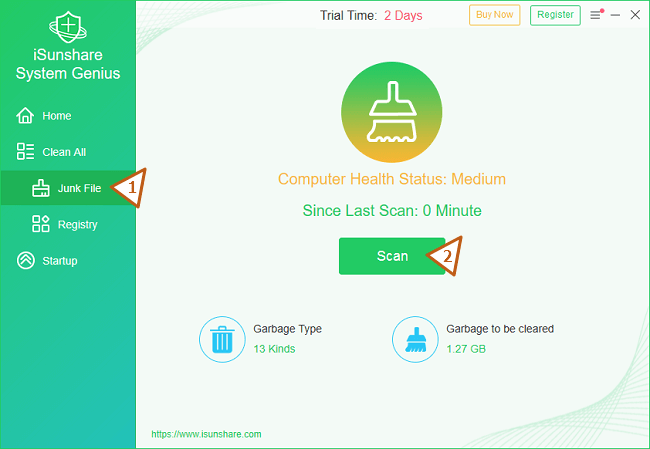
Step 2: Run the utility and hit Scan in the Junk File section.
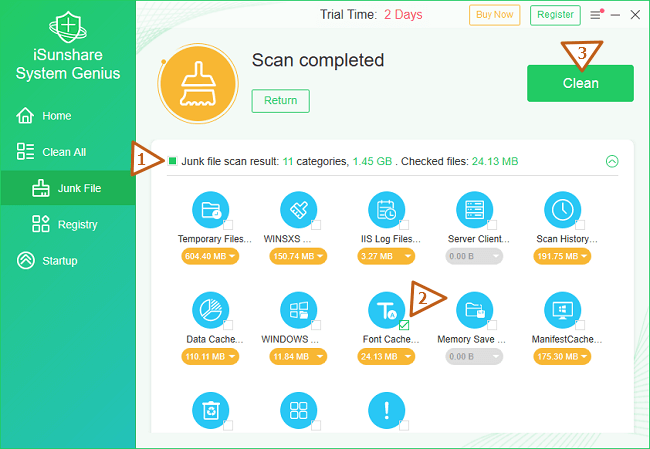
Step 3: After a while, you can get the junk-scanning results. To only choose Font Cache, you can uncheck the box in front of the Junk file scan result option and then check Font Cache. Now, it's time to delete the Font Cache by clicking Clean.
Step 4: Restart Windows 10 and the system will rebuild the Font Cache.
Conclusion
Clearing the font cache in Windows 10 is a quick fix for corrupted font display and font loading issues. Whether you're a designer, developer, or regular user—if your fonts aren't behaving as expected, deleting the font cache is often the solution.