We use cookies for personalizing content and ads and providing social media features. Your usage information on our website will be used for social media, advertising, and traffic analytics, or shared with our partners. Clicking "Accept" means you agree to use our cookies .
Windows 10 includes a variety of optional features that can be enabled or disabled to customize your computing experience. This guide provides step-by-step guide to turn on or off Windows features in Windows 10.
Note:
Turning off some Windows features may influence other features and programs installed on the device, including default settings.
Steps to turn on/off Windows features in Windows 10:
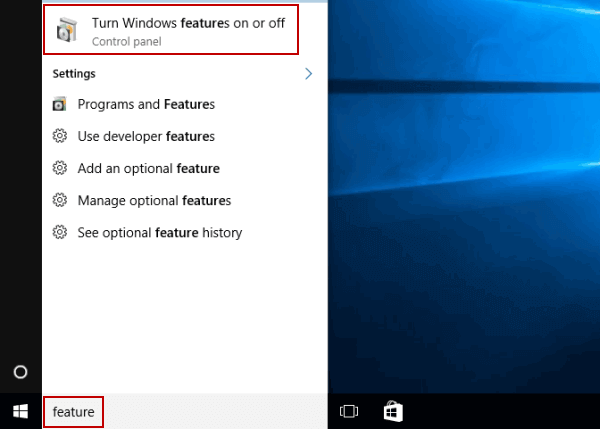
Step 1: Open Windows Features.
Type feature in the search box on taskbar, and choose Turn Windows features on or off from the list.
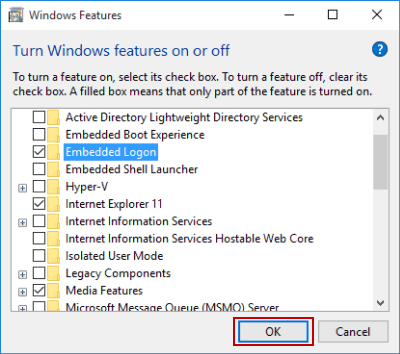
Step 2: Turn on/off a feature. You'll find a wide variety of features available, from older but still important features like .NET Framework 3.5 to powerful modern options including Hyper-V and the ability to run Linux applications natively.
1. To turn a feature on, select it in the features and click OK.
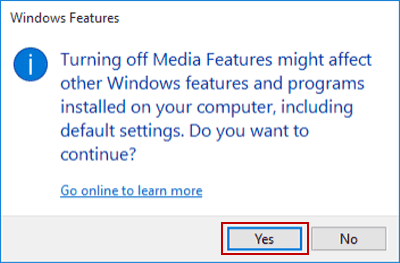
2. To turn off a feature, follow the procedures below.
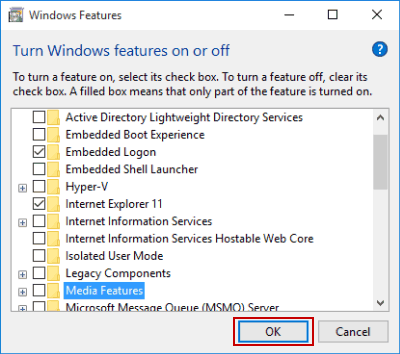
Sub-step 1: Deselect it, and tap Yes in the pop-up confirmation dialog to continue.
Sub-step 2: Hit OK to confirm the change.
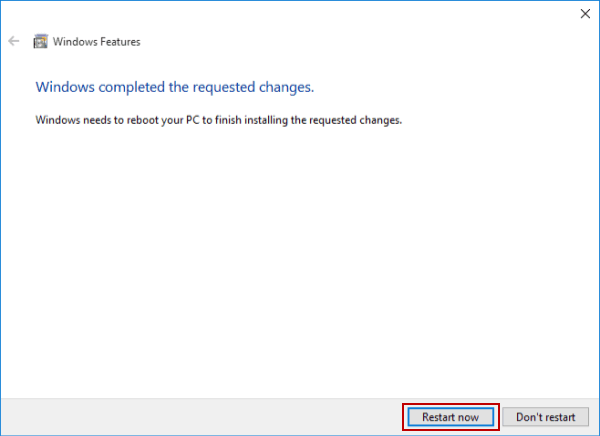
Step 3: Choose Restart now to let Windows finish the requested setting.
FAQs on Windows Features
1. What Windows Features You Can Manage?
You can manage the Windows feature like NetFx3, Hyper-V, IIS, TelnetClient, SMB1Protocol, and WindowsSubsystemForLinux.
2. Feature List is Blank or Unresponsive, what to do?
You can run Command Prompt as administrator and execute the command line: DISM.exe /Online /Cleanup-image /Restorehealth
sfc /scannow. Then Restart your computer after the scans complete.
3. Unable to Enable/Disable Features, how to fix?
Ensure you have administrative privileges.
Check for pending Windows updates that might be interfering.
Consider performing a repair install of Windows if issues persist.