We use cookies for personalizing content and ads and providing social media features. Your usage information on our website will be used for social media, advertising, and traffic analytics, or shared with our partners. Clicking "Accept" means you agree to use our cookies .
When you tried to install Windows 11 or update the computer to Windows 11, you came across this message: This PC can't run Windows 11. How can you solve this error? Generally, when this error message comes, you can find the solutions from the following two aspects: First of all, your computer meets all the requirements to run Windows 11, but TPM and secure boot is not enabled; Or the computer does not meet the requirements to run Windows 11, such as there is no TPM module, or there is only TPM 1.2 version, or other situations.
According to different situations, this article lists three possible solutions to fix this PC cannot run Windows 11 issue.
Solution 1— Enable TPM 2.0 and Secure Boot for Windows 11
You can check the TPM 2.0 status and secure boot state manually. When the TPM and secure boot is off, it is impossible to upgrade the computer to Windows 11. You should enable TPM 2.0 and secure boot to run Windows 11.
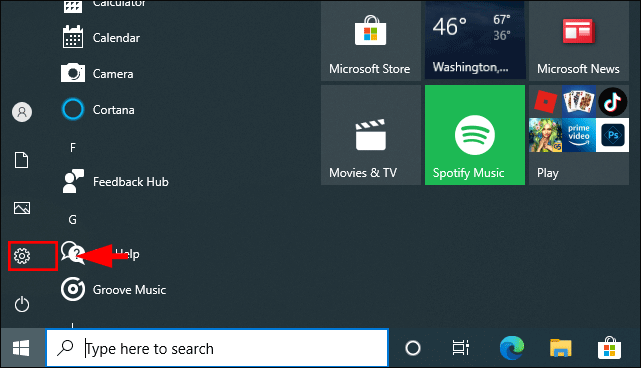
Step 1: Click the Start button on your computer desktop and then hit the Settings icon.
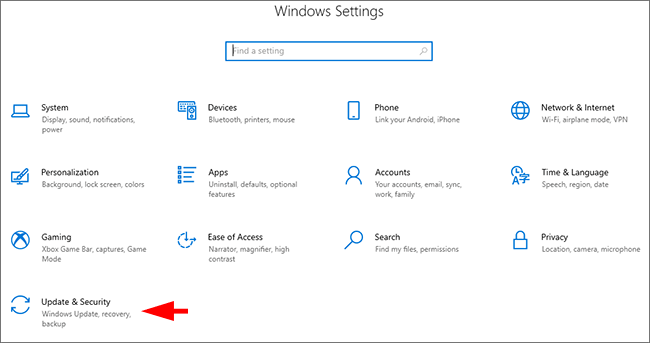
Step 2: : Go to choose Update & Security.
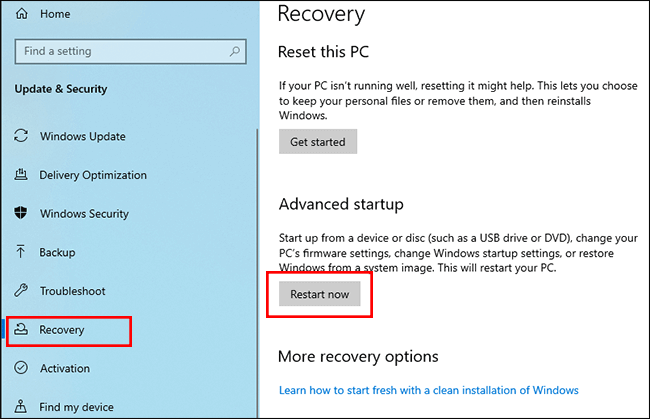
Step 3: In Update & Security interface, click the Recovery option on the left menu and then choose Restart now to restart your computer.
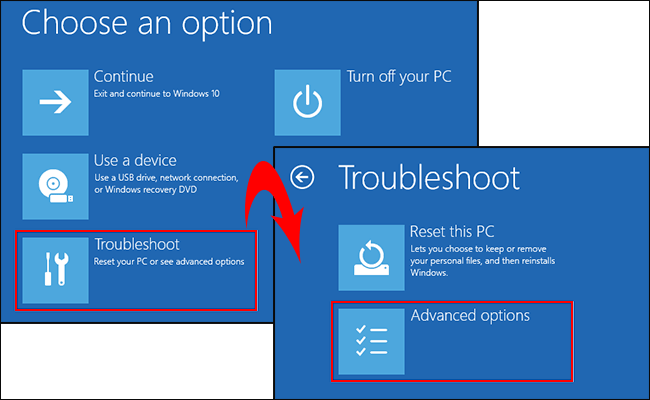
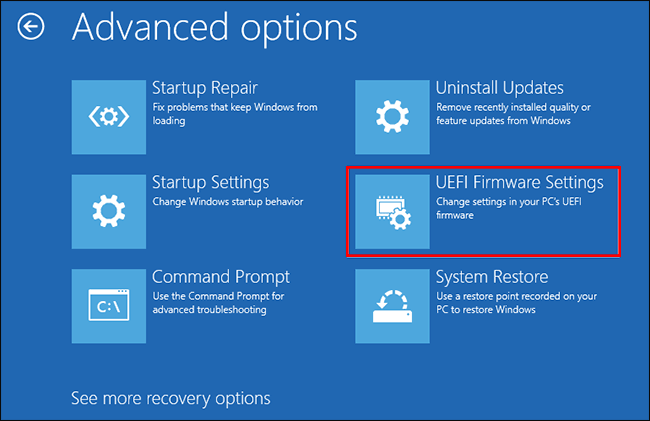
Step 4: After restarting, click Troubleshoot > Advanced options.
Step 5: Select UEFI Firmware Settings.
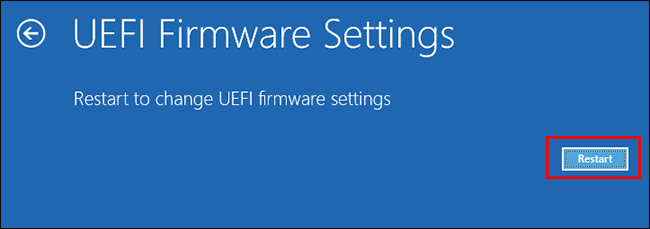
Step 6:Click the Restart button to restart computer and enter UEFI Firmware Settings interface.
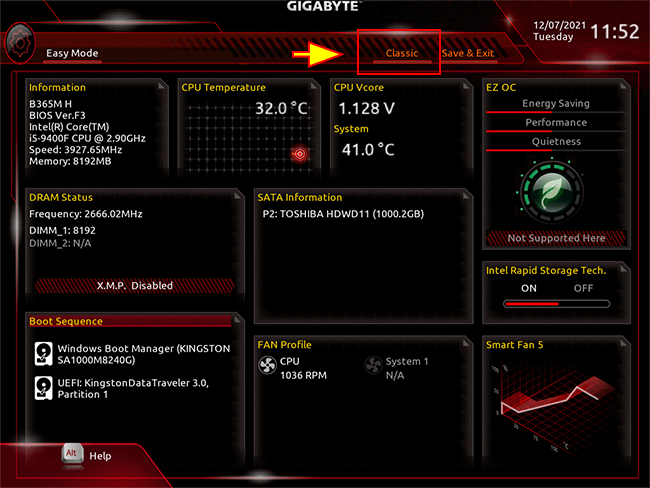
Step 7: After entering the UEFI Firmware Settings, you can go to click the Classic option.
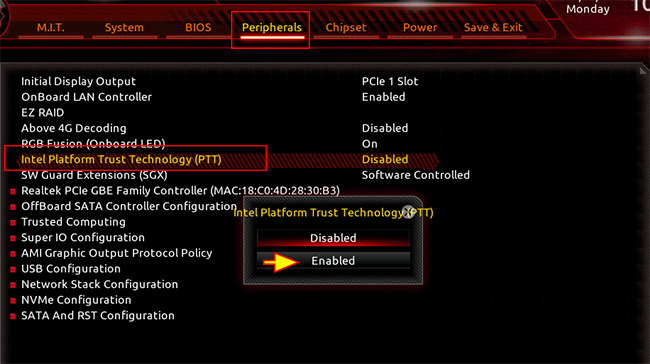
Step 8: There are multiple advanced settings. Just go to click Peripherals and then double click Intel Platform Trust Technology (PPT). Afterwards, click the Enabled button. (Tips: In some computer, the Intel Platform Trust Technology might be changed into Security Device, Security Device Support, TPM State, AMD fTPM switch, AMD, PSP fTPM, or Intel PPT)
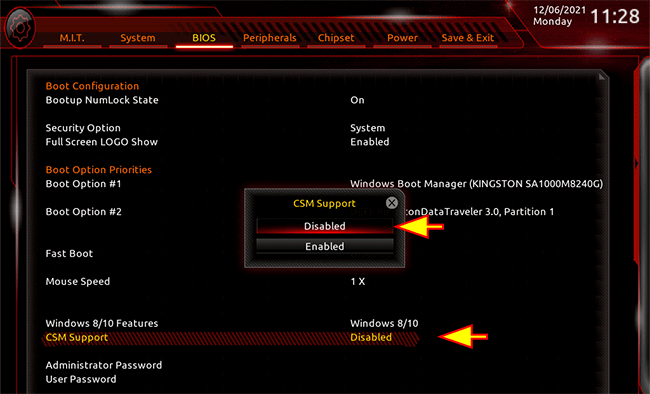
Step 9: You can click the BIOS option to check the status of CSM Support. If it is enabled, you can double click it and choose Disabled option.
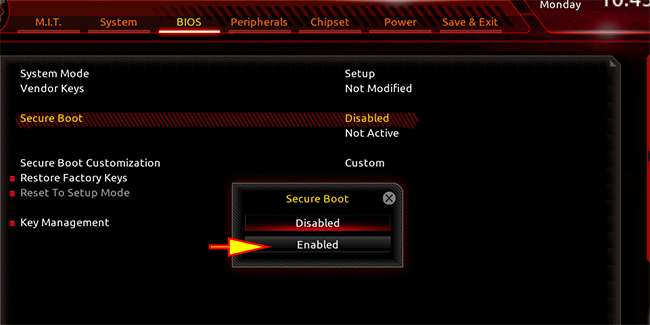
Step 10: Next, roll down the mouse and you can find the Secure Boot option. Double click it and change the status to Enabled.
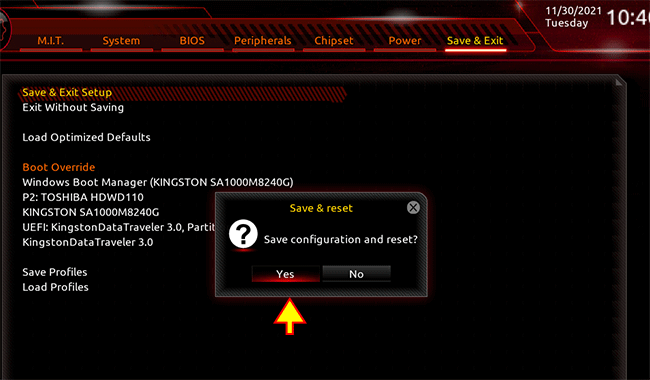
Step 11: Click the Save and Exit option from the top navigation bar. Then double click Save & Exit Setup option. Finally, click on the Yes button to save the changes and restart the computer.
After TPM and secure boot is enabled, the computer meets the requirements to run Windows 11. And you can install Windows 11 or directly update the Windows OS to Windows 11.
Solution 2—Bypass TPM Requirement to Install Windows 11
When the computer doesn't meet the requirement to run Windows 11, for example, there is no TPM hardware module, how can you install Windows 11 without TPM2.0? You can follow the tutorial below to bypass TPM requirement to install Windows 11.
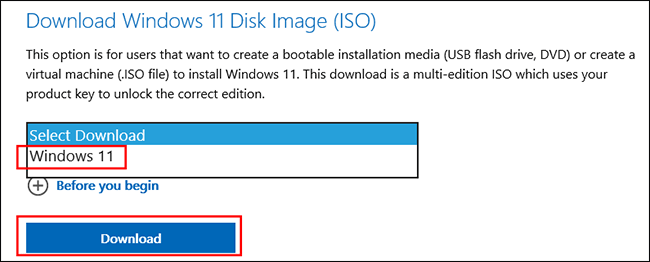
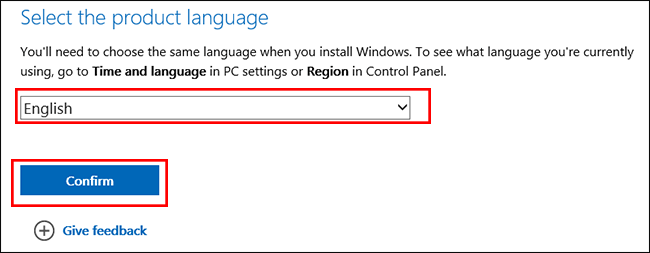
Select the product language and then click the Confirm button.
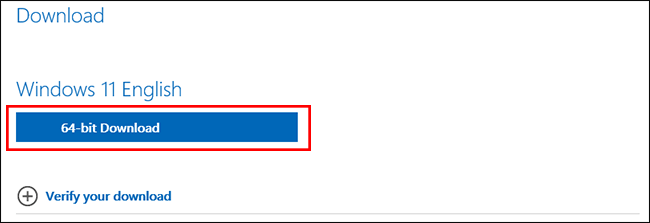
Next, click the Download button to download your iso image file.
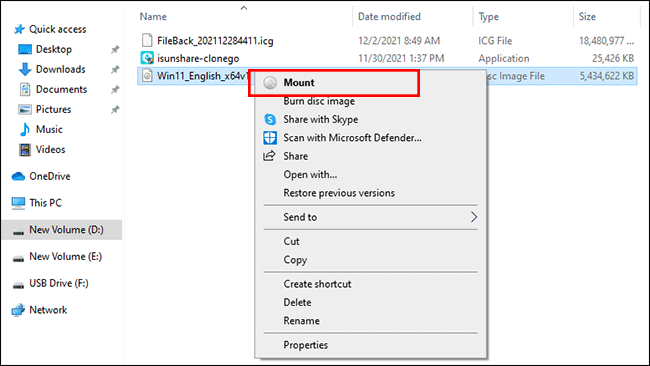
Step 2: Right click the iso file and then choose the Mount option to mount the Windows 11 disk image file on your computer.
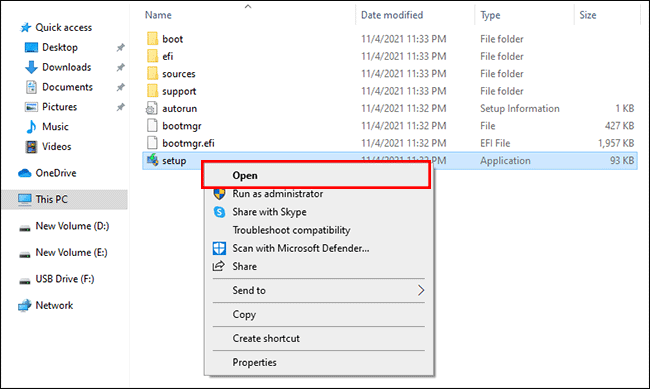
Step 3: Access the folder and then find the setup application, right-click and choose Open option. When it pops out the confirmation prompt, you can click the Yes button to continue.
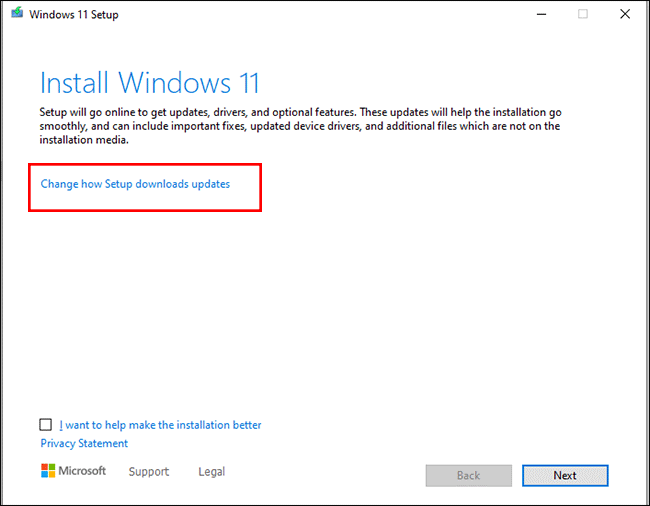
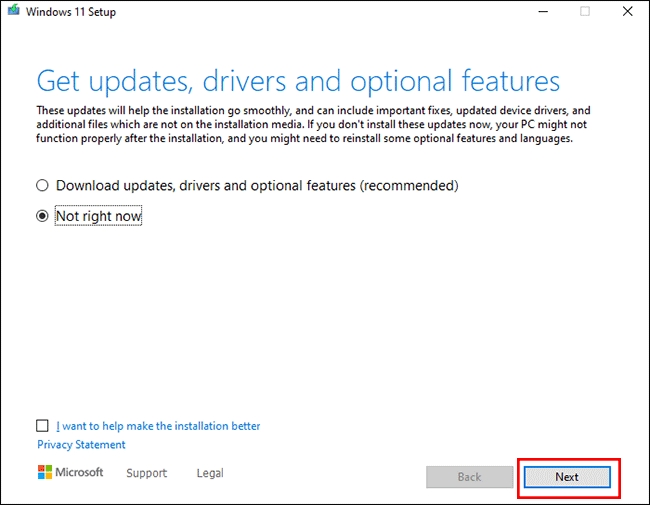
Step 4: In Windows 11 setup window, click the Change how Setup downloads updates.
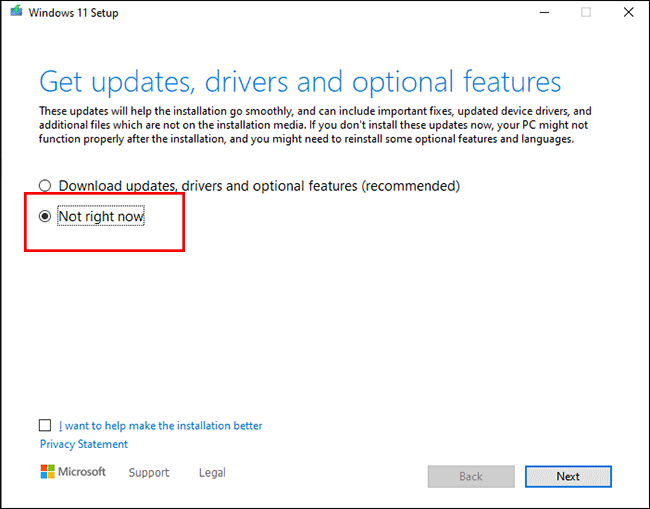
Step 5: Choose Not right now and then stay on this step.
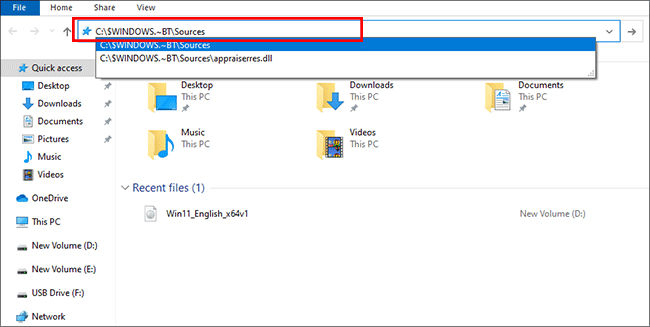
At the same time, open File Explorer and then copy C:\$WINDOWS.~BT\Sources to the address box and press Enter.
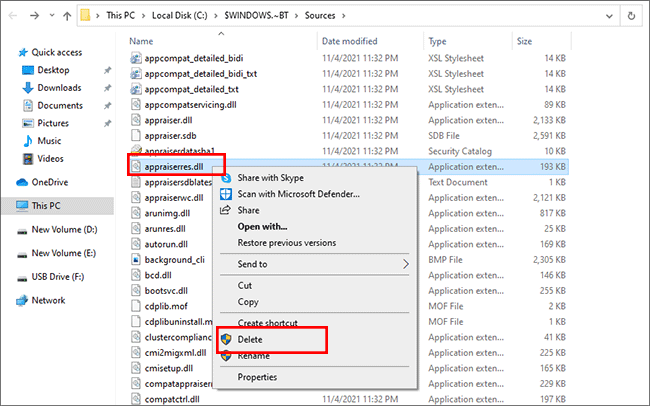
Go to open the Source folder and then find appraiserres.dll. After that, right-click appraiserres.dll and choose Delete option.
After that, you can go back to the Windows 11 setup windows and click the Next button.
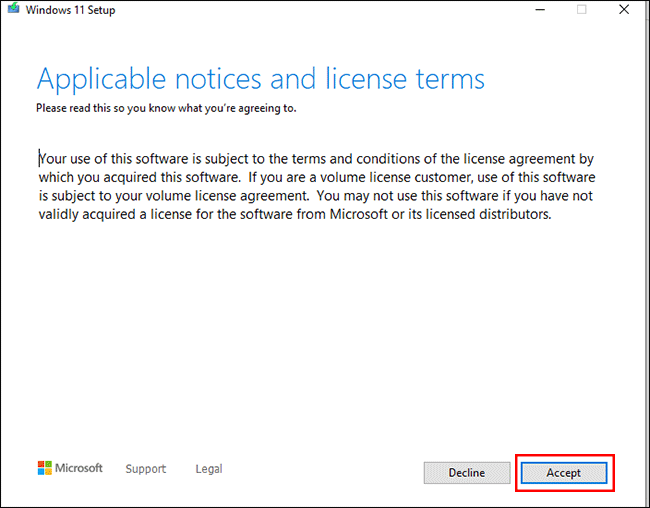
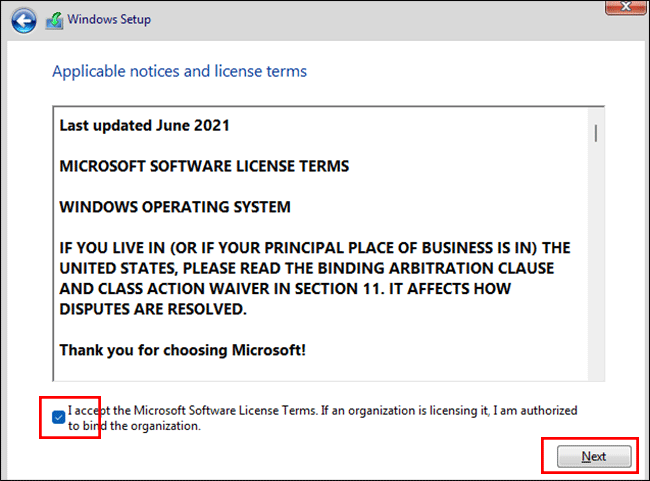
Step 6: Accept applicable notices and license terms.
Step 7: Confirm the Windows 11 version you are going to install and click the Install button.
Step 8: The installation process begins and there will be several restarts on your computer. You should make sure the computer is power on.
In the end, you will get into the Windows 11 system on your computer. And the error message "This PC can't run Windows 11" is fixed.
Solution 3— Install Windows 11 System from USB
In this situation, you need to create the Windows 11 installation media with USB and then boot the computer with USB to install Windows 11. Besides, you need to add registry data to bypass TPM detection.
Part 1—Create Windows 11 Installation Media with USB
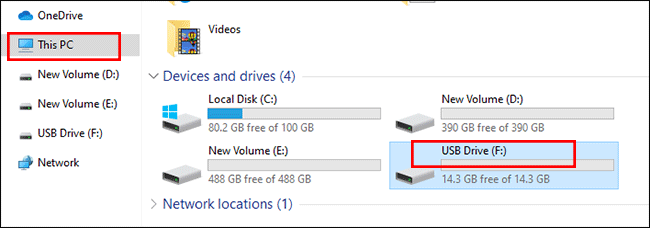
Step 1: Plug the USB flash drive of which the storage is over 8GB into your computer and then open File Explorer. Choose This PC from the right panel and then you can check the drive letter of the USB drive disk is F.
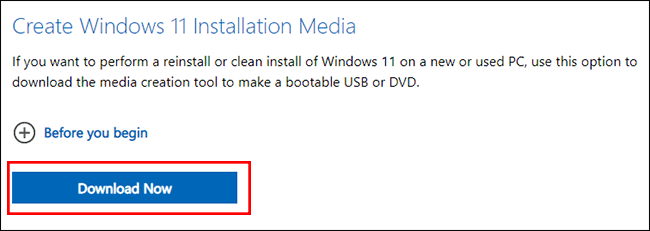
Step 2: Download Windows 11 Installation Media from its official website.
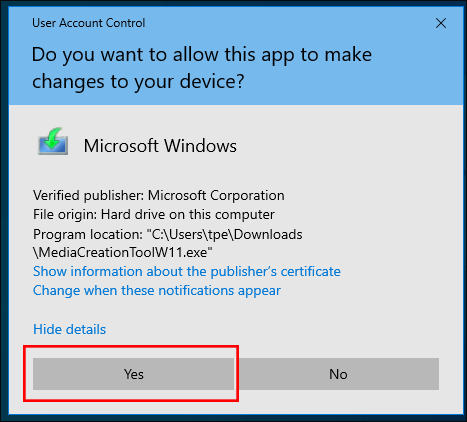
Step 3: Open the download file and click Yes to allow this App to make changes to your device.
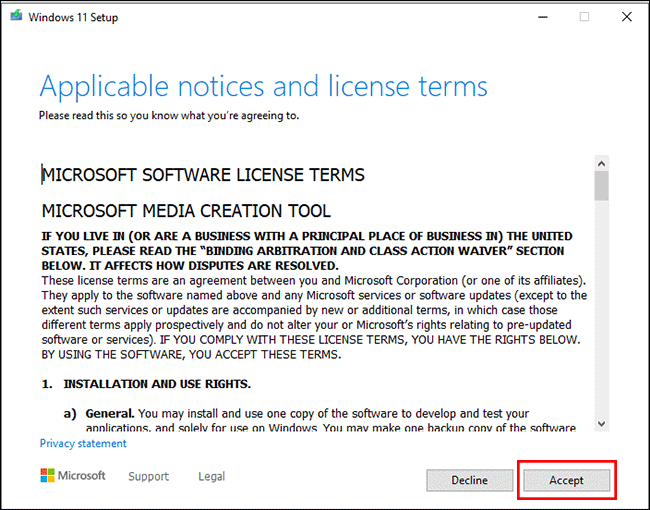
Step 4:Click Accept to agree the applicable notices and license terms.
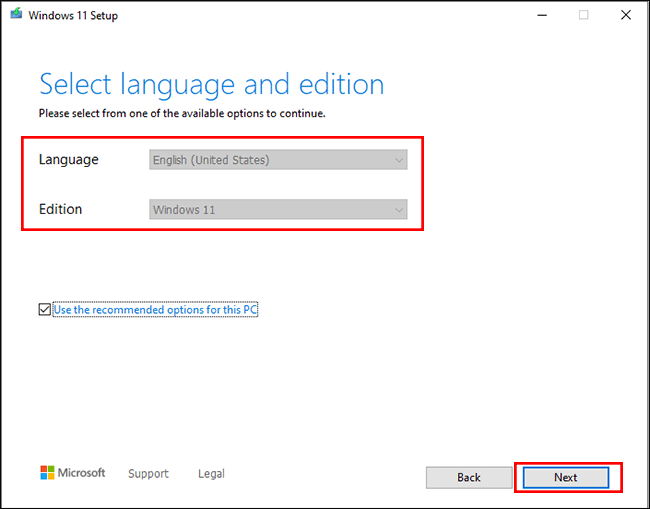
Step 5: Choose the language and the edition you want to set for this Windows 11 system.
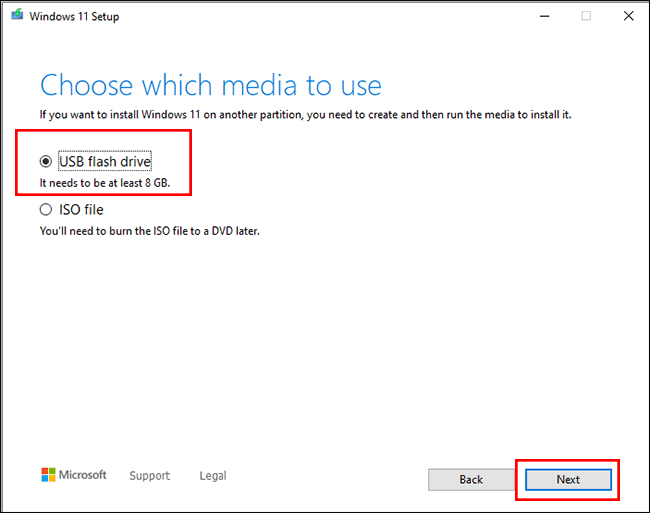
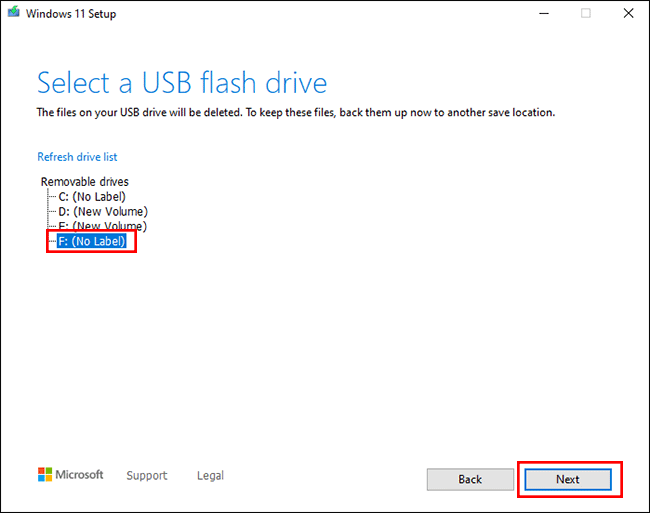
Step 6: Select USB flash drive to use for Windows 11 installation and then click the Next button.
Step 7: As your USB flash drive is the F drive, you can select the F drive and click the Next button to burn the installation media.
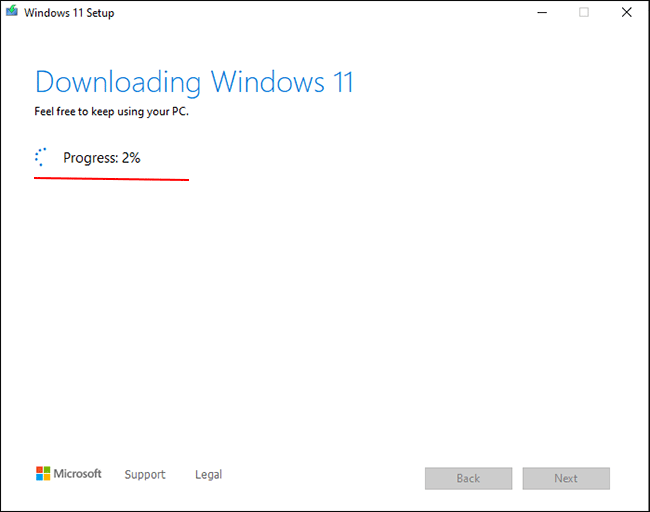
Step 8: The Windows 11 system will be downloading after you click on the Next button on the previous step. When this process ends, it will burn the Windows 11 iso image into the USB flash drive automatically. As this process will last for a long time, you just need to wait for its completion.
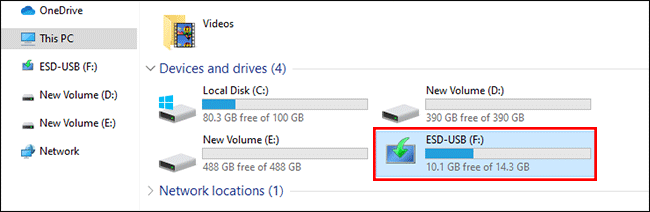
Step 9: When the burning process ends, you can close the window and then open the File Explorer. Go to click This PC and then you can see the USB Installation Disk has been burned.
Part 2—Install Windows 11 System from USB
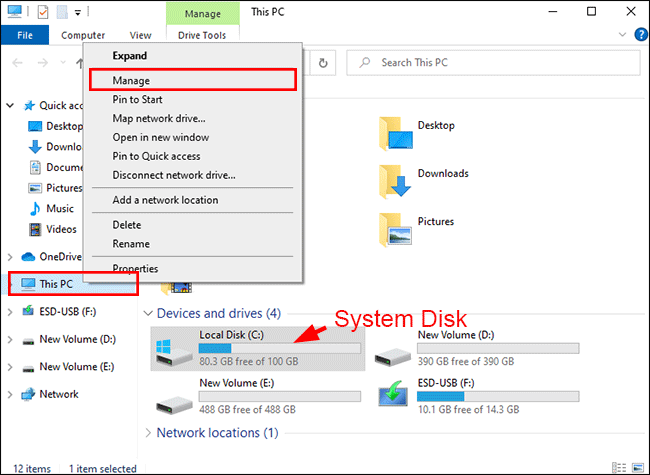
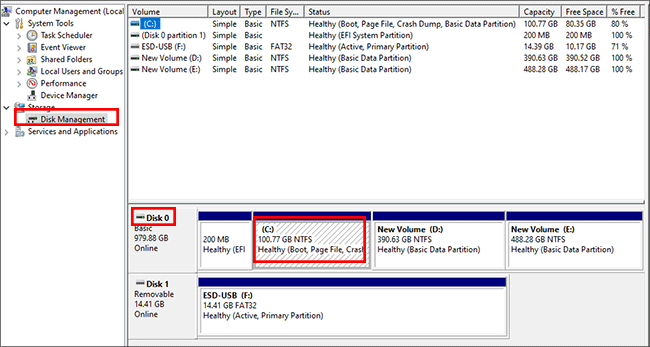
Step 1: Open File Explorer and then click This PC on the left panel. After that, you can check the C disk is the system disk. Right click This PC and choose Manage.
Step 2: Click Disk Management and then you can check C drive is on Disk 0. Besides, you can know its whole storage.
Step 3: Restart your computer and press F12 to select USB as the boot drive. You can refer this article to set USB flash drive as the boot disk.
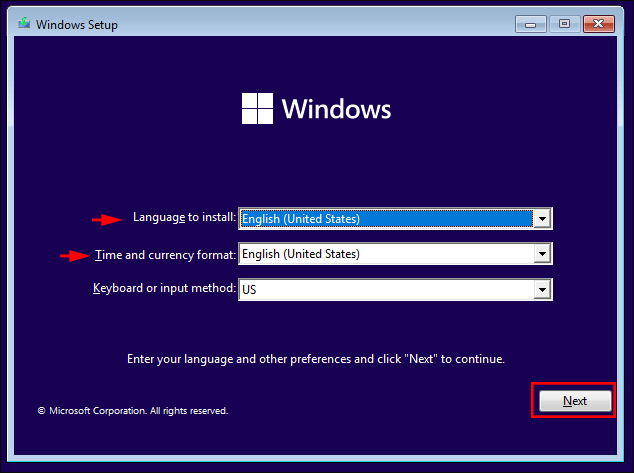
Step 4: After the computer is boot from USB, the installation disk will run automatically. You need to confirm the language to install and click the Next button.
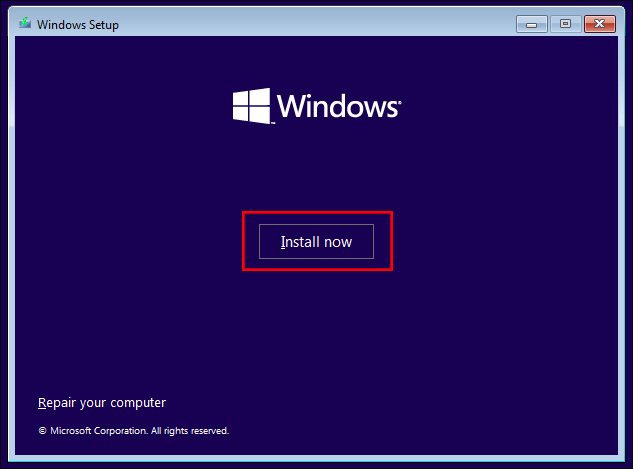
Step 5: Click the Install now button.
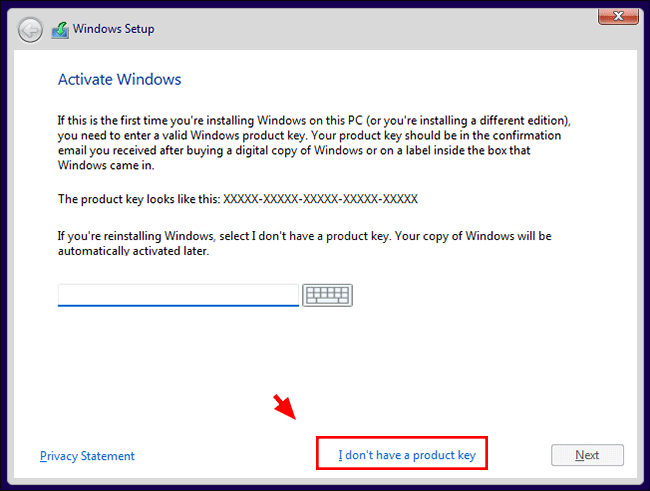
Step 6: Select I don't have a product key.
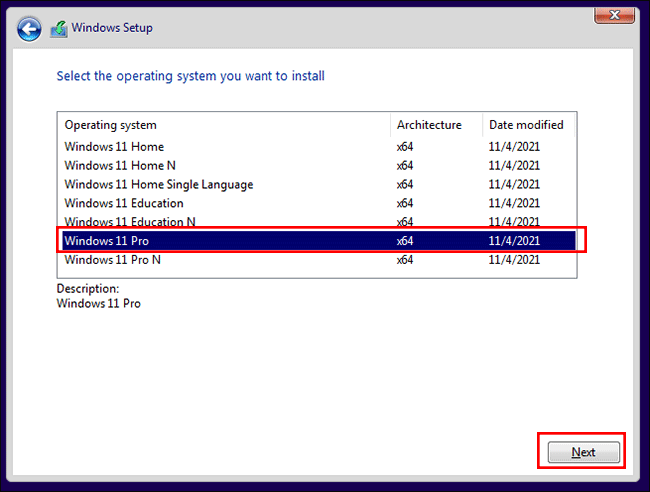
Step 7: Select the Windows 11 edition you want to install and click the Next button.
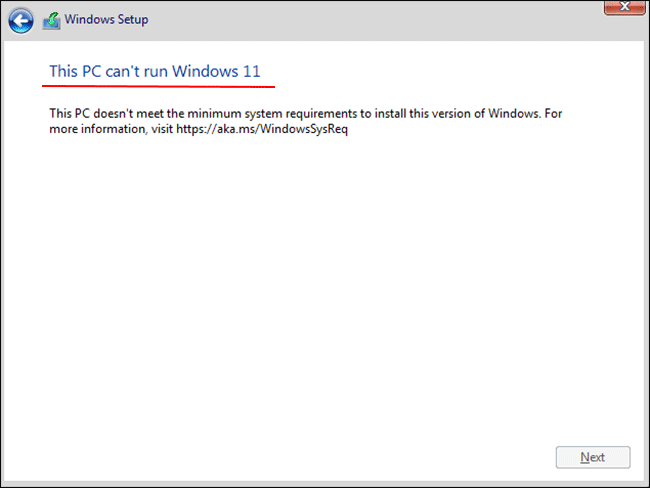
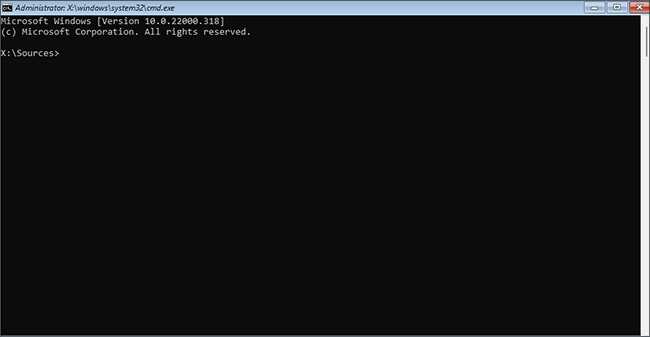
Step 8: Here comes "This PC can't run Windows 11" window. Keep calm and then left the window alone. Just go to press the Shift + F10 keys on your keyboard to run command prompt.
As the picture shows, the command prompt is on running.
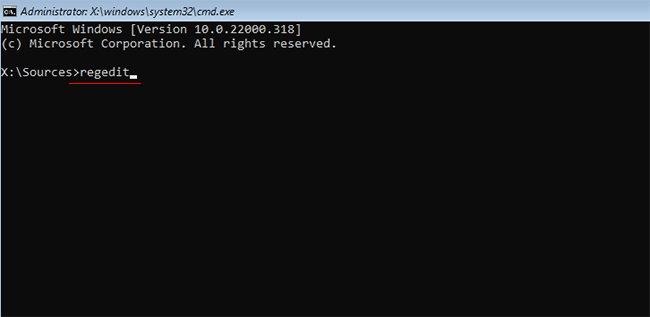
Step 9: Type in regedit and press Enter to open the registry editor.
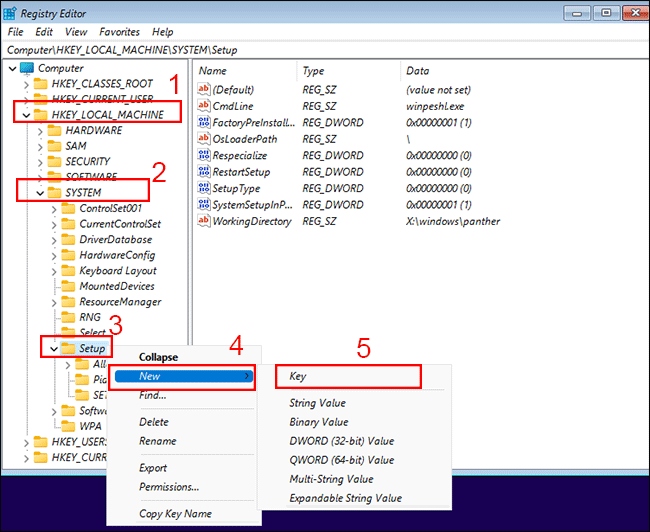
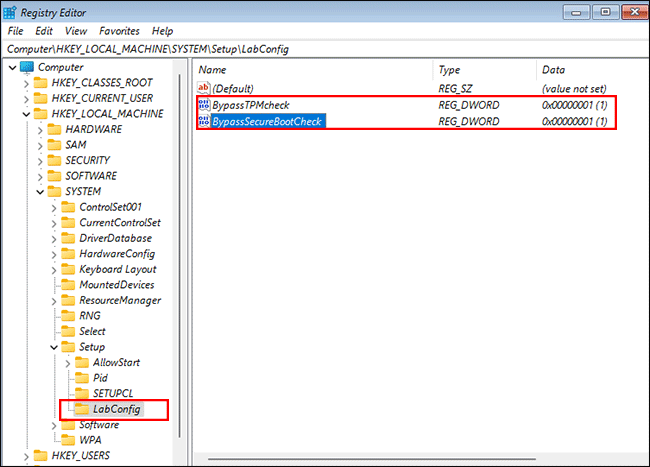
Step 10: Go to HKEY_LOCAL_MACHINE > SYSTEM> Setup. And right click to select New > Key to create a new folder named LabConfig.
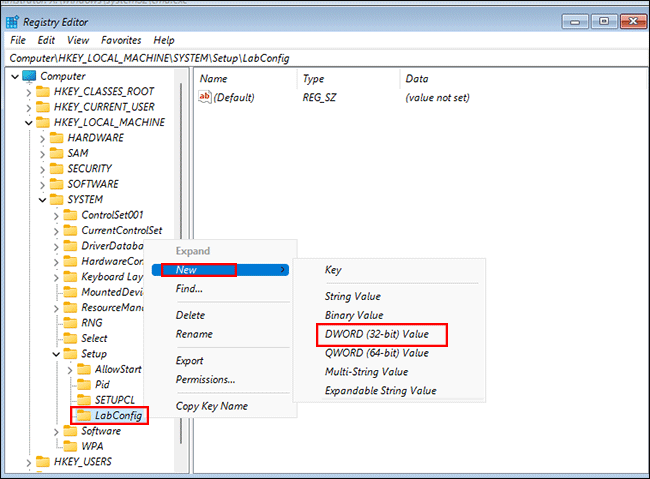
Step 11: Under LabConfig folder, right click and then new build an object in DWORD (32-bit) Value.
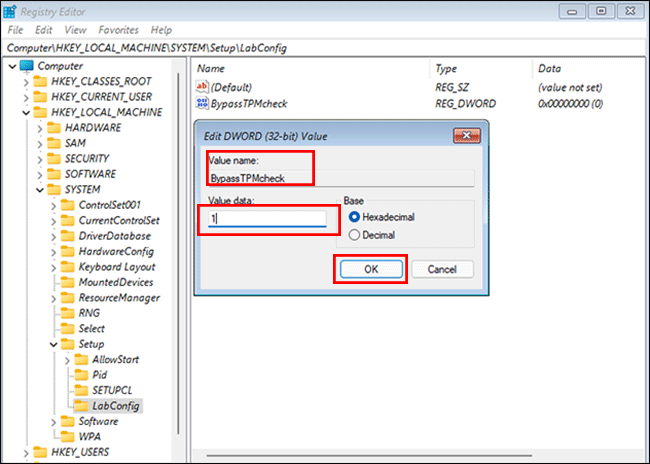
Name this object as BypassTPMCheck and set its value data as 1. After that, you can click the OK button.
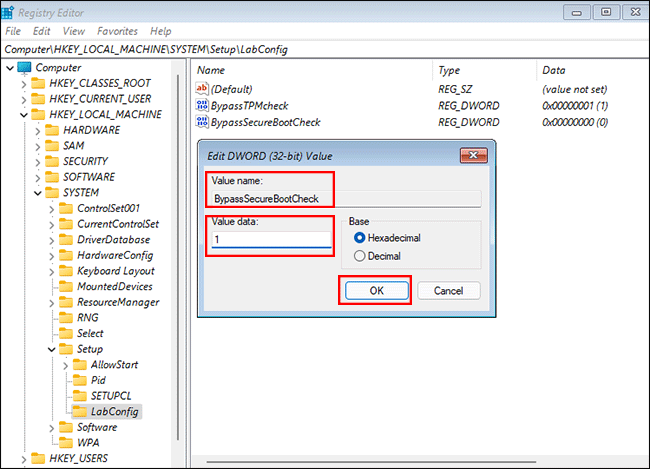
Step 12: In the same way, you can create another object under LabConfig folder. Then edit the Value name as BypassSecureBootCheck. Also, its value data is 1. Click the OK button to end this setting.
Step 13: Now you can check the DWORD value of BypassTPMCheck and BypassSecureBootCheck is 1.
Step 14: Go back to This PC can't run Windows 11 window and click the arrow on the top left to back to previous step.
Step 15: Select the Windows 11 operating system you want to install and click the Next button.
Step 16: Check the checkbox to accept the license terms and click the Next button.
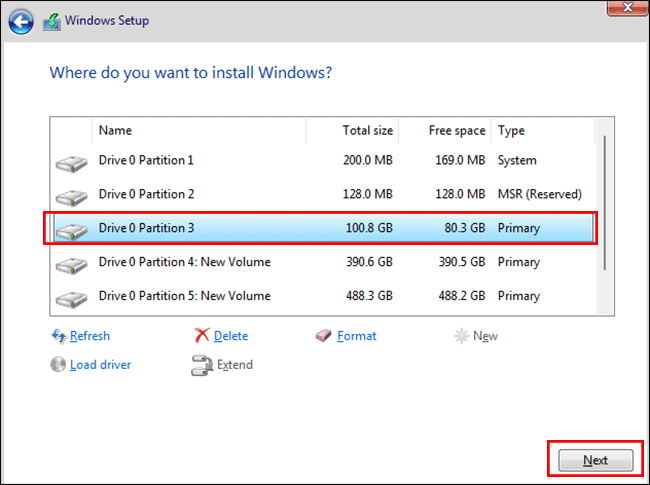
Step 17: Select the second option—Custom: Install Windows only (advanced).
Step 18: Select the system disk (C drive) and click the Next button. You can figure out the system disk by its total size you check at the beginning.
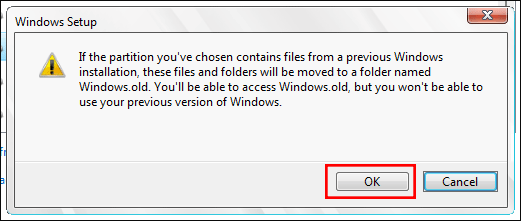
Step 19: Click the OK button to confirm the new installation. After that, the Windows 11 operating system is installing.
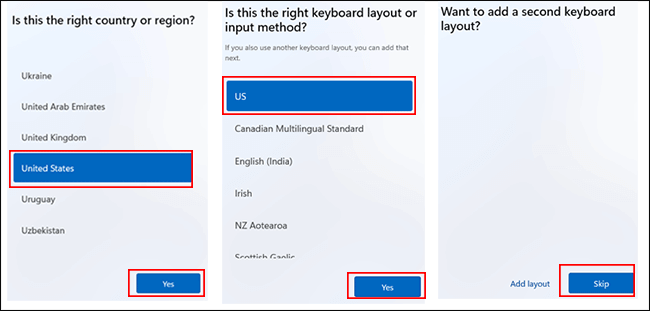
Step 20: Wait for minutes; you can go to set the country, keyboard layout, skip the second keyboard layout.
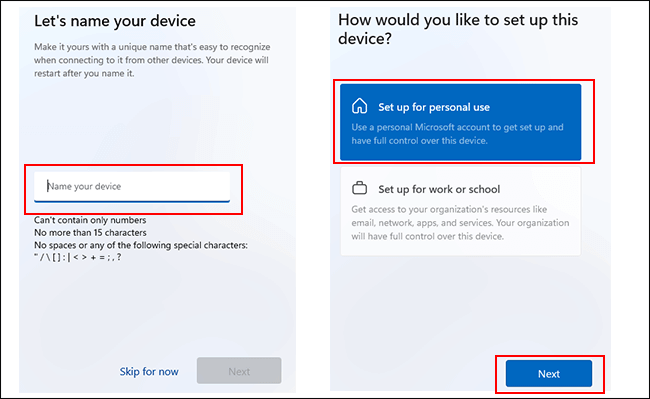
In the coming interface, it will ask you to name the device and select a way to set up the device.
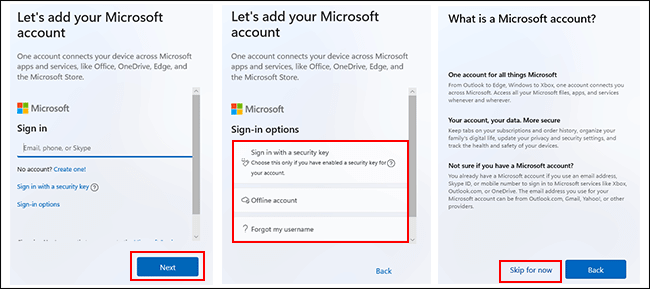
You will also be asked to add the Microsoft account.
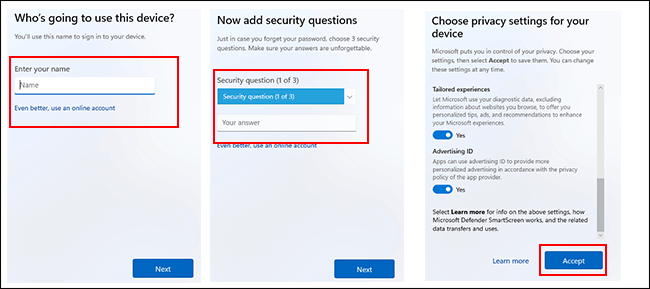
Finally, enter the user's name, answer three security questions and accept the privacy settings.
Step 21: Minutes later, the system is successfully installed.