We use cookies for personalizing content and ads and providing social media features. Your usage information on our website will be used for social media, advertising, and traffic analytics, or shared with our partners. Clicking "Accept" means you agree to use our cookies .
If you don't want to view the previous notifications of each tile on the Start screen, and would like all tiles display their default content only whenever you log in your PC, you are able to clear the history through modifying the setting of tile notifications in Local Group Policy Editor. And this article will tell you how to make it by four steps.
Video guide on how to clear history of tile notifications in Windows 8:
4 steps to clear history of tile notifications in Windows 8:
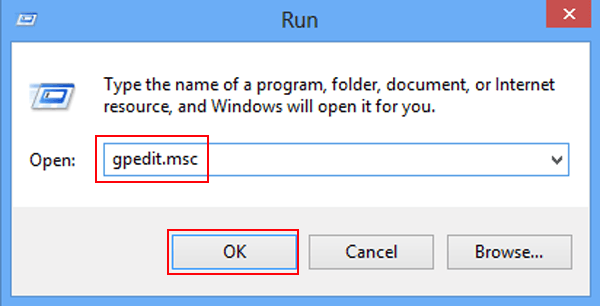
Step 1: Turn on Local Group Policy Editor.
You can use the run command of gpedit.msc to open the editor (as shown in the following picture), or make a shortcut for Group Policy Editor and directly turn on the editor with its help.
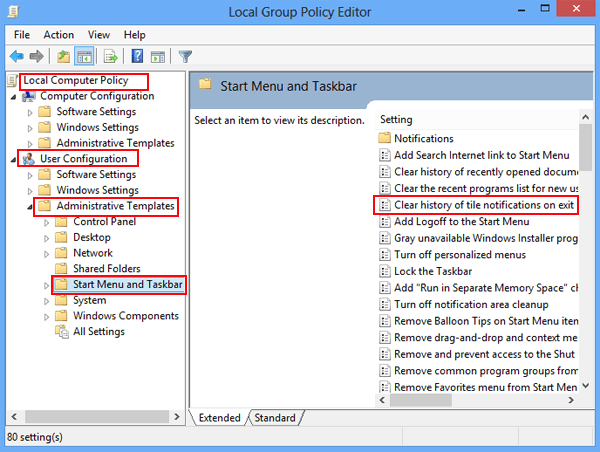
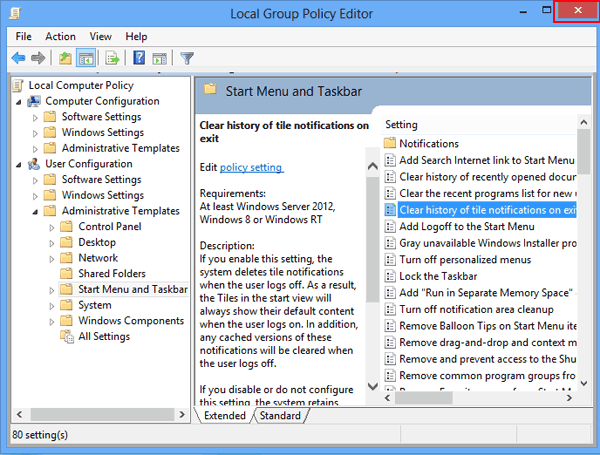
Step 2: Find and open Clear history of tile notifications on exit in the editor.
For your reference, it can be found in accordance with the way below.
Local Computer Policy/User Configuration/Administrative Templates/Start Menu and Taskbar/Clear history of tile notifications on exit
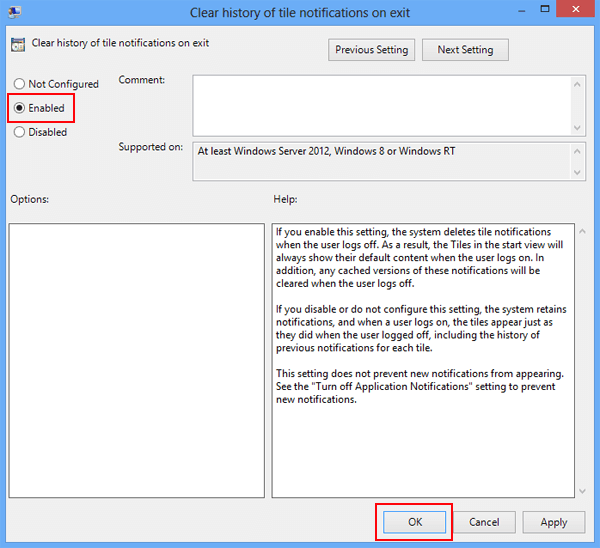
Step 3: Enable Clear history of tile notifications on exit.
When the following window appears, select Enabled and click OK to finish the changes.
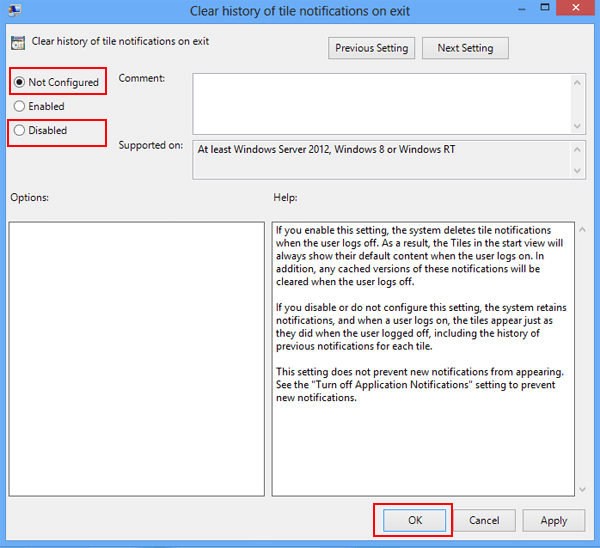
Tips: Suppose you want to change the setting of Clear history of tile notifications on exit to its default setting, you can choose Not Configured and tap OK. Besides, you can select Disabled to disable the setting in your computer.
Step 4: Exit the editor.
Click the close button on the window, or press Alt+F4 hotkeys to exit the editor.
With the above 4 steps, the goal of clearing history of tile notifications is achieved. In other words, whenever you log off the computer, the tile notifications will be cleared.