“I’m trying to upgrade my SSD to 2TB Samsung SSD 860 EVO. It offers the Samsung Data Migration software to clone the data. But my cloning stuck on 99% and got the message: The data migration function has been interrupted for an unknown reason. Why this happen to me? How can I fix this?”
Samsung SSD is one of the most popular SSDs for laptop upgrade. You can directly clone all data to the Samsung SSD using Samsung Data Migration software that comes with the SSD. Or you can download it from Samsung official website. It offers great convenience for users to upgrade the computer without losing data. However, sometimes, Samsung Data Migration software is not working. You may get the Samsung SSD clone failed error message, or find that Samsung Data Migration stuck at 0%, 99%, or 100%. How could you fix this issue? You can find the solutions below.
Method 1: Check whether there is a bad sector or not
If there is a bad sector on your SSD or your Windows, it will result in Samsung Data Migration stuck at 99% or 0%. Thus, it is necessary for you to make sure the source disk and SSD disk is in good health. You can run a health check on both disks.
Step 1: Connect the Samsung SSD with your computer.
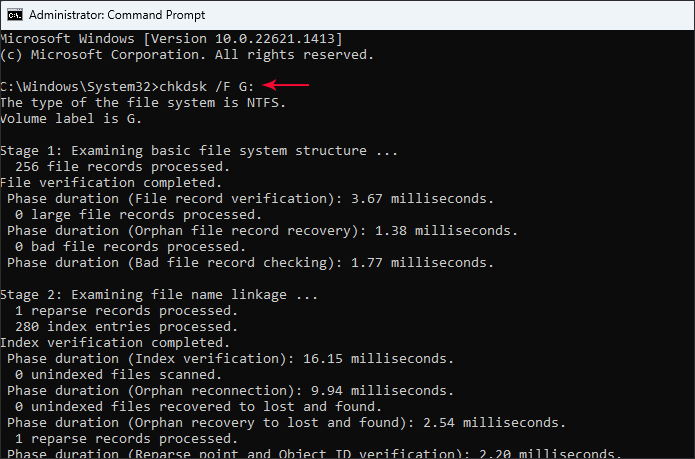
Step 2: Run Command Prompt as the administrator. You can search command prompt and then choose this App and select to Run as administrator.
Step 3: Enter the command: chkdsk /F D: (You can replace D with your SSD drive letter or the source disk drive). Then press Enter and it will examine your disk automatically.
If there is any issue with the disk, you can check in the examining result.
Method 2: Disable Hibernation mode
If the Hibernation mode is on, you may get the message Data Migration function has been interrupted for an unknown reason. So, you should disable the Hibernation mode. Generally, if you do not turn it on, it is set to be disabled by default on Windows 11/10/8/8.1.
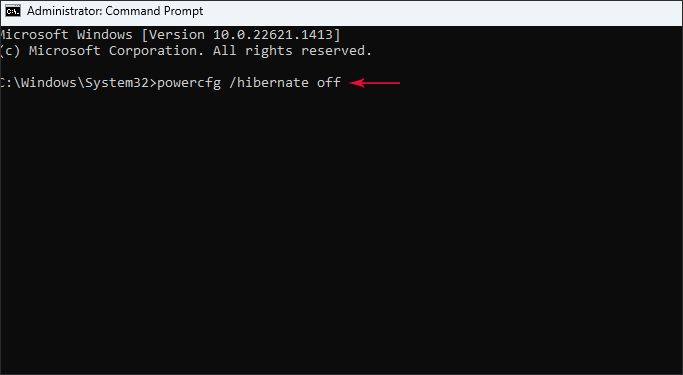
Step 1. Run the Command Prompt as the administrator.
Step 2. Execute the command “powercfg /hibernate off”.
Method 3: Make sure BitLocker is disabled before cloning
If you get the Samsung Data Migration cloning failed 00001 error, it should be the BitLocker protection on the drive you want to clone or the Samsung SSD. You should turn of the BitLocker before cloning the data.
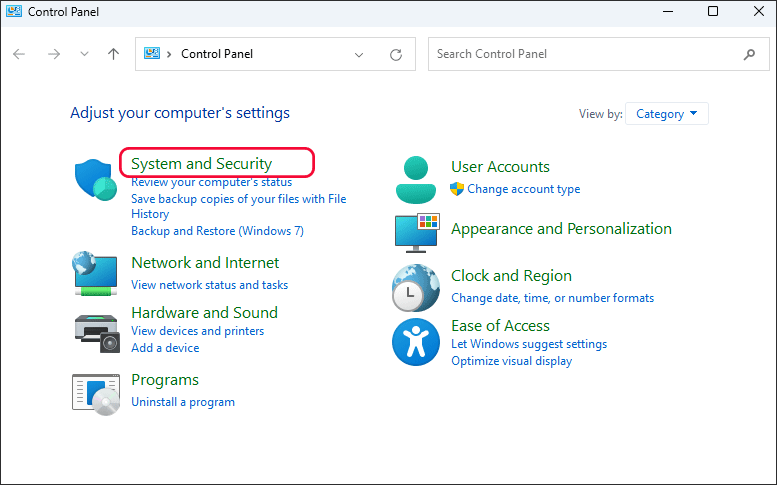
Step 1. Search Control Panel on the Windows search box and choose Control Panel to open.
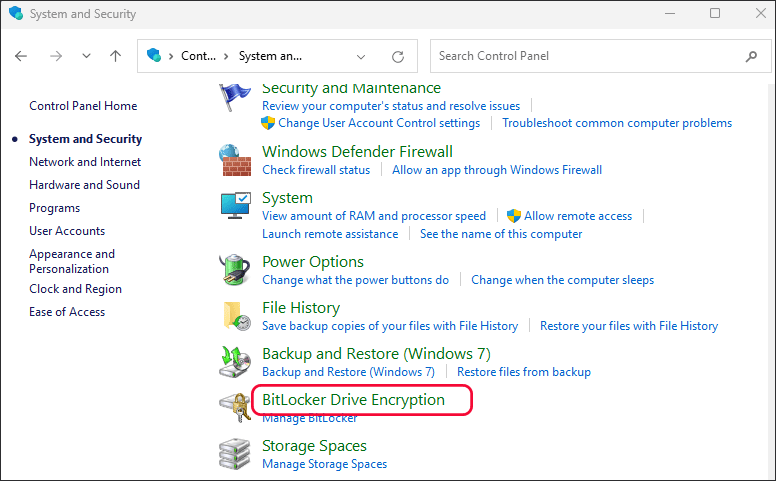
Step 2. Hit on System and Security on Control Panel window.
Step 3: Scroll down and choose BitLocker Drive Encryption.
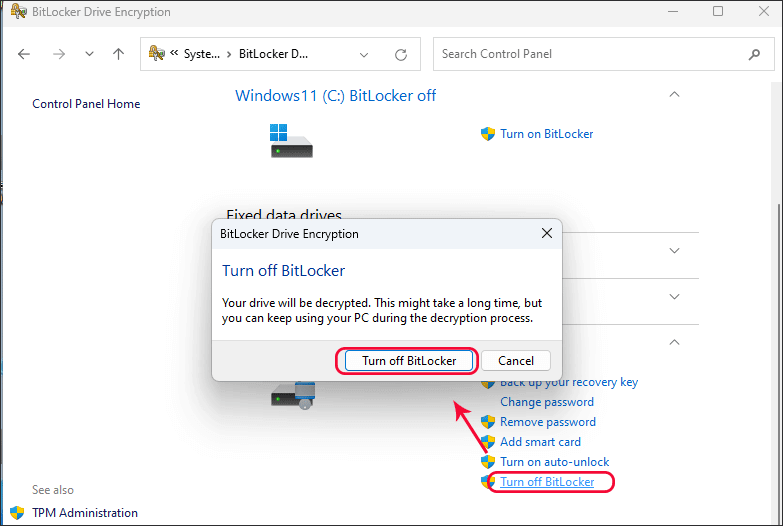
Step 4: Now go to the drive with the BitLocker protection and click Turn off BitLocker. On the BitLocker Drive Encryption pop-out, you need to hit on Turn off BitLocker to continue.
After minutes, the BitLocker is disabled on the drive. You can try to clone the disk to Samsung SSD again and it should work properly now.
Method 4: Convert dynamic disk to basic
If the source disk is in dynamic type, Samsung Data Migration may not function properly. You should convert the dynamic disk to basic disk. You can refer the page below to get a basic disk without losing data.
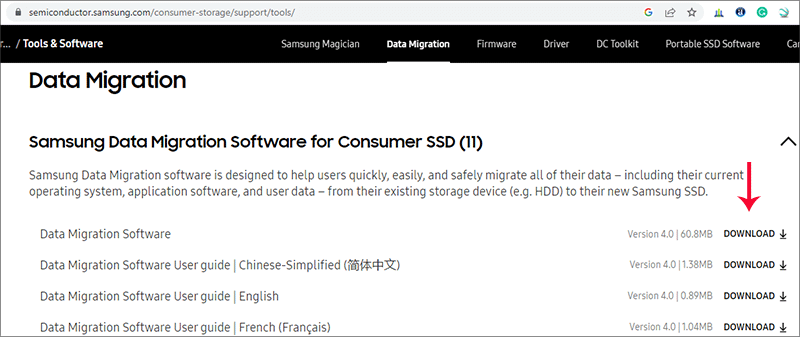
Method 5: Get the latest version of Samsung Data Migration
If the Samsung Data Migration is out of date, it may fail in cloning your disk data. You can get the latest version of Samsung Data Migration from its official website.
Method 6: Disable page file
It may be helpful when you change to the No virtual memory paging file option.
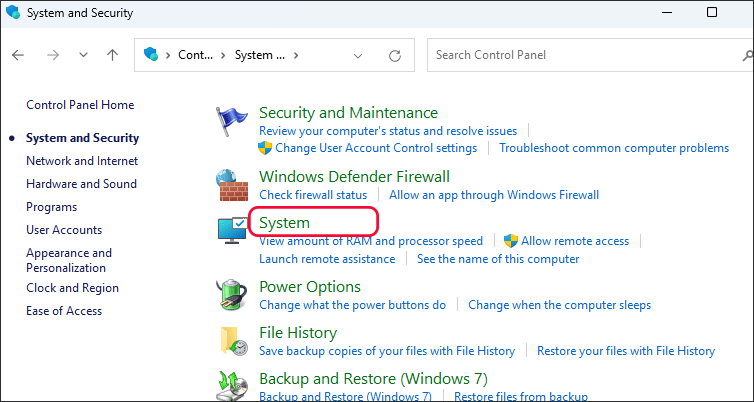
Step 1: Open Control Panel and select System and Security.
Step 2: Hit on the System option on the right panel.
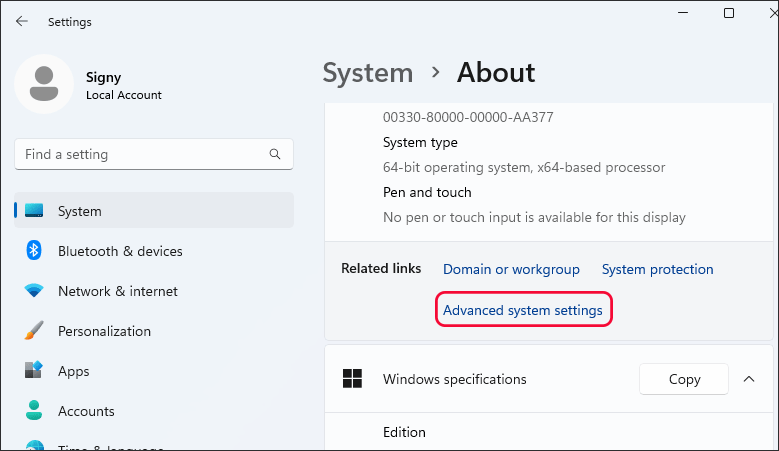
Step 3: Then scroll down and select Advanced system settings in the Related links section.
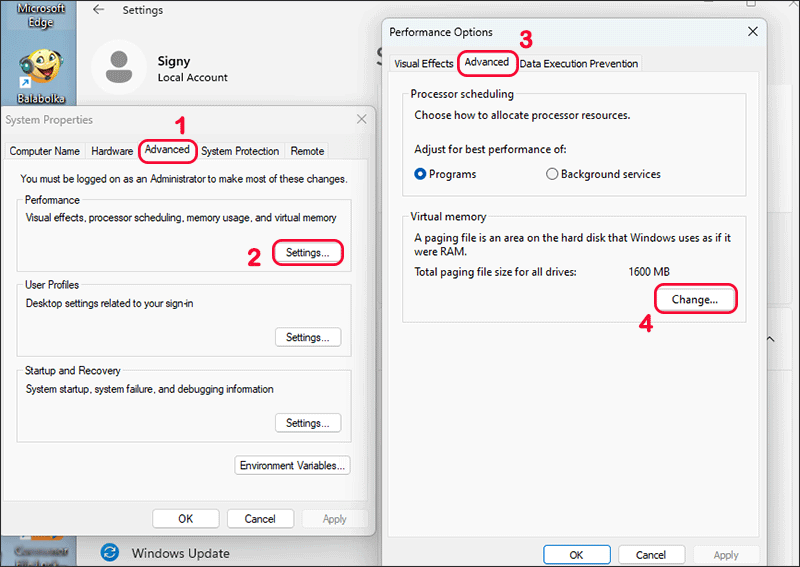
Step 4: Hit on the Advanced tab and then choose Settings on the Performance section.
Step 5: Click the Advanced tab and you can see the Virtual memory section. Go to click the Change button under this section.
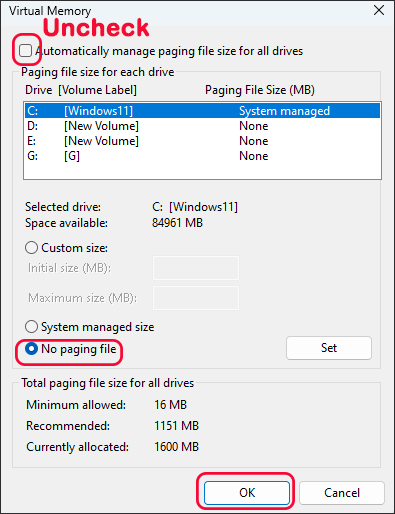
Step 6: Uncheck the Automatically manage paging file size for all drives option. And choose No paging file option. After that, click the OK button. Finally, you need to restart the computer to apply the change.
Method 7: Defragment and optimize the drive
You can use disk defragmenter to defrag and optimize the disk for cloning.
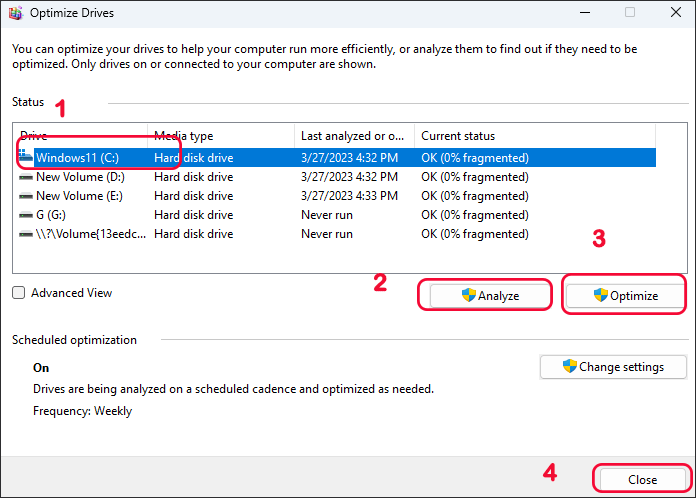
Step 1: Press Windows key and R key on your keyboard to open Run box. Then enter dfrgui and click on the OK button.
Step 2: Select the system volume and click on Analyze button. Minutes later, click on the Optimize button. When the process ends, click on Close button.
Method 8: Try alternative tool to clone data to Samsung SSD
If you do not want to waste time in solving the error and just want to clone all data to the Samsung SSD, you can try an alternative tool to clone a whole disk to Samsung disk. iSunshare CloneGo will be a good choice. You can easily finish the data migration in minutes and make the Samsung SSD boot normally. Besides, you can transfer only Windows 11/10/8/7 system volume to the Samsung SSD if there is no enough space for all data.
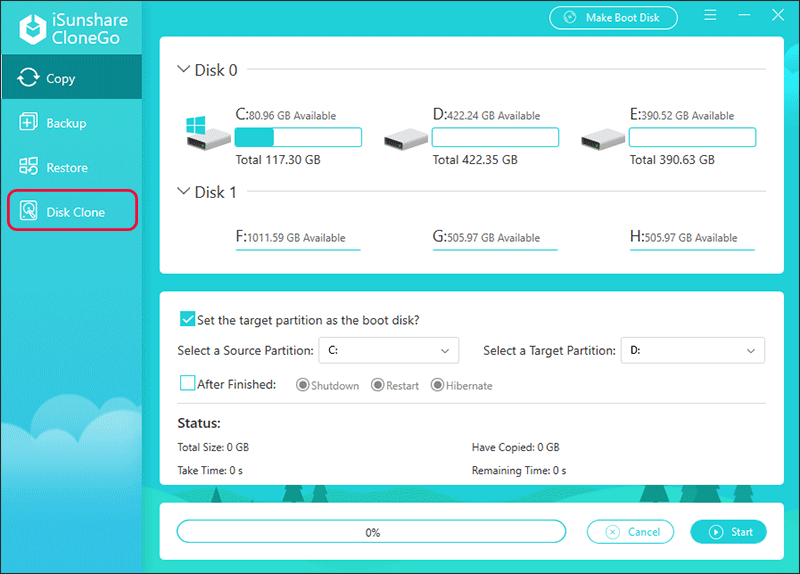
Step 2: Launch the software and you find it is displayed on the Copy interface. Click on Disk Clone option on the left side.
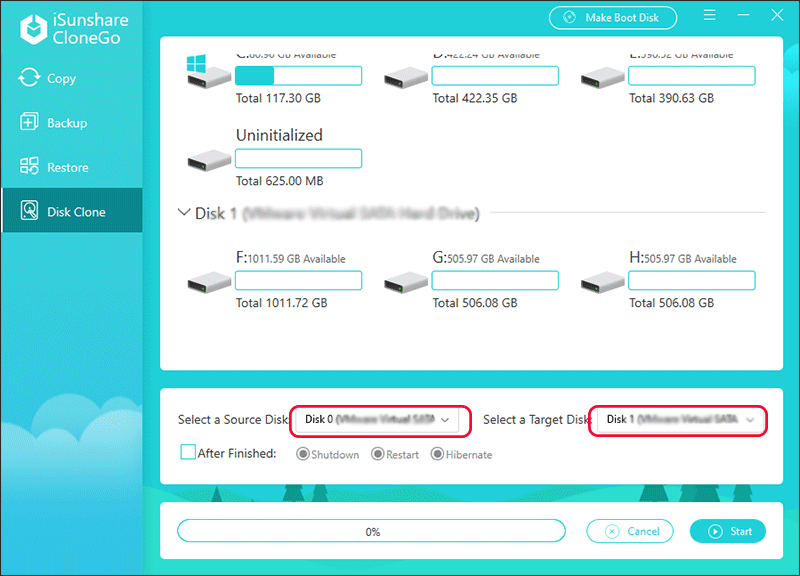
Step 3: Now you can see all disks on your computer. After that, choose your computer disk as the source disk and the Samsung disk as the target disk.
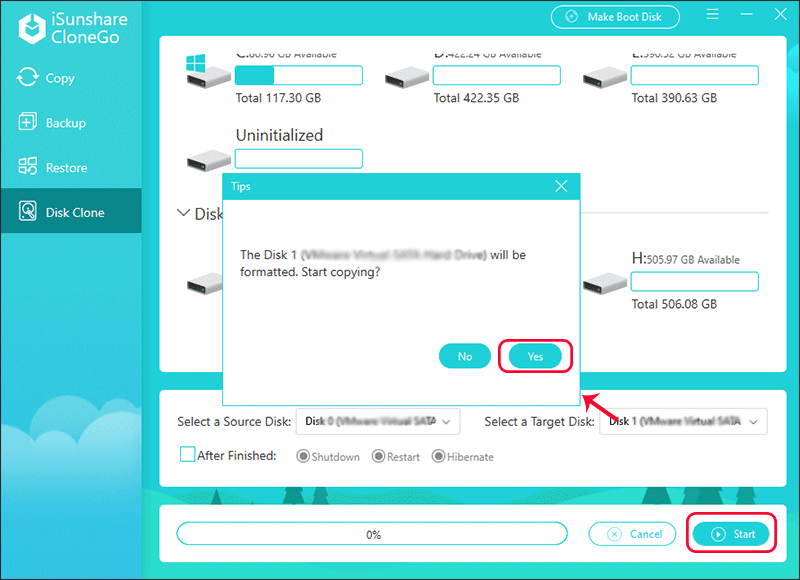
Step 4: Hit on the Start button and you will see the formatting message box. Click Yes to begin the data cloning.
After that, you just need to wait for the cloning process to end.
Tips on How to Perform Successful Cloning with Samsung Data Migration
1. Get the latest motherboard chipset drivers on your computer before cloning.
2. Close all running programs, instant recovery software and the security software to ensure the smooth cloning.
3. If you are using the Samsung NVMe TM SSD, it is recommended to install the Samsung NVMe TM Driver in advance.
4. If the Samsung SSD is connected as the external hard disk, Samsung Data Migration may not work properly due to the USB adapter. You can get the right USB adapter from its official website.
5. If your Samsung SSD is new, you should go to disk management to initialize the SSD and allocate new simple volume on it.