In most cases, the program compatibility assistant does not play a big role, you can completely disable the program compatibility assistant service if you do not want it to occupy the system memory. Disabling PCA is useful for system administrators who need faster performance and know the compatibility of the applications they are using. Therefore, in this post, I will share with you why and how to disable program compatibility assistant service.
Part 1: What is program compatibility assistant service?
Program Compatibility Assistant (PCA) monitors programs installed and run by the user and detects known compatibility issues. If there are known compatibility issues, Windows will prompt the user to reinstall using the recommended settings, or the user can ignore the prompt and continue running.
Part 2: Why we need to disable program compatibility assistant service?
Whenever Microsoft releases a new Windows operating system, the biggest concern for users is the compatibility of the software they use with the new system. For this reason, Microsoft has added a feature called Program Compatibility Assistant to the system so that when users run each piece of software, it checks its compatibility.
However, most software that does not have compatibility issues will also prompt the user with compatibility issues. Program Compatibility Assistant is also known as a worthless feature because it does not provide a solution for software with compatibility issues.
In short, Program Compatibility Assistant is useless and affects the user experience instead, so it is better to disable this feature.
Part 3: How to Disable Program Compatibility Assistant Service?
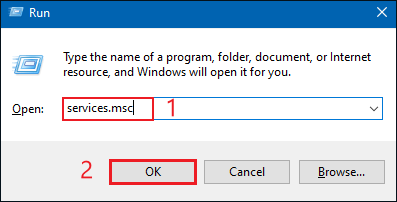
Step 1: Press Win+R and fill in services.msc in the input box to open the service window.
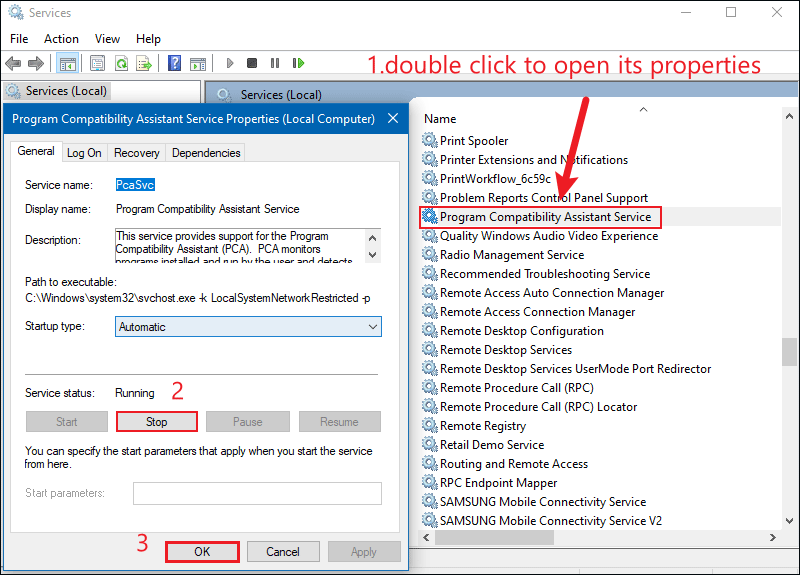
Step 2: Go to the Services (Local) screen and find the Program Compatibility Assistant Service item on the right. Double-click to open its properties. Change the Service status to Stop, click OK and restart to take effect.
Way 2: Via the Local Group Policy Editor
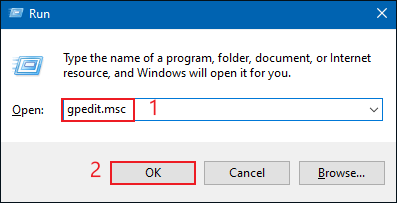
Step 1: Press Win+R to open the Run box, type gpedit.msc to open the Local Group Policy Editor.
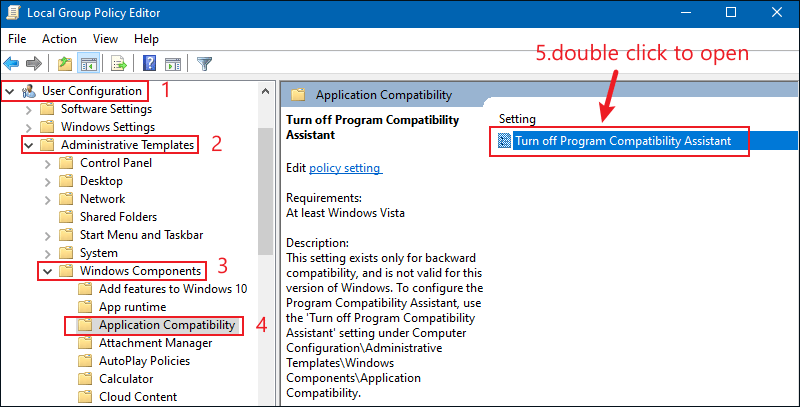
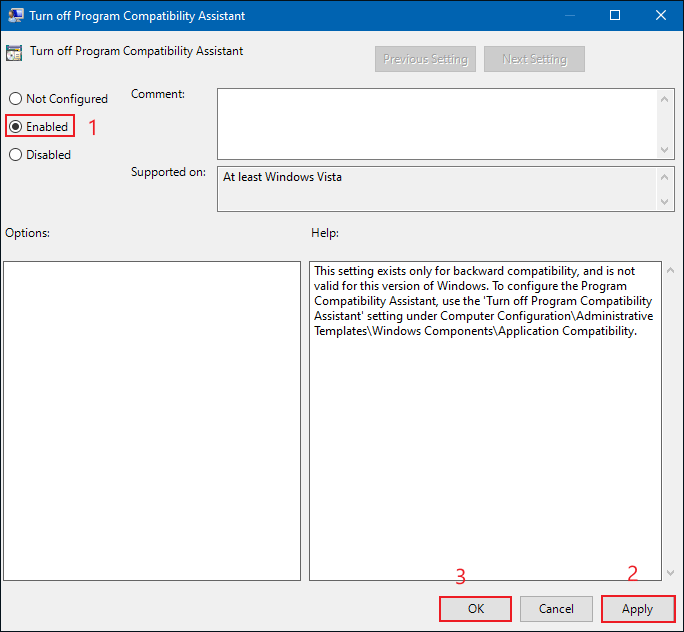
Step 2: Then in the Local Group Policy Editor window, locate User Configuration > Administrative Templates > Windows Components, and then click on Application Compatibility and double-click to open the Turn off Program Compatibility Assistant on the right window.
Step 3: Configure it to Enabled and then click on Apply and OK to finish the setting.
Way 3: Via System Genius
iSunshare System Genius is an all-in-one cleaning tool that effectively removes junk files and invalid registry entries, frees up more system disk space with one click, changes the default download path, and it lets you disable or enable Windows services easily and quickly.
Step 1: Download and install System Genius on your PC.
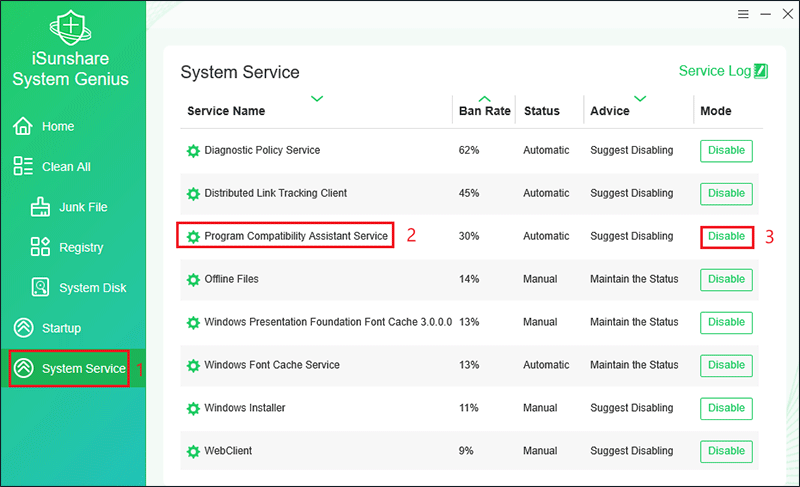
Step 2: Click System Services in the left pane, find the Program Compatibility Assistant Service in the right pane, and then click Disable under Mode. Every operation you perform will be recorded and you can view the history of operations through the Service log.
Extra Tips: If you are not sure whether you should enable or disable a particular system service, you can turn your attention to the Advice column where different suggestions are given for your target system service, such as Maintain the Status, Suggest Opening, Suggest Disabling and Must Open. With this advice, you will surely be able to make an informed decision.