Modern computers are fast. Therefore, it can be quite annoying when your computer stutters constantly. Part of the reason why laptops become stuck and slow can be software, system or hardware problems. Simply put, computers that lag or become slower are basically caused by software or system problems. Tracking down and fixing these stutters can be a real chore, but there are fixes for some of the most common causes of stutters. In this post, I will share with you why Windows 10 PC stutters and how to solve the Windows 10 PC stuttering every few seconds. Just keep reading and you will find the solutions.
Section 1: Why does Windows 10 computer stutter every few seconds?
Many factors can cause your computer to randomly stutter every few seconds, each unique to the Windows OS. It doesn't matter if you're using an SSD or HDD and how fast your processor is. Stuttering problems can affect any system, and can be quite annoying. Here are some of the main causes of Windows 10 PC stuttering.
Outdated drivers
Usually, outdated drivers are the cause of a sluggish computer. Your device drivers may be problematic or corrupted, which triggers the stuttering issue.
Background apps
If many applications are running in the background at the same time, your system may not be able to handle all these processes, thus affecting the performance of your PC.
Windows updates
Windows updates don't always fix errors and system failures. Sometimes, updates create PC problems that cause the system to stutter every few seconds.
Malicious programs or files
You may have unknowingly downloaded a malicious application or file, which may cause random freezes or crashes.
Hardware failure
There may be a problem with the hard drive or memory sticks on your Windows 10 computer, causing the system to lag.
Section 2: How to fix Windows 10 computer stutters every few seconds?
If you have incompatible, corrupt, missing or outdated drivers, you will experience Windows 10 stuttering problems. This is when you need to update your drivers.
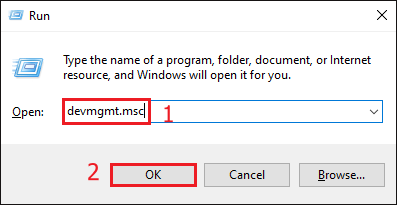
Step 1: Use the WIN+R shortcut to open the Run dialog box, type devmgmt.msc and click OK to open the Device Manager.
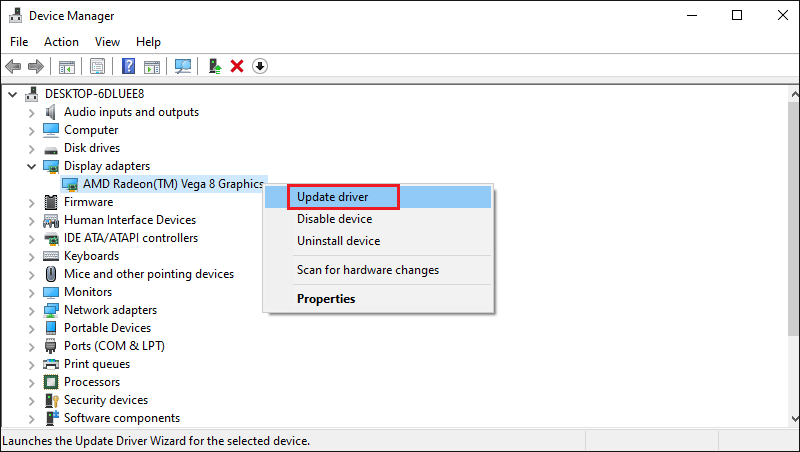
Step 2: Double-click on the Display adapters to expand it. Then right-click on your graphics card driver and select Update driver.
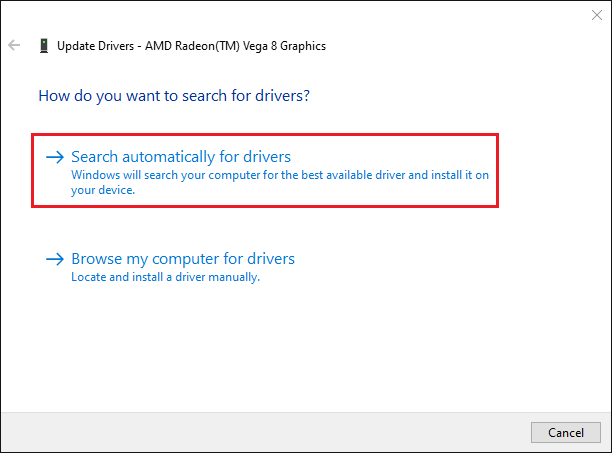
Step 3: In the pop-up window, you will be asked how you want to search for drivers. You should select Search automatically for drivers, and then follow the instructions to complete the update.
Way 2: Clean up system junk files and invalid registry
The presence of too many junk files and invalid registry in your Windows 10 PC can also cause your PC to stutter, this is when you need a professional and safe third-party software to clean it with one click. iSunshare System Genius is one such software that can make your Windows PC run faster and solve stuttering issues in a few simple clicks. It is compatible with almost all Windows versions. Here are the specific steps to use this software.
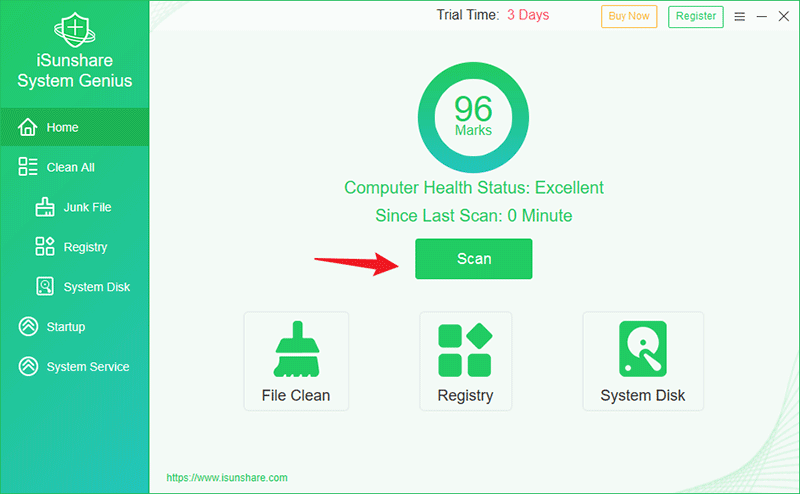
Step 1: Download and install System Genius on your Windows PC, then launch it. Click on the Scan button in the main interface of the software and it will automatically scan your Windows 10 system for junk files and invalid registry.
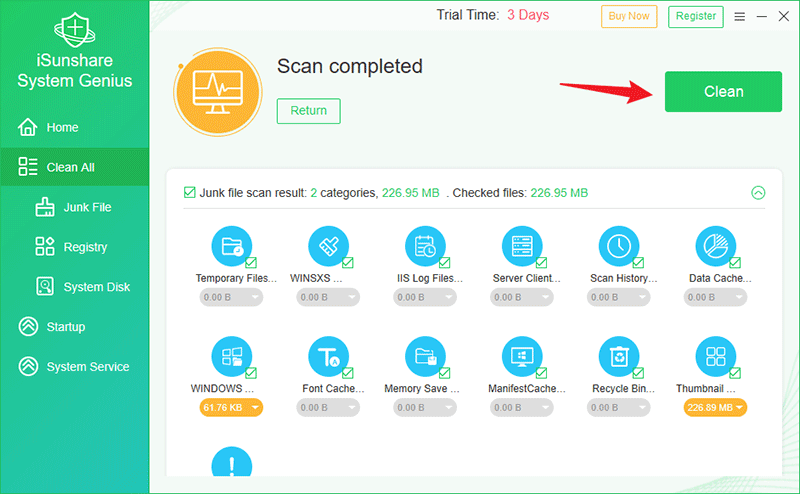
Step 2: Once the scan is complete, click the Clean button and System Genius will automatically clean out these junk files and invalid registries for you.
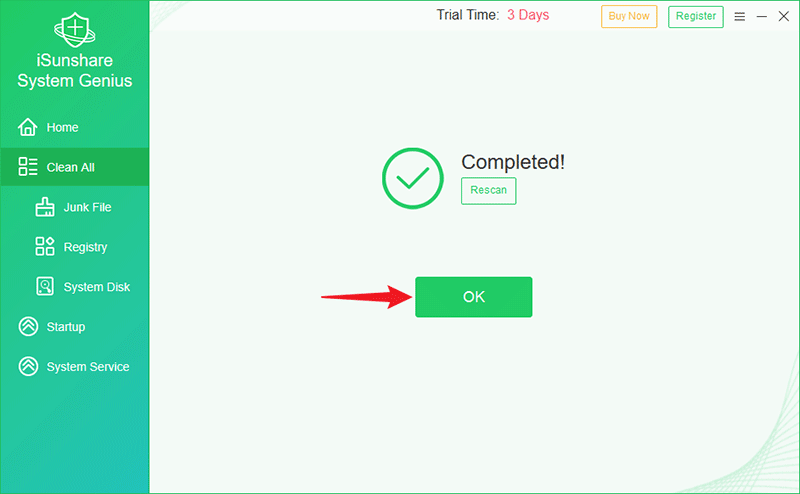
Step 3: Click OK to end the process and then check if the stuttering issue of your Windows 10 PC is resolved.
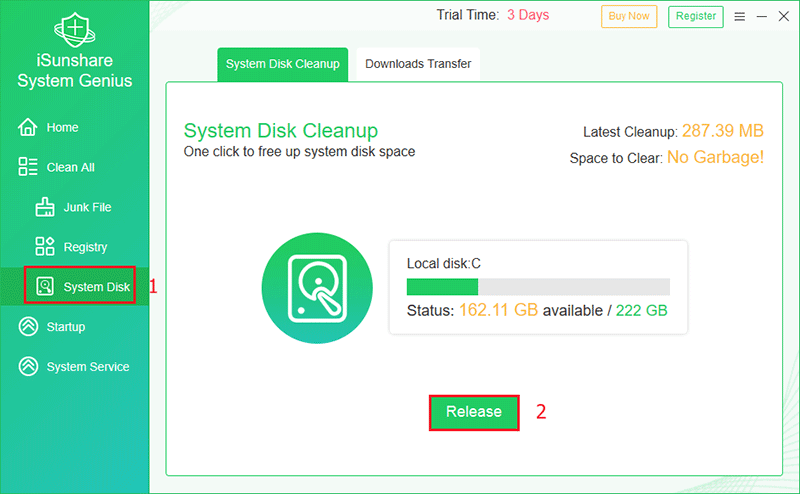
Step 4: You can also click System Disk in the left panel and click Release button in the right window to free up space on your C drive with one click. This operation also helps to solve the computer stuttering problem.
Way 3: Close Background Apps
Your system does not work optimally when many background apps are running at the same time. Therefore, if your computer has multiple apps running in the background, you may experience some lag and performance problems.
In addition, other programs or the system may lag because all the resources are taken up by background apps.
Try closing the background apps and see if this solves the problem. Here's how to do this.
Step 1: Press Ctrl + Shift + Esc shortcut keys simultaneously to open Task Manager.
Step 2: Click the Processes tab in the top ribbon, and then select the app you want to close. Right-click the End task button. Repeat the above steps for all the apps you want to close.
Way 4: Add more memory
When you don't have enough RAM (Random Access Memory) for the apps you are running, Windows is forced to shuffle data between RAM and your drives. Even if you have one of those fast SSDs, this is still the problem that causes stuttering and slowdown. Therefore, if your RAM usage is at 100% and performance is dropping, then it's time to add more memory.
Way 5: Disable Notifications and Action Center
According to some users' attempts, disabling Notification Area and Action Center can solve the stuttering issue on their Windows PCs.
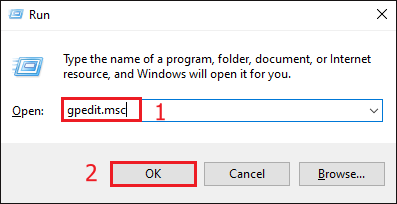
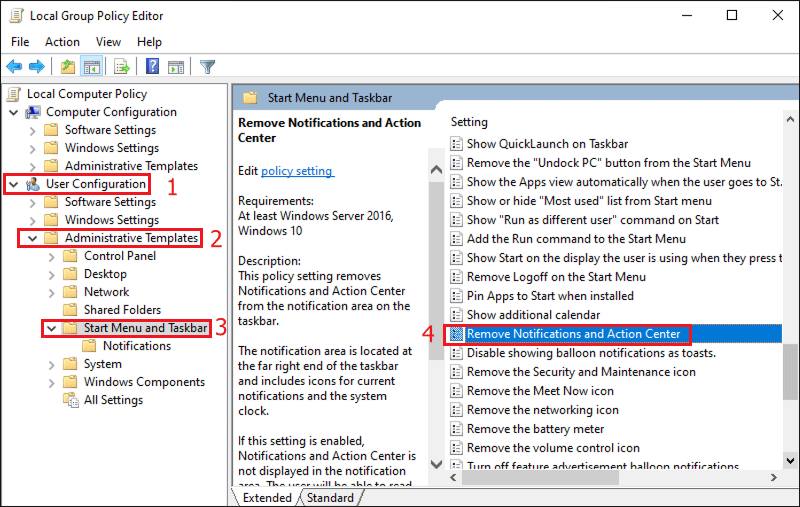
Step 1: Use WIN+R to open the Run dialog box, type gpedit.msc, and click OK to open the Local Group Policy Editor.
Step 2: In the left panel locate the following path: User Configuration > Administrative Templates > Start Menu and Taskbar. Find and double-click in the right panel to open the Remove Notifications and Action Center.
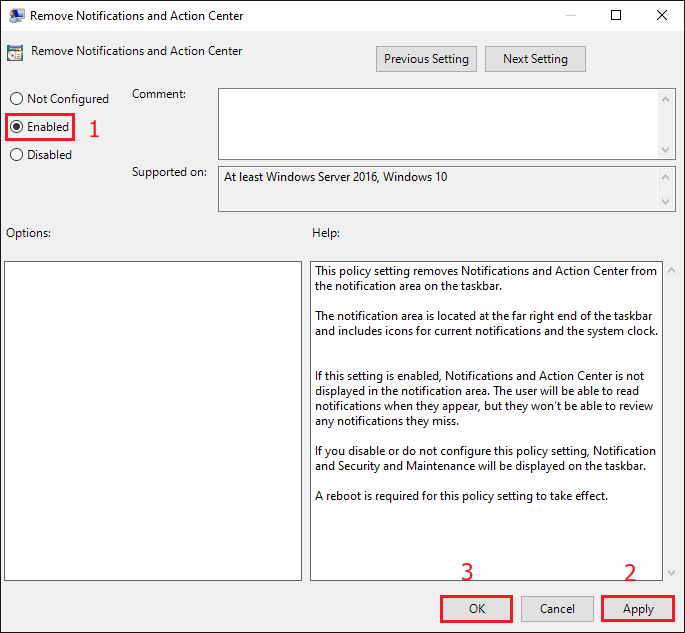
Step 3: Click the Enabled button. Then click Apply and OK, this will remove Notifications and Action Center and you will not be able to view any notifications you missed.
Way 6: Disable wallpaper slideshow
Windows gives you the option to have a slideshow of pictures play as a wallpaper. However, every time the picture changes, it seems to cause a brief system freeze, which manifests itself as a big pause in whatever you are doing, whether it is playing a game or watching a video.
Fortunately, you can eliminate this problem by turning off the wallpaper slideshow or increasing the interval so that it happens less often. If you must use this feature, I recommend setting it to once a day.
Use the WIN+I keys to open Settings and click Personalization. Then click on the background section, here, you can click on the drop-down arrow to select a Picture or a Solid color wallpaper, or in the case of a slideshow, choose an interval of one day.