We use cookies for personalizing content and ads and providing social media features. Your usage information on our website will be used for social media, advertising, and traffic analytics, or shared with our partners. Clicking "Accept" means you agree to use our cookies .
A Word document is of blank background by default. Sometimes it looks very tedious to people. You can make it more vivid by inserting a background image or a printed watermark in it. "How do I insert a background image in word?" Someone will ask this question. To set a background image in Word document, you have the options to set an image as a background, change a background color or add a custom watermark. This tutorial will teach you how to insert background image in Word 2010 with 5 ways.
If you don't know how to insert background picture in Word, you can follow the three steps below to set an image as a background in Word document.
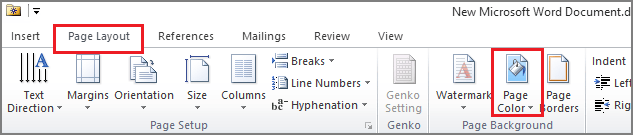
Step 1. Select Page Layout on the toolbar, click the arrow at the bottom of Page Color, and then choose Fill Effects.
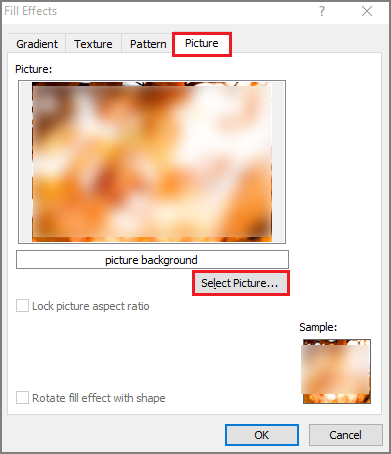
Step 2. Select Picture in the Fill Effects dialog box, click Select Picture to select a picture from your computer, and then click Insert.
Tips: You should make sure that the image is pretty big enough to occupy the complete area in Word.
Step 3. Click OK to finish this process..
After you complete these three steps, the picture will be successfully added as a background to the Word document.
Way 2: Insert a Picture to Word Document
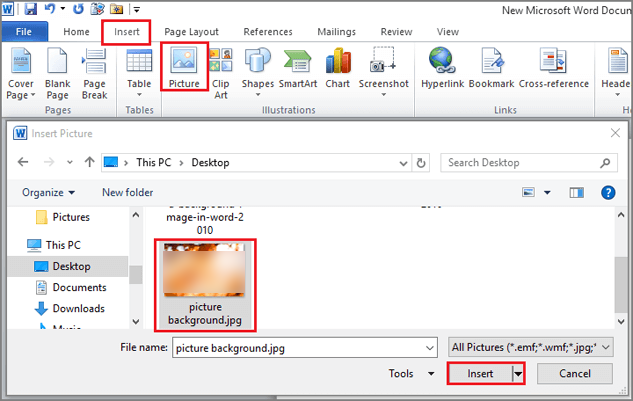
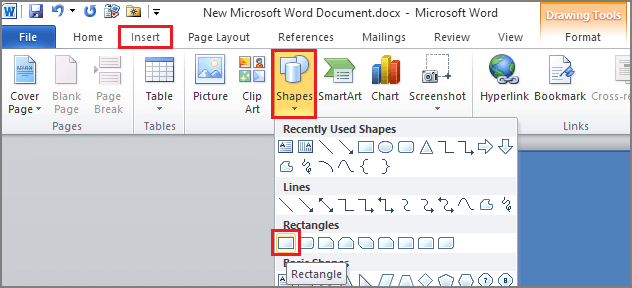
Step 1. Open the Word document, go to the Insert tab, and then click Picture button. Here you can browse for any image from your computer, select one and then click Insert.
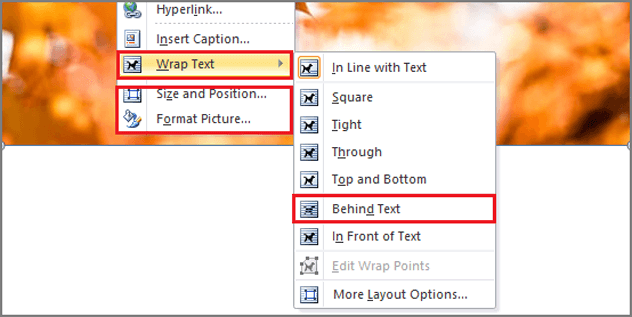
Step 2. Right click the picture, select Wrap Text to choose Behind Text option, and you can select Size and Position, or Format Picture to do other settings for the picture.
Step 3. Click the image, go to Format on the toolbar, and choose one of the Picture Styles if you want.
Way 3: Add an Image as a Custom Picture Watermark
Here 3 steps are given to you on how to add background image in word by using Custom Picture Watermark.
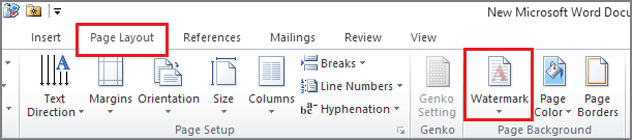
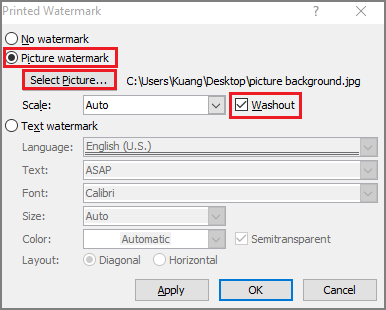
Step 1. Select Page Layout, click the arrow of Watermark, and then choose Custom Watermark to open the Printed Watermark panel.
Step 2. Select Picture watermark in the Printed Watermark panel, click Select picture to choose a picture as you need, and then select or clear Washout.
Tip: Even if you don't tick the button of Washout, the image will look a bit washed out in the document. This is completely up to you. A washed out image makes it easier to read the text in front of it.
Step 3. Click OK to finish and save it.
Way 4: Change the Background Color of the Word Document
If you don't want to add a picture to a Word document, but you don't like a blank background, you can try to change the background color of the Word document.
Step 1. Go to Page Layout tab and click Page Color button.
Step 2. Choose one color from the Theme Colors as you desire, or you can click More Colors to choose a Standard color or Custom a color.
Step 3. After this, the background color will turn to the one that you set by yourself, and you can continue to edit your document.
Way 5: Apply Background Image to Only One Page in Word
In some cases you may just want to apply background image to only one page in the Word document, how could you do in this circumstance?
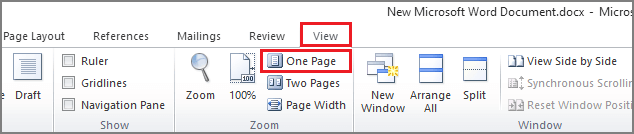
Step 1. Go to View tab and select One Page.
Step 2. Navigate to Insert > Shapes > Rectangle, and then draw a rectangle which can cover the whole page.
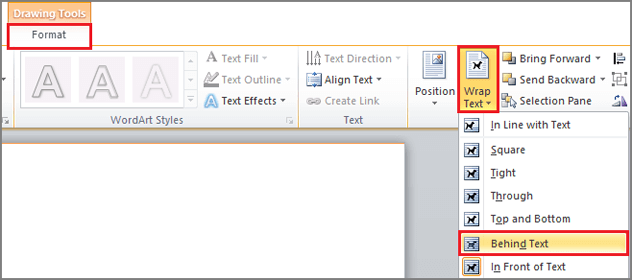
Step 3. Under Drawing Tools, go to Format > Wrap Text > Behind Text.
Step 4. Click the arrow at the bottom-right corner of Shape Styles domain to open the Format Shape panel.
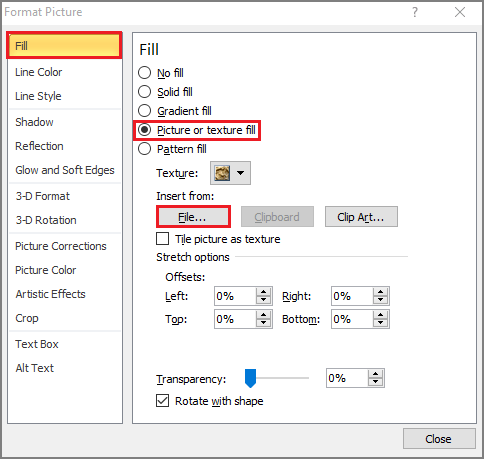
Step 5. Click Fill tab in the Format Picture panel, select Picture or texture fill, click File to choose a picture and then click Insert.
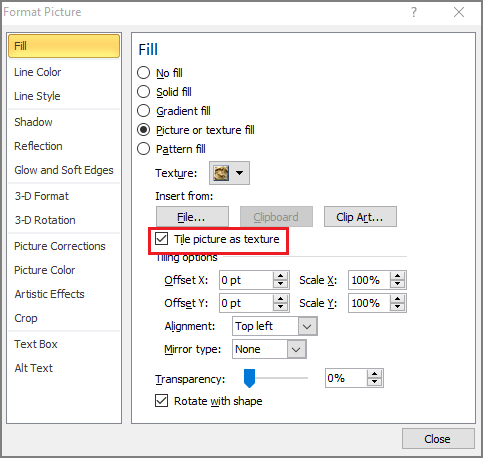
Step 6. Check the Tile Picture as texture option in the Format Picture panel.
Step 7. Return to the Format Picture dialog box, please click Line Color > No line and then click Close.
After you complete these steps, you have added the background image to the specified page only successfully.