We use cookies for personalizing content and ads and providing social media features. Your usage information on our website will be used for social media, advertising, and traffic analytics, or shared with our partners. Clicking "Accept" means you agree to use our cookies .
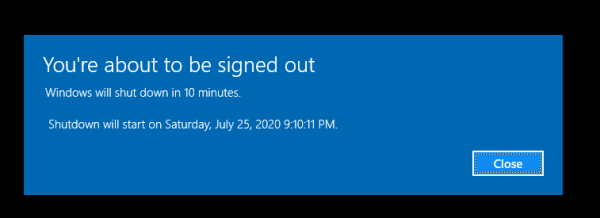
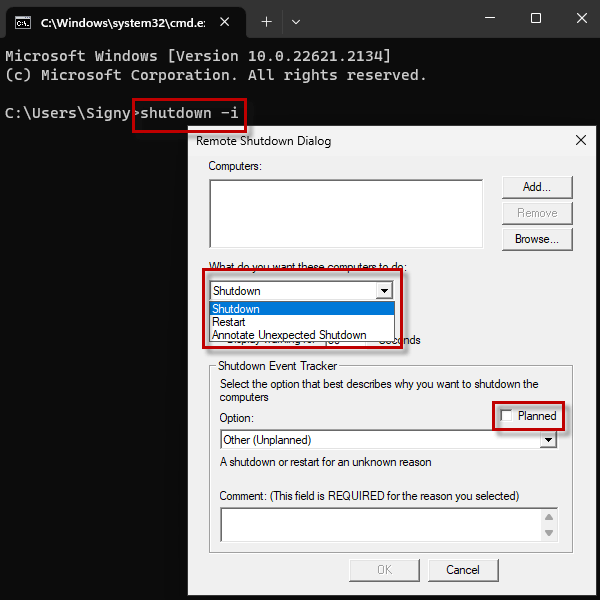
Automatic shutdown is one of the features of Windows 10. If you have set up auto shutdown in Windows 10 but suddenly remembered that you have urgent work to do and want to cancel it, then you must know the steps to cancel auto shutdown in Windows 10.
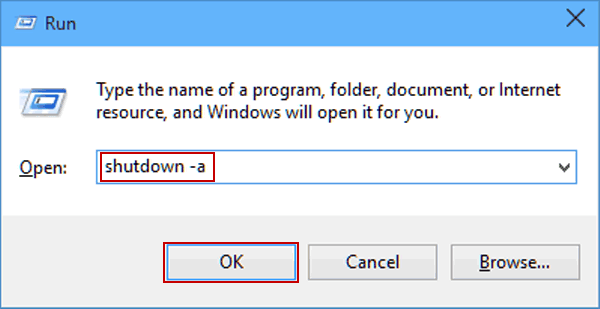
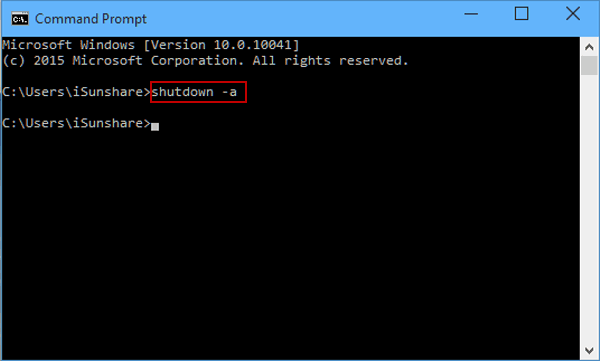
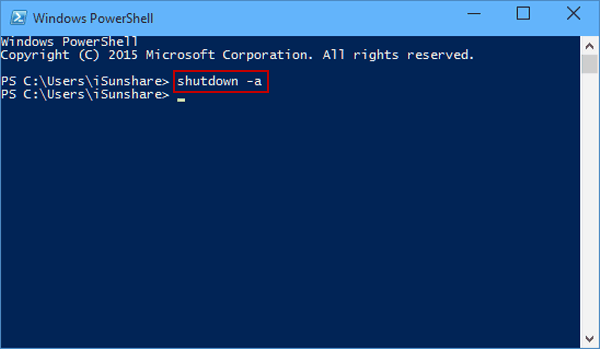
To cancel Windows 10 auto shutdown, you can apply the three methods illustrated in this text. This tutorial will show you various ways on cancel auto shutdown in Windows 10 .
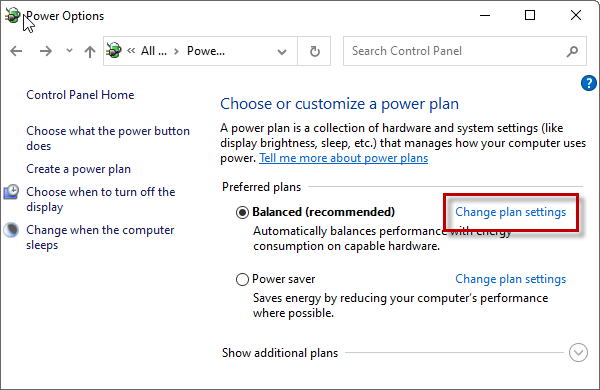
Step 2: Select the Change plan settings under the Balanced option.
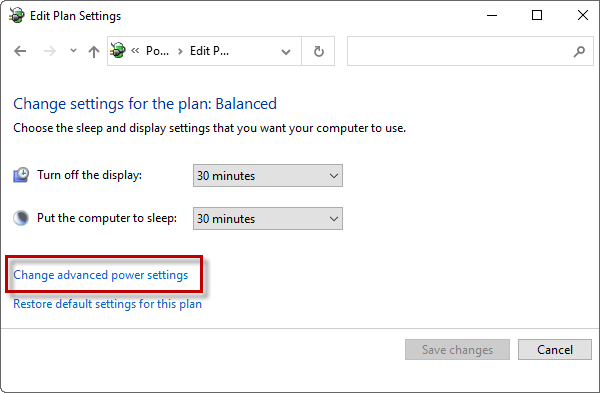
Step 3: On the Edit Plan Settings window, click the Change advanced power settings.
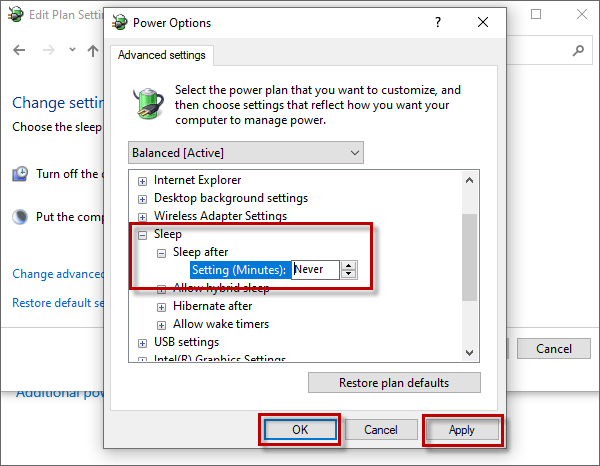
Step 4: On the Power Options, you can select the power plan that you want to customize, and then choose settings that reflect how you want your computer to manage power.
At last, remember to click the Apply and OK to save the changes.