We use cookies for personalizing content and ads and providing social media features. Your usage information on our website will be used for social media, advertising, and traffic analytics, or shared with our partners. Clicking "Accept" means you agree to use our cookies .
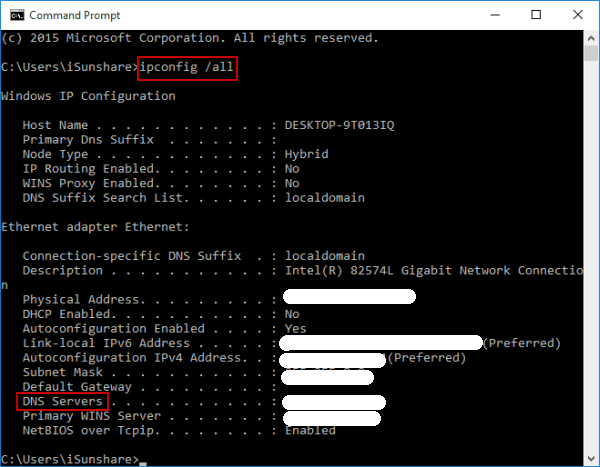
Knowing your DNS (Domain Name System) settings can help troubleshoot connectivity issues or optimize your internet performance. Here are multiple methods to view your DNS server addresses in Windows 10.
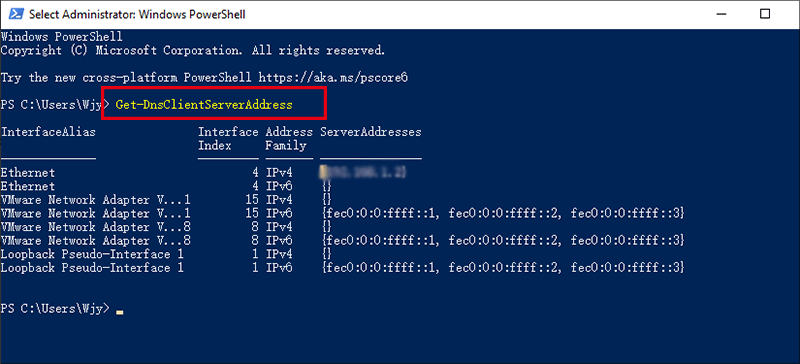
Step 2: Type Get-DnsClientServerAddress and press Enter
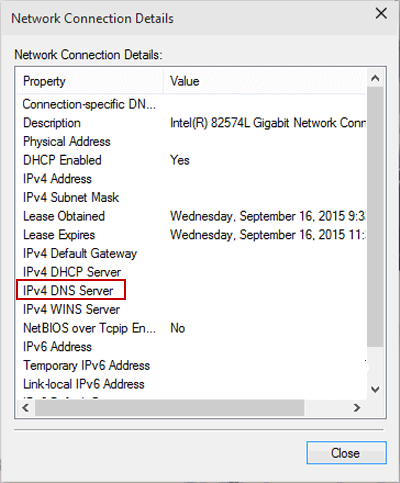
Step 3: The output will display DNS server addresses for all network interfaces. You can view the DNS address now.
Unable to View DNS Address?
If you're having trouble viewing your DNS settings, the following tips can help you:
1. Check Network Connection: You should make sure the computer is connected to a stable network.
2. Run Network Troubleshooter: navigate to Settings > Update & Security > Troubleshoot > Internet Connections and open the troubleshooter.
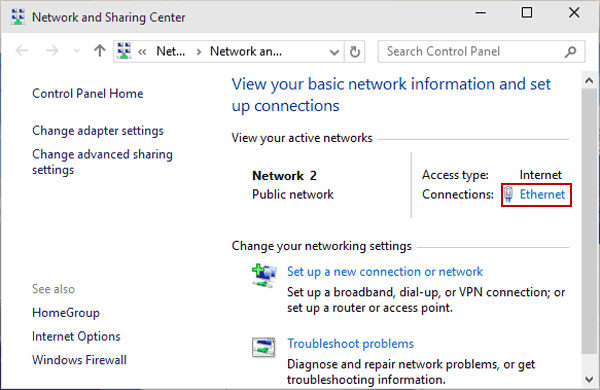
3. Restart Network Adapter: In Network and Sharing Center, click Change adapter settings, right-click your active adapter, and select Disable. Minutes later, switch Disable to Enable.
FAQs on Checking DNS Address
Q1: What id a DNS server?
A DNS server is like a phonebook for the internet—it turns website names (like "google.com") into numbers (IP address) so your computer can find them.
Q2: Can I change my DNS server?
Yes, you can change your DNS server settings to use alternatives like Google DNS (8.8.8.8) or Cloudflare DNS (1.1.1.1) for potentially faster and more secure browsing.
Q3: Why would I need to check my DNS settings?
Checking DNS settings can help diagnose network issues, improve internet speed, and enhance security by using trusted DNS servers.