We use cookies for personalizing content and ads and providing social media features. Your usage information on our website will be used for social media, advertising, and traffic analytics, or shared with our partners. Clicking "Accept" means you agree to use our cookies .
Windows 10 includes the powerful Reliability Monitor, a tool that tracks system stability over time, highlighting crashes, warnings, and system changes. This tool provides a Stability Index rated from 1 (least stable) to 10 (most stable), helping you diagnose and resolve system issues efficiently. And this article describes how to easily check reliability history on Windows 10 computer for your reference.
Way 1: Open the Reliability Monitor via Search
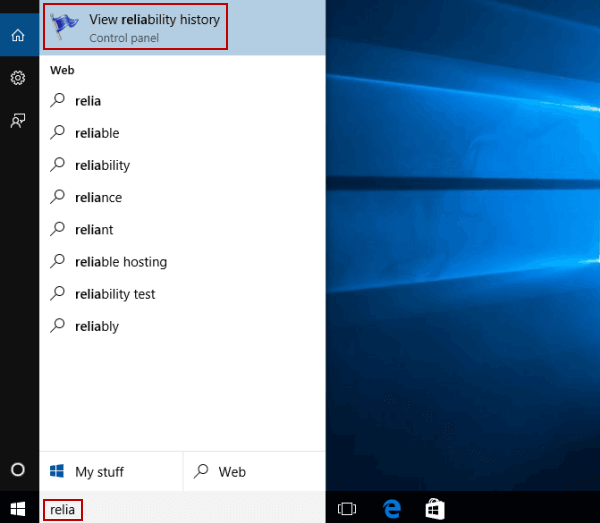
Step 1: On the desktop, type relia in the search box, and choose View reliability history from the result.
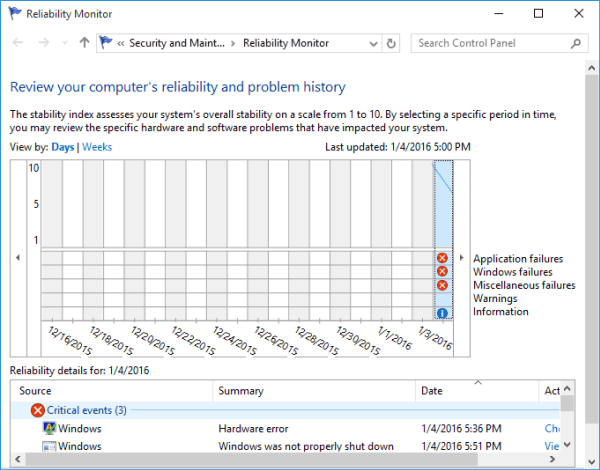
Step 2: When the Reliability Monitor opens, check the reliability history by days or weeks.
Way 2: View Reliability via Control Panel
Open Control Panel → System and Security → Security and Maintenance → expand Maintenance and click View reliability history.
Way 3: Run Reliability Monitor with Command
Press Windows + R, type: perfmon /rel and press Enter to launch the monitor.
What the Reliability Monitor Shows
A date-based timeline with bars indicating stability.
Click any entry for technical details, such as dump files, faulting modules, or error codes.
Exporting or Clearing Reliability History
To export your data, click Save reliability history in the lower-left corner—ideal for troubleshooting documentation or IT audits.
To wipe history, click View all problem reports and choose Clear all problem reports at the bottom.
FAQs about Reliability History in Windows 11
Q1: Can I use it in Windows 11?
Yes—the tool is available in both Windows 10 and Windows 11.
Q2: Does it show driver update problems?
Absolutely—it logs driver failures, hardware issues, and app crashes for deeper insight.
Q3: What if I don't have it installed?
Reliability Monitor is included by default in most Windows editions—no extra setup needed.
Q4: Why use this instead of Event Viewer?
Reliability Monitor simplifies viewing daily trends and graphs without digging through logs—an easier first step. For advanced details, Event Viewer remains a good follow-up tool.