We use cookies for personalizing content and ads and providing social media features. Your usage information on our website will be used for social media, advertising, and traffic analytics, or shared with our partners. Clicking "Accept" means you agree to use our cookies .
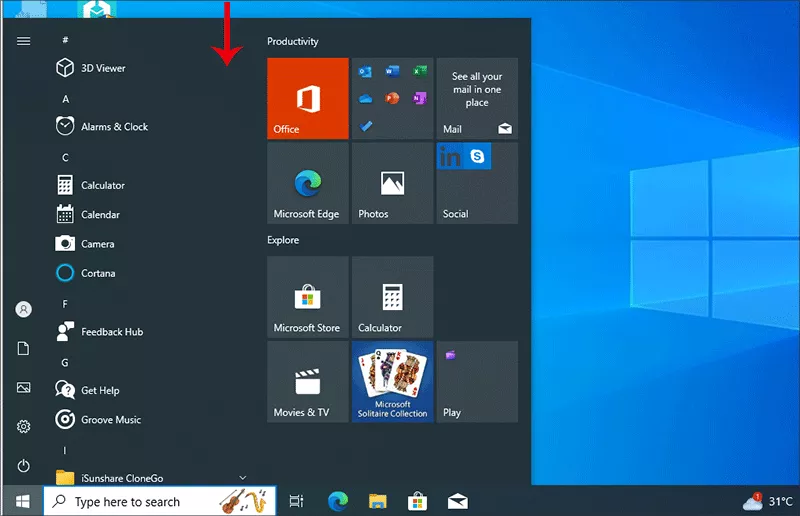
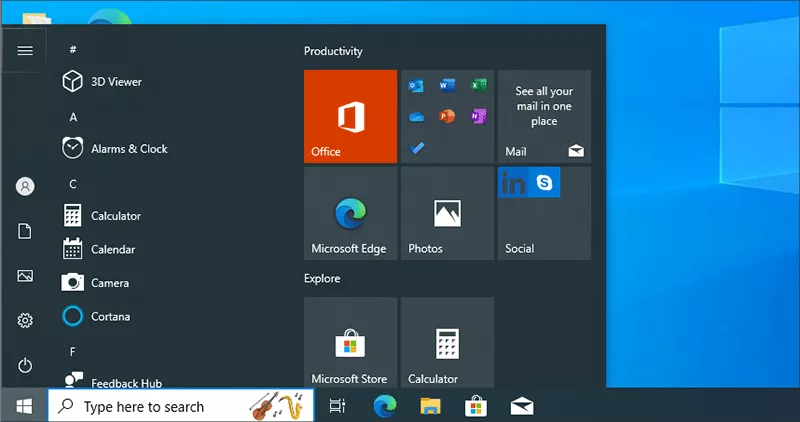
Windows 10's Start Menu combines the classic layout with live tiles for quick access to apps, folders, and even real-time information like weather or news. These tiles aren't just static shortcuts — you can customize them in several ways to make your Start Menu faster, cleaner, and more personalized.
Whether you want to resize tiles or group them, this guide will walk you through every customization option available.
Start Menu Tiles are the square or rectangular app icons that appear on the right side of the Windows 10 Start Menu. Some are "live tiles," which show dynamic content like headlines or emails.
Guide to Customize Start Menu Tiles in Windows 10
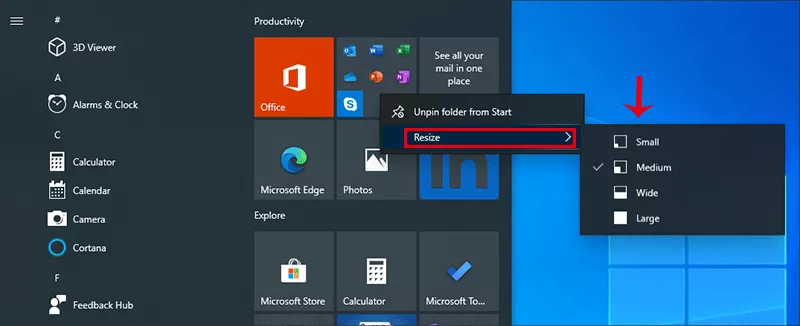
1. Resize Tiles
You can choose from four size options: Small, Medium, Wide, and Large.
Step 1: Right-click on a tile, then hover over Resize.
Step 2: Choose your desired size.
2. Move Tiles
You can arrange tiles anywhere to match your workflow. Just click and hold the tile, then drag it to the new location. Finally, release the mouse to place it.
Tip: Move your most-used apps to the top-left corner for faster access.
3. Create and Name Groups
Organize your tiles into custom groups like "Work Tools" or "Games."
Step 1: Drag a tile to an empty space until a gray divider appears.
Step 2: Drop the tile to start a new group.
Step 3: Hover above the group and click Name Folder to label it.
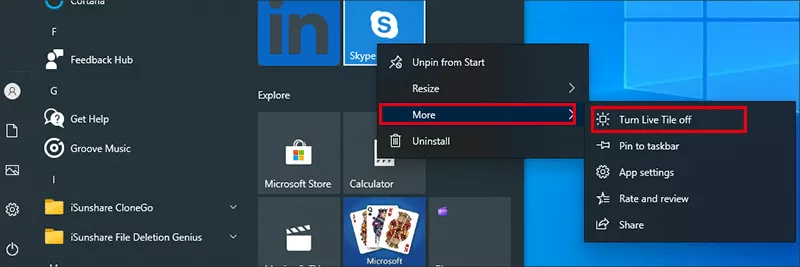
4. Turn Live Tiles On or Off
Live tiles update in real-time, but you can disable this feature for a cleaner look. You can right-click on the tile, then select More > Turn Live Tile Off. It is great for reducing distractions from News or Mail tiles.
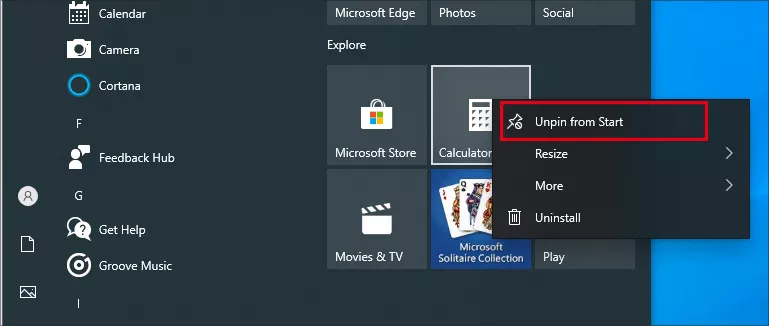
5. Unpin Tiles You Don't Use
It will clear up space by removing unnecessary tiles. Just go to right-click on a tile. Then select Unpin from Start. Don't worry — the app remains installed and accessible from the app list.
6. Add New Tiles
You can pin any app, folder, or file to the Start Menu as a tile. Just open Start menu, then drag the app/folder/file to the blank area.
Bonus—How to Resize the Start Menu
Step 1: Click the bottom-left Start button on the desktop to open the Start Menu.
Step 2: Move the mouse pointer to the top line of the Start Menu, click and drag it down, as shown in the following screen shot.
After these two steps, you can see that the Start Menu turns into a smaller one.
Tips:
1. If you click and drag down the top line of the smaller Start Menu, it will become the smallest, as exhibited in the picture below.
2. To restore the Start Menu size, tap and drag up the top line of the smaller or smallest Start Menu.
FAQs on Windows 10 Start Menu Tiles
Q1: Can I restore default Start Menu layout if I mess it up?
Yes. You can create a new user account or reset layout via PowerShell if needed.
Q2: Why can't I resize some tiles?
Some apps only support limited tile sizes. If Resize is grayed out, it's likely a system limitation.
Q3: How do I disable live tiles for all apps at once?
You'll need to turn off each live tile individually—there's no global toggle in Windows 10.
Conclusion
The Start Menu is your Windows 10 command center — and customizing the tiles makes it even more powerful. Whether you want a functional layout for productivity or a minimalist look, Windows gives you the tools to personalize your experience. Spend a few minutes customizing, and you'll navigate faster and feel more in control every time you click Start.