logo
Resources Windows 10 Enable Debugging Mode with and without Login on Windows 10

Enable Debugging Mode with and without Login on Windows 10

By Michael | Last Updated

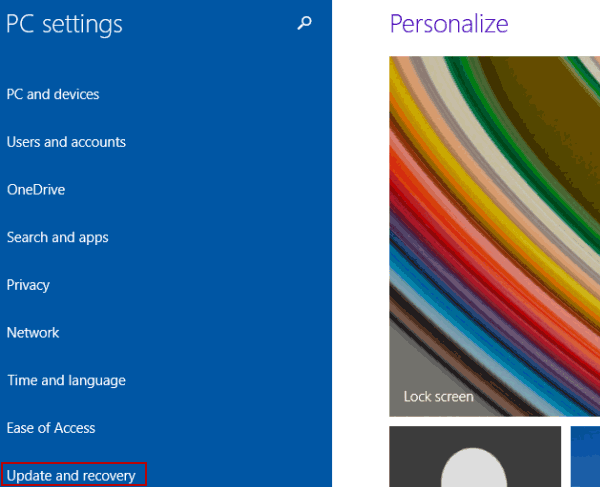
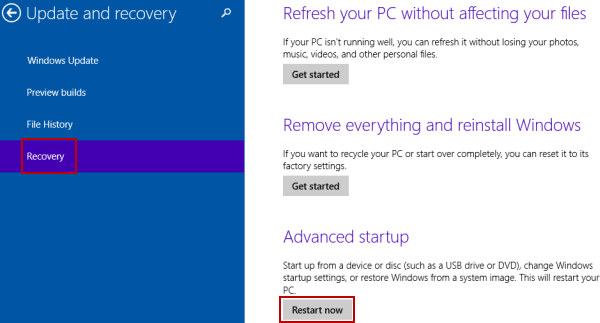
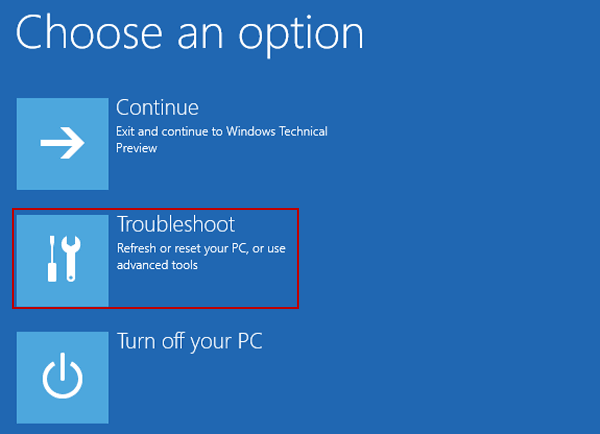
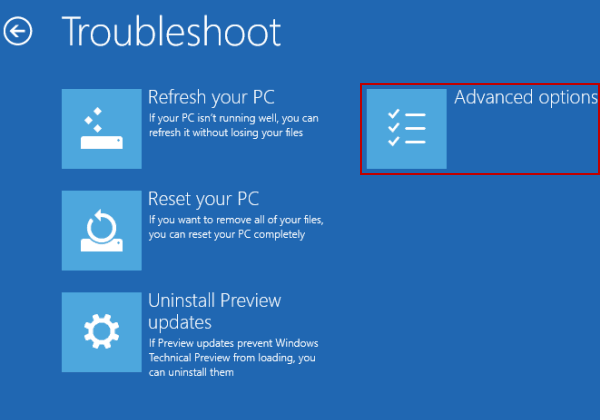
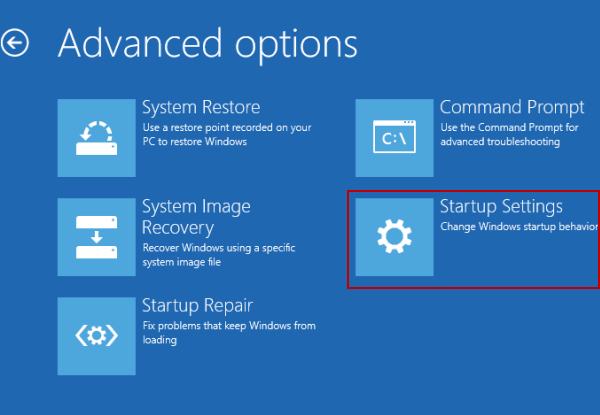
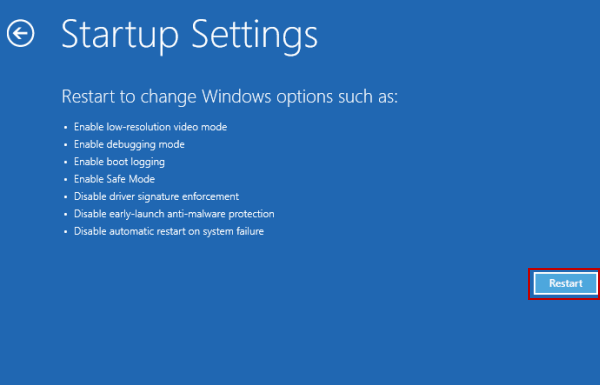
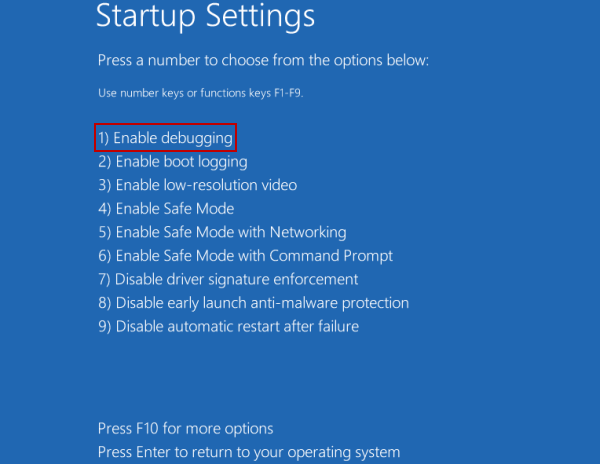
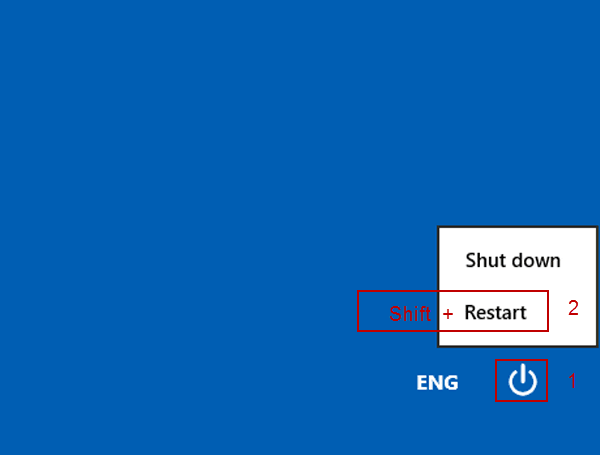
Some users would like to know how to enable debugging after logging in Windows 10 computer, while others may wonder how to enable it if failed to log on the computer. Therefore, this article respectively illustrates how to enable debugging mode with and without login.

  • Part 1: Enable debugging mode with login on Windows 10
  • Part 2: Enable debugging mode without login on Windows 10
  • Part 1: Enable debugging mode with login on Windows 10

    Step 1: Open PC settings.

    Step 2: Choose Update and recovery.

    choose Update and recovery

    Step 3: Select Recovery and tap Restart now under Advanced startup.

    select recovery and tap Restart now

    Step 4: Choose Troubleshoot to continue.

    choose troubleshoot

    Step 5: Open Advanced options.

    open advanced options

    Step 6: Enter Startup Settings.

    enter startup settings

    Step 7: Click Restart.

    click Restart

    Step 8: Press 1 or F1 to select Enable debugging.

    press 1 or F1

    Part 2: Enable debugging mode without login on Windows 10

    Step 1: Restart the computer from the login screen.

    Tap the bottom-right Power button, and then simultaneously press Shift key and click Restart on the menu.

    restart computer

    Step 2: Select Troubleshoot.

    Step 3: Choose Advanced options.

    Step 4: Open Startup Settings.

    Step 5: Tap Restart.

    Step 6: After restarting, hit 1 or F1 to choose Enable debugging.

    Tip: For illustration of the operation from the 2nd step to the 6th step, please refer to the corresponding screenshots in Part 1.

    Related Articles: