We use cookies for personalizing content and ads and providing social media features. Your usage information on our website will be used for social media, advertising, and traffic analytics, or shared with our partners. Clicking "Accept" means you agree to use our cookies .
You can share files with other users in a quick way on Windows 10 by different methods. Well, how to set up network file sharing on Windows 10? In this tutorial, you'll learn the Guide on How to Set Up File Sharing over a Network on Windows 10 in different manners.
You can turn on file and printer sharing to allow other users to access the files and printers that you have shared on your computer in Windows 10.
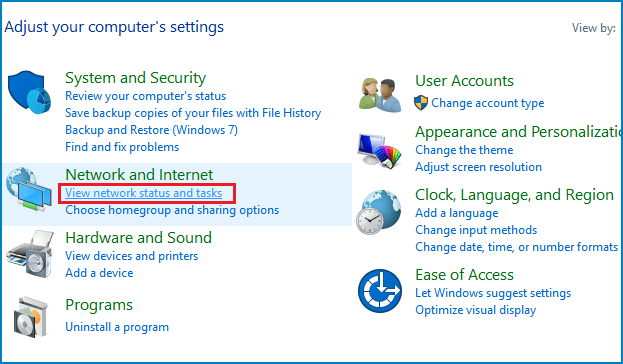
Step 1. Open Control Panel, select View network status and tasks under Network and Internet.
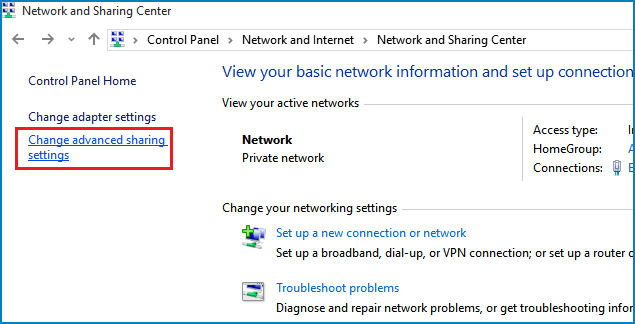
Step 2. Click Change advanced sharing settings on the left of Network and Sharing Center panel.
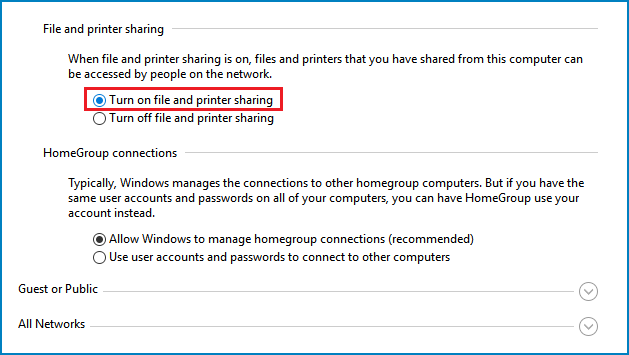
Step 3. Select Turn on file and printer sharing and then click the Save changes button to keep the changes.
Part 2: Share Files by File Explorer
How to set up file sharing on windows 10? File Explorer is the most convenient and efficient tool to share files on Windows 10 due to the reason that you can use more restrictive permissions and share files with almost any device.
Setting up file sharing on windows 10 by File Explorer allows you to use the basic settings or the advanced settings. No matter which option you take, you should complete the following three steps at first.
Step 1. Open File Explorer and go to the file or folder that you want to share.
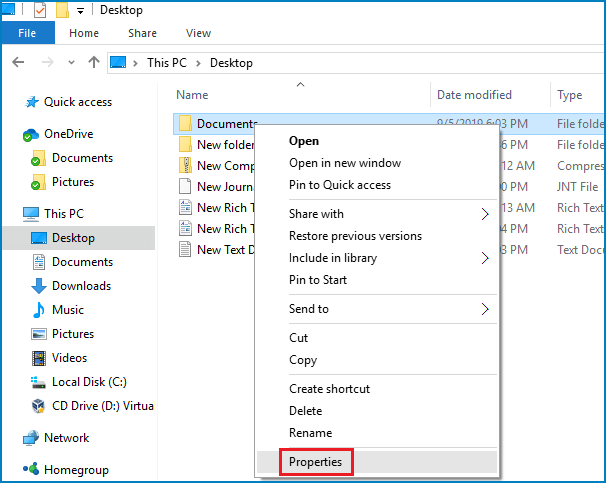
Step 2. Right click the folder and choose Properties.
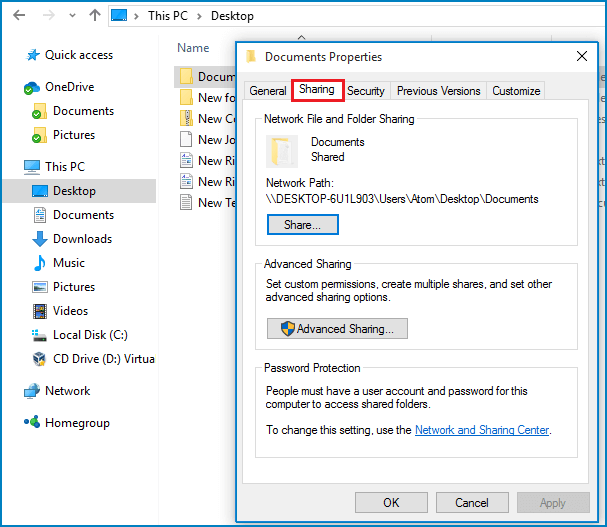
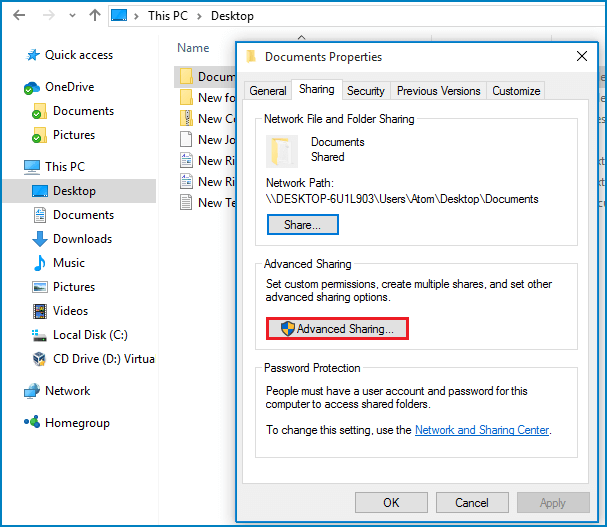
Step 3. In the Document Properties panel, select Sharing tab.
Option 1: Basid Sharing
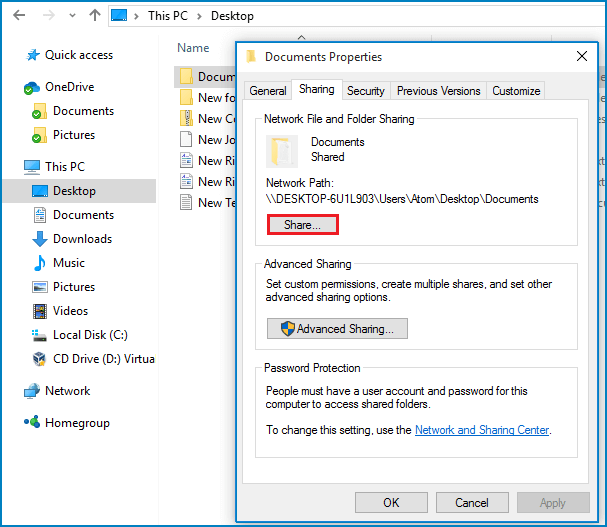
Step 1. Click the Sharing button under the Sharing tab.
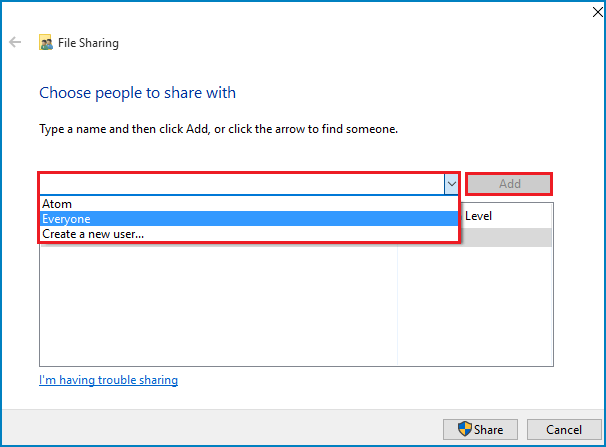
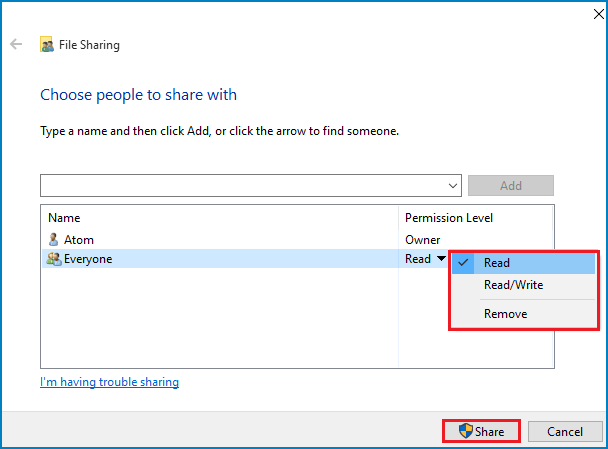
Step 2. Go to Choose people to share with to select the user or group, and then click Add.
Step 3. Select a type of Permission Level, and then click Share button.
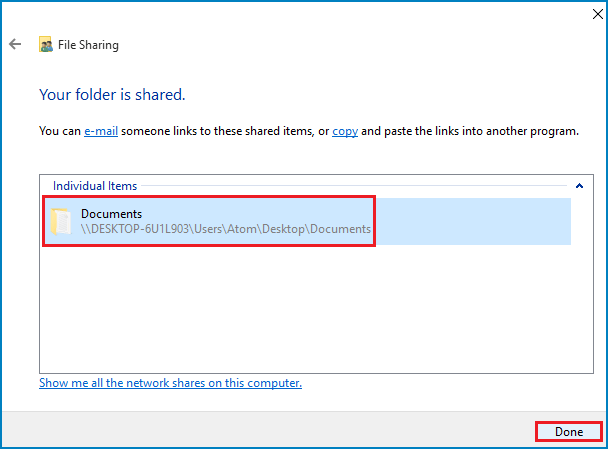
Step 4. Note the file sharing network path, click the Done button, and then close the Document Properties panel.
Option 2.Advanced Sharing (for More Control)
Step 1. Click the Advanced Sharing button under the Sharing tab.
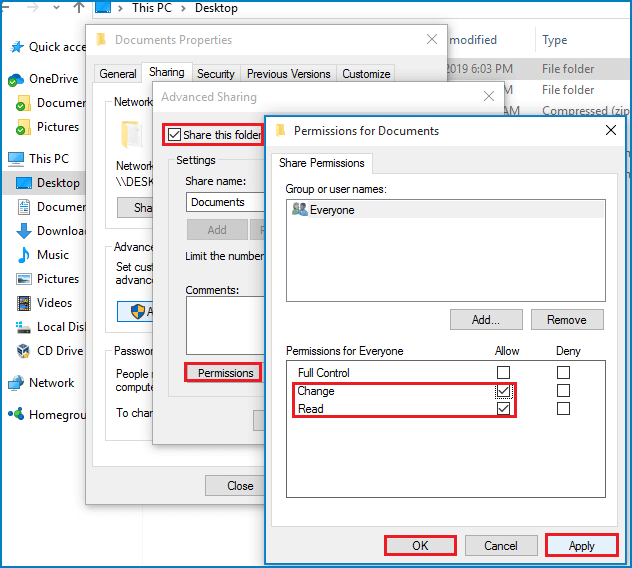
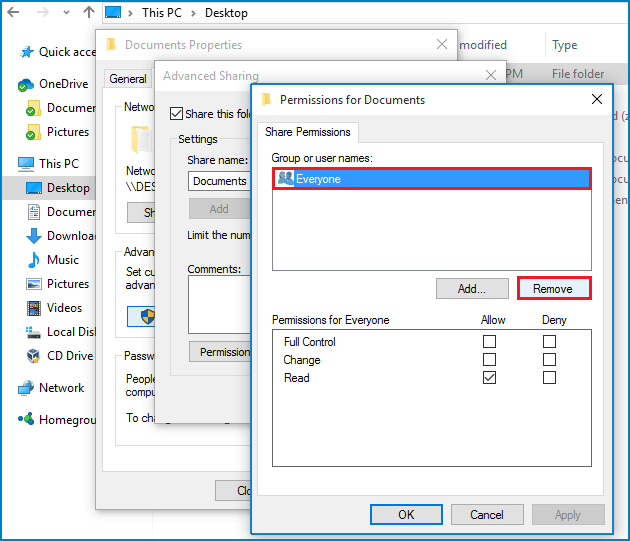
Step 2. Check Share this folder and click Permissions to set permissions for the folder.
Step 3. Check the Read and Change permissions under Allow if you want users to be able to edit the files, delete, and create new documents in the location, click Apply and then click OK button.
If you want to share with specific user, go to Group or User Names section and choose Everyone, then click Remove button.
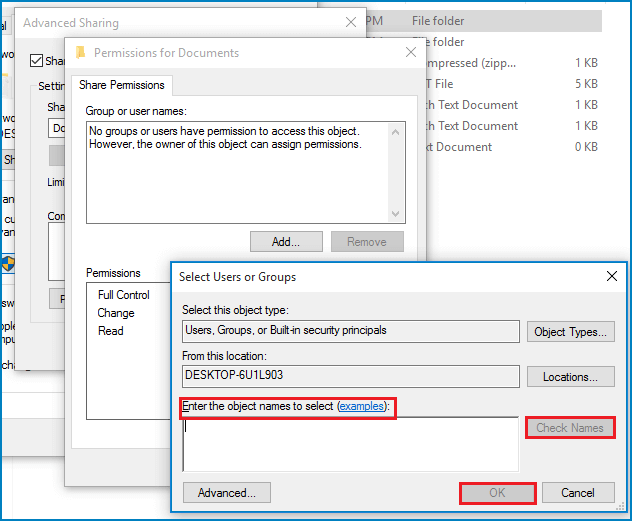
After that, click the Add button, type the name of the user you want to share the files with, click the Check Name button, and then click the OK button.
Part 3: Set up Network File Sharing by Share to
You can follow the following 5 steps to set up file sharing Windows 10:
Step 1. Open File Explorer and navigate to the file that you ant to share.
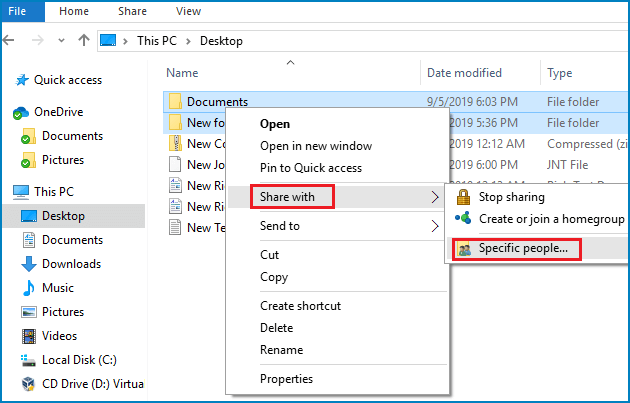
Step 2. Right click the file, select Share with and then click Specific people.
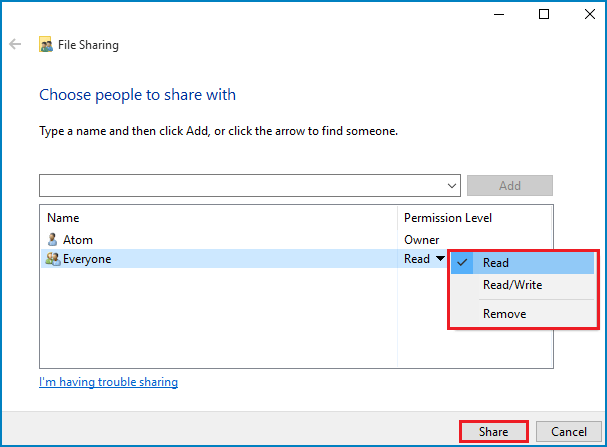
Step 3. Type a name or click the arrow to find someone to choose people share with, and then click Add.
Step 4. Click the arrow of Permission Level to choose one type that you desire, and then click Share button.
Step 5. Click the Done button to end this operation in the next window.
Part 4: How to Access Shared Folders from Another PC
To connect from another Windows PC: Open File Explorer, type the network path into the address bar: \\YourPCName\SharedFolder . Then authenticate if prompted. Finally, the folder appears as a network drive.
FAQs on File Sharing in Windows 10
Q1. Why can't my PC find shared folders?
Only the devices on the same Private network can be shared folders. Also, the network discovery should be enabled.
Q2. Do I need passwords to access shares?
If password-protected sharing is on, users must log in using valid Windows credentials. Otherwise, enable public sharing for open access.
Q3. Is HomeGroup required?
No—HomeGroup has been removed in recent Windows 10 versions. File sharing now uses File Explorer and SMB protocols.
Conclusions
This guide helps you enable and configure network file sharing in Windows 10 efficiently—no HomeGroup or third-party tools needed.