We use cookies for personalizing content and ads and providing social media features. Your usage information on our website will be used for social media, advertising, and traffic analytics, or shared with our partners. Clicking "Accept" means you agree to use our cookies .
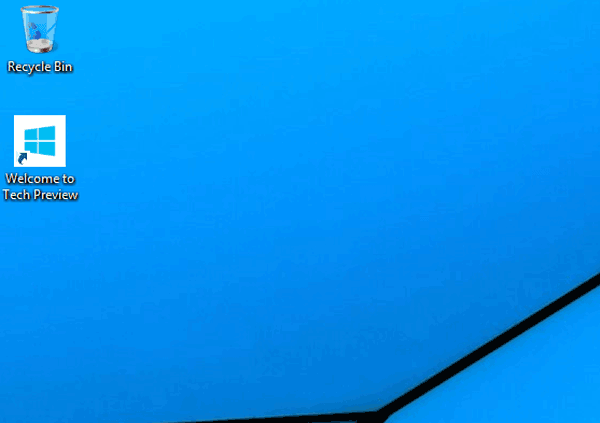
Windows 10 lets you customize your desktop with commonly used system icons (like This PC, Network, Control Panel, etc.) and shortcuts for apps, folders, or files for quicker access. Follow the steps below to add them in your Windows 10 desktop.
Steps to add desktop icons on Windows 10:
Step 1: Open Settings. And choose Personalization > Themes. After that, click Desktop icon settings to continue.
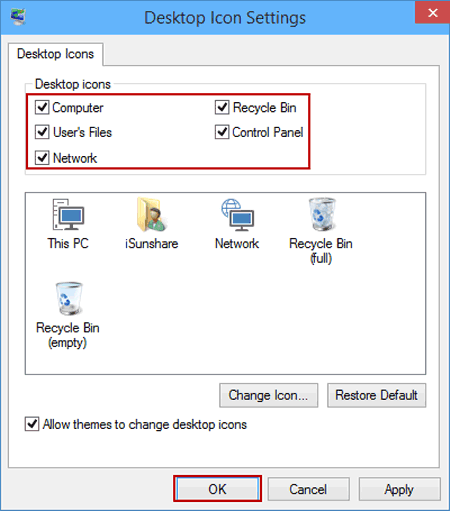
Step 2:In the Desktop Icon Settings window, check the boxes for the icons you want to appear (e.g. This PC / Computer, Network, User's Files, Control Panel, Recycle Bin). Click OK to confirm.
Tip: The Recycle Bin option is chosen automatically.
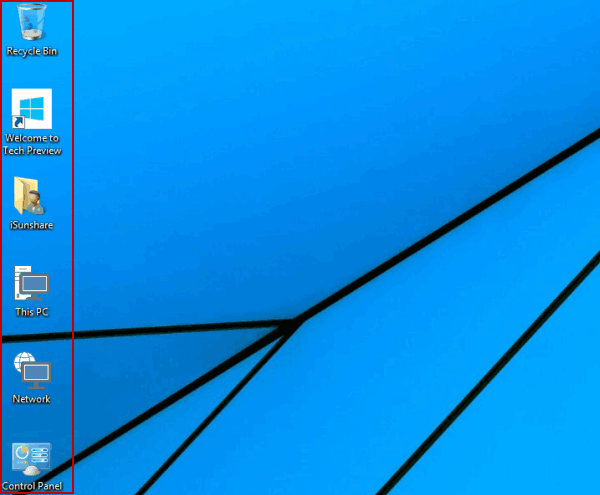
The icons will now show up on your desktop.
Step 3: Right-click on an empty space on your desktop. Go to View and make sure Show desktop icons is checked from the context menu. If it's not, click it to enable.
(Optional)Step 4: You can add Shortcuts for Apps, Files, or Folders. Just right-click on a file/folder/app and choose Send to>Desktop (create shortcut)
FAQs on Desktop Icon in Windows 10
Q1: What if "Desktop Icon Settings" option is missing in Settings?
You can use the Run dialog: desk.cpl ,5 to directly open the Desktop Icon Settings.
Q2: Which system icons can I add to the desktop?
You can add system shortcuts like This PC (Computer), Network, User's Files, Control Panel, and Recycle Bin.
Q3: How do I remove desktop icons I don't want?
Go back to Desktop Icon Settings and uncheck the icon(s) you want to remove. For shortcuts, delete them directly from your desktop (they go to Recycle Bin).