We use cookies for personalizing content and ads and providing social media features. Your usage information on our website will be used for social media, advertising, and traffic analytics, or shared with our partners. Clicking "Accept" means you agree to use our cookies .
As we all know, System Restore serves as a failsafe device which enables windows users to return the system back to a previous working state without re-installing the operating system, destroying any data or affecting any document when they encounter system failures. However, fewer people knows how to operate it. Therefore, this tutorial will guide you How to Create and Use System Restore Point on Windows 10 even if you are a newbie.
Due to some reasons, System Restore is usually disabled by default in Windows 10, which means that you must turn it on before you can make a system restore point. So the first thing is to enable System Restore on Windows 10.
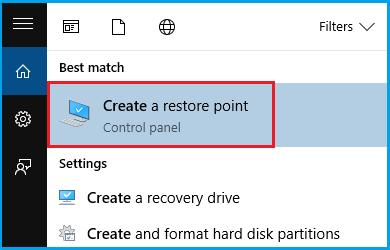
Step 1. Open Start, type Create a restore point in the search blank.
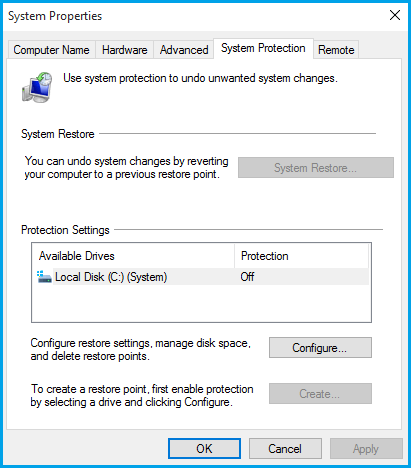
Step 2. Click it, and then the window of System Properties will be opened.
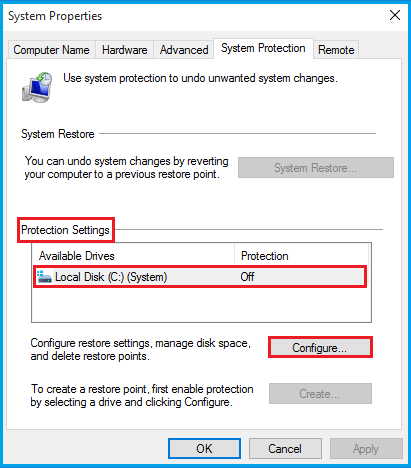
Step 3. Under the Protection Settings, click your system drive (usually C), and then click Configure.
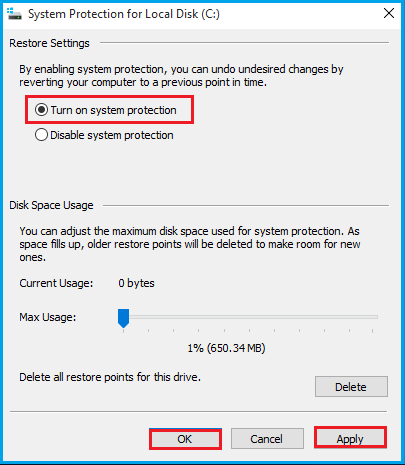
Step 4. Choose Turn on system protection (System Restore you must enable system protection first), click Apply, and then click the button of OK.
Tips: Actually Windows 10 can manage the disk space automatically. But under the part of Disk Space Usage, you can use the Max Usage slider to specify the maximum amount of storage to reserve for System Restore (5% to 10% is usually sufficient).
2. Create a System Restore Point on Windows 10
When you have completed the above steps, you have enabled your System Restore on Windows 10. When it is applying a new update or every time a specific or an significant change happens, Windows 10 operating system will create a restore point automatically. However, it is recommended to make a system restore point on Windows 10 manually if you want to modify something that might cause a problem.
Step 1. Open Start, type Create a restore point in the search blank, and click it to open the System Properties window.
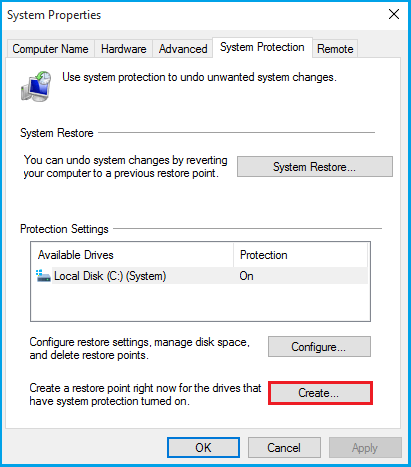
Step 2. Under the Protection Settings, click the button of Create.
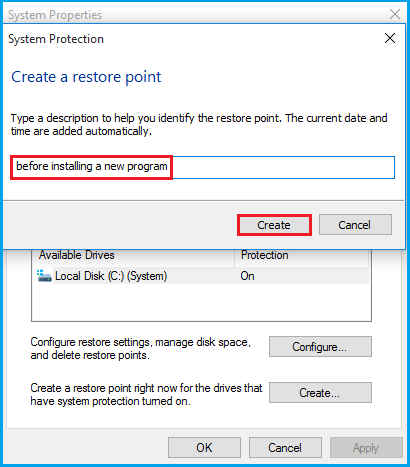
Step 3. Type a descriptive name for the restore point by yourself to help you identify it, and then click Create.
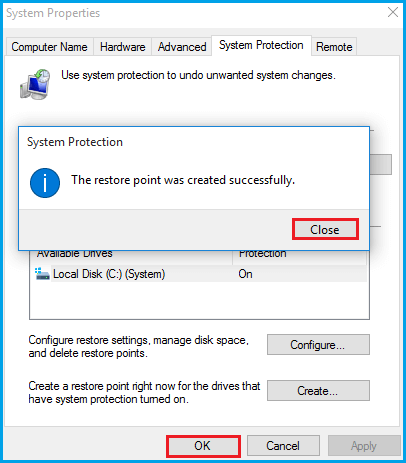
Step 4. After the restore point was created successfully, click Close button, and then click OK button.
3. Restore Windows 10 from a System Restore Point
You can restore Windows 10 from a system restore point by these following simple steps.
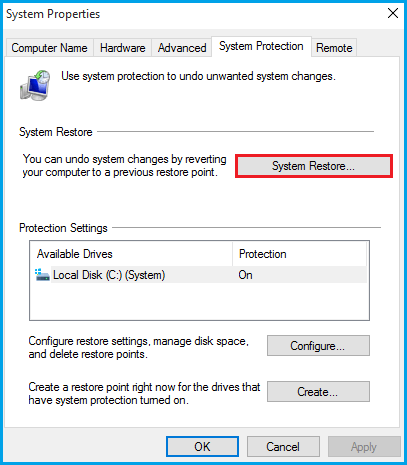
Step 1. Open Start and type Create a restore point, click it to open the System Properties window, and then click the button of System Restore.
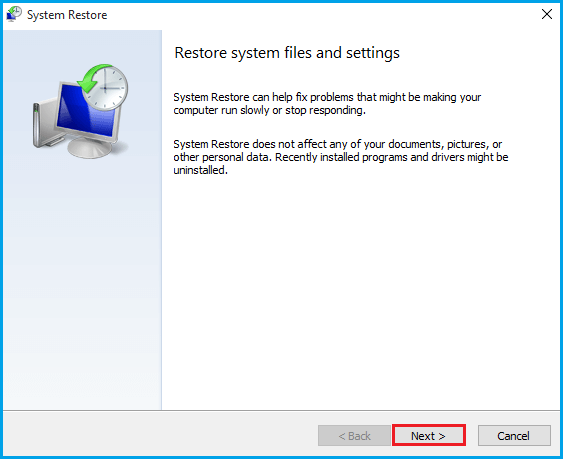
Step 2. Click the Next button.
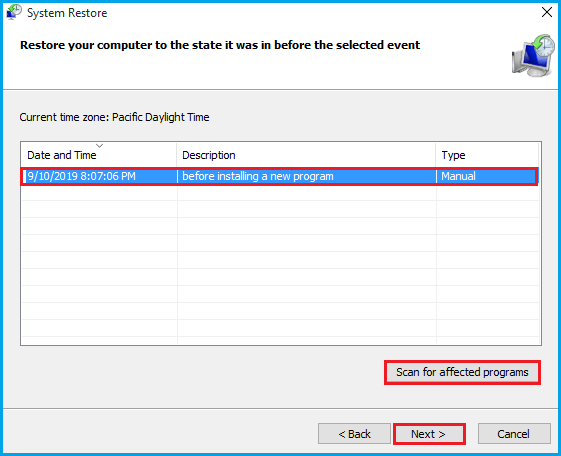
Step 3. Choose a restore point, click Scan for affected programs to see what programs will not be installed if you use this restore point, and then close it. After that, click Next button.
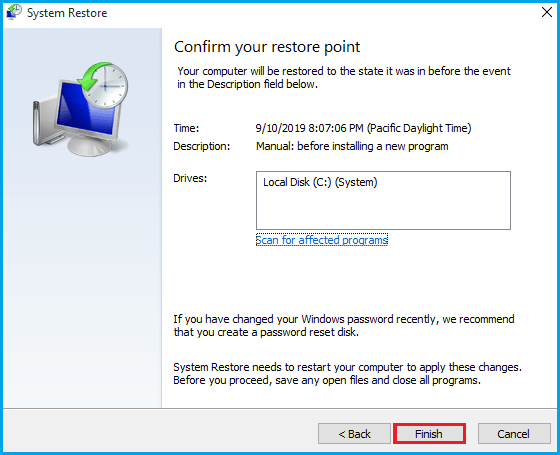
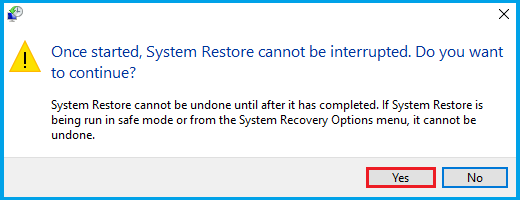
Step 4. Click Finish button, and then click Yes to start the System Restore process.
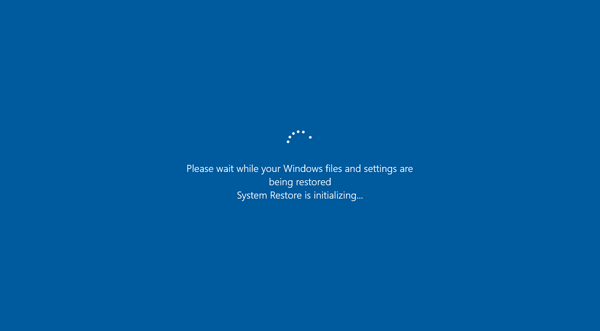
Tips: If you complete the steps, the system will start restore process. And this process will take some time to be fully completed, so you need be patient to wait for a while. In the process, you will notice "Please wait while your windows files and settings are being restored… System Restore is initializing…System Restore is restoring the registry… Finishing…" on the computer screen.
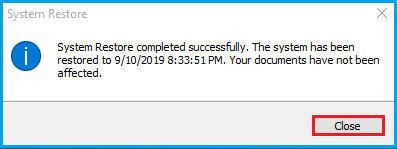
Step 5. When System Restore is fully completed, you will see a popup message on the desktop, and then click the Close button to close it.
That's all for windows 10 System Restore steps. Once these steps are completed, System Restore will return your computer to the previous working state.
Step 2: Find the System Protection option and click it.
Step 3: The system drive C is selected by default. Then hit the Configure option.
Step 4: Hit the Delete button and confirm it. After that, all restore points on this drive will be removed.
Conclusions
Following this guide, you can effectively create, manage, and use System Restore Points in Windows 10 to maintain system stability and troubleshoot issues quickly.